1.) In-camera dynamic range (DR)
settings.
The S3 gives you the ability to influence dynamic
range by
either selecting a certain film behaviour or by manually choosing one
of the pre-defined tone mapping curves.
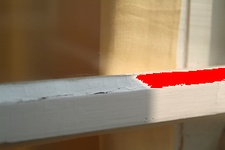
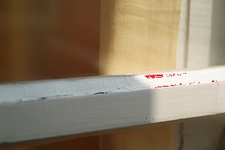
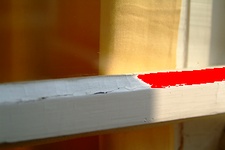
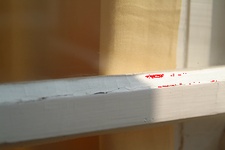
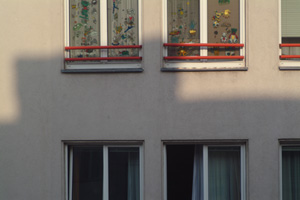
These are the possible DR settings. The red color
indicates overexposed areas. Click the respective image to view a
larger version.
 |
Extended Dynamic Range switched OFF |
| |
Extended Dynamic Range switched ON: |
 |
AUTO dynamic range increase This setting seems to select
the best fitting DR method for the captured image. |
 |
Simulation Film F1 looks like "Negative Film"... Film
simulation includes pre-defined color, tone and sharpening
settings |
 |
Simulation Film F2 obviously "Slide Film"... also
includes pre-defined color, tone and sharpening settings |
 |
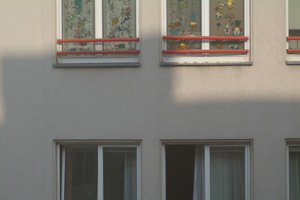
DR setting WIDE1 |
 |
DR setting WIDE2 This setting tries to squeeze the most
out of the RAW sensor data - even at the cost of decreased
contrast. |
2.) Using the extended DR
capabilities of the camera.
As already stated in the beginning of this article: If you want
to learn about the DR capabilities of the S3, imagine an extra -2EV
bracket done by the camera. It is up to you if you give the camera
the chance to use this extra image data or not.
Personally, i am used to slightly underexpose my images if i don't
want to loose highlight detail. With the S3 i have to modify
my rule of thumb - and to make things even harder - add a good
amount of random Voodoo to my assumptions, especially when shooting
with matrix-metering:
- Basically, the camera tries to behave like any other digital
camera
- No special preference to expose towards shadows
- Highlights will be mapped from the additional sensor data
depending on the camera settings, but expect small bright areas to
be overexposed while shadows will still be dark.
- Sometimes the camera shifts exposure data downwards, resulting in
more detailed shadows instead of highlights (the Voodoo factor)
Some test i found on the net came to the conclusion, that there
is virtually no difference to other digital cameras (e.g.
Luminous Landscape - section S3 vs. 1Ds MkII). I think the
problem in such tests is the assumption, that the camera will always
try to shoot the widest possible DR and do a highly sophisticating
tonemapping afterwards. This is not true. First, this would
overstress the in-camera CPU, second, it would result in a strange
looking image that wouldn't be accepted by most photographers.
Take a look at the lively
tonemapping
discussion to find out more about mapping High Dynamic Range
into a viewable color space.
WRONG testing - replayed:
Here is an sample of a "typical" test shot that will NOT show more
DR with the S3. All cameras use AUTO-settings. For your convinience,
the thumbnail colors are normalized.
 |
Nikon D70 |
 |
Fuji S2 |
 |
Fuji S3 (DR settings WIDE2) |
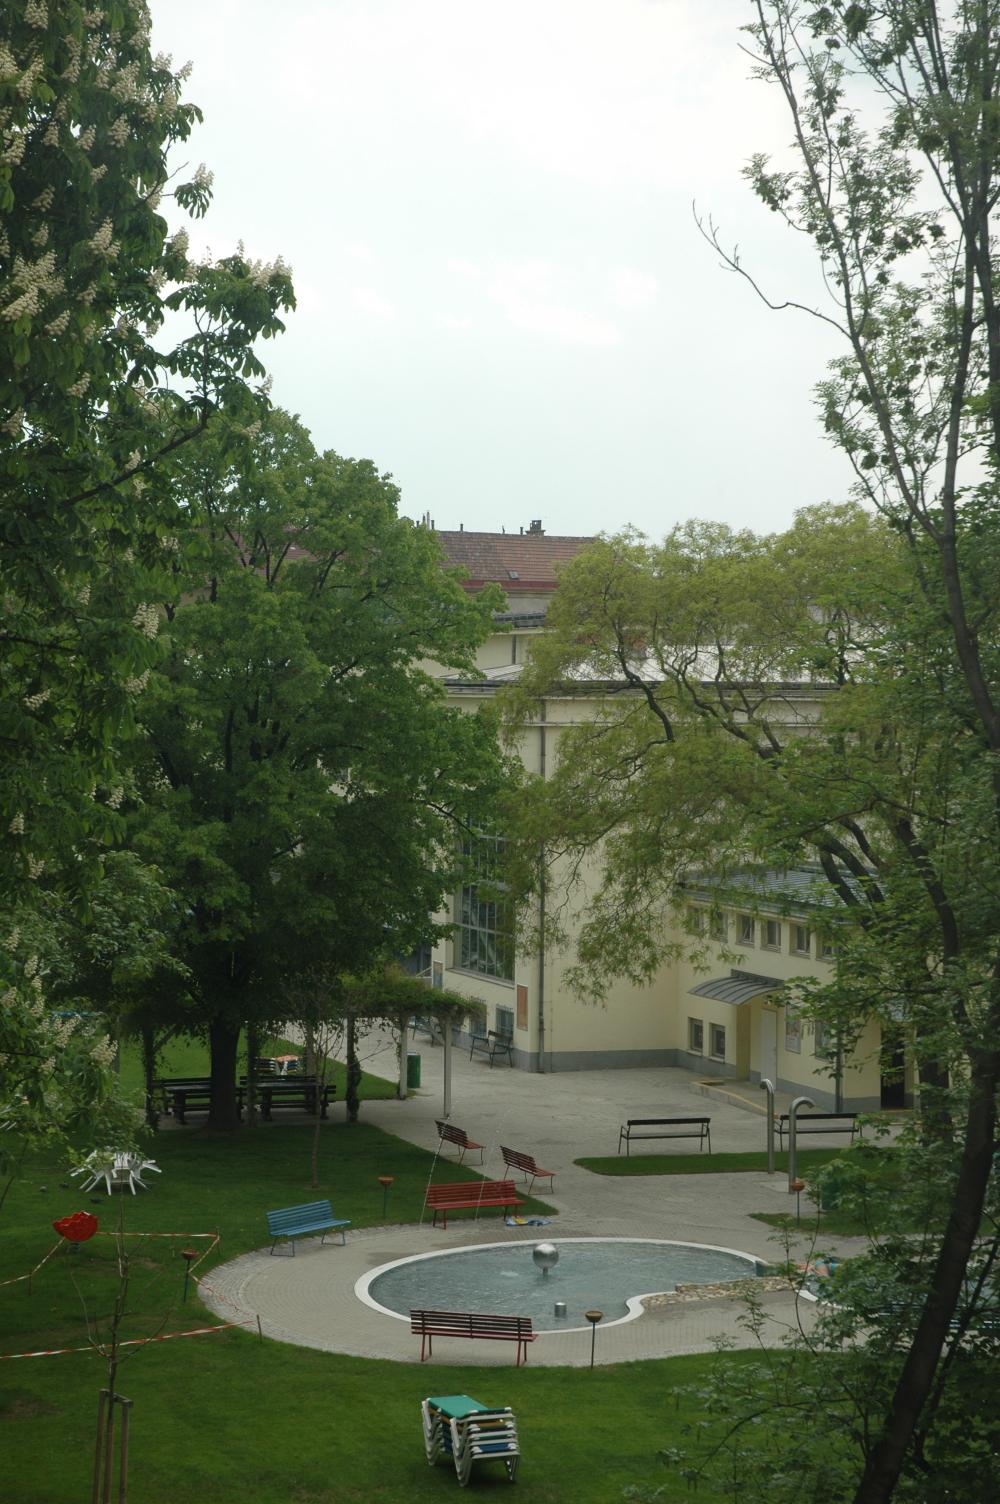
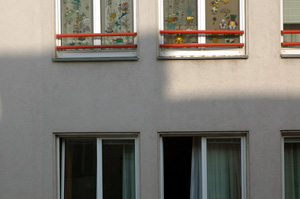
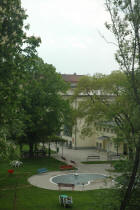
CORRECT testing:
This is a shot done on an overcast day.
 |
Nikon D70 Parts of the sky are burnt out. |
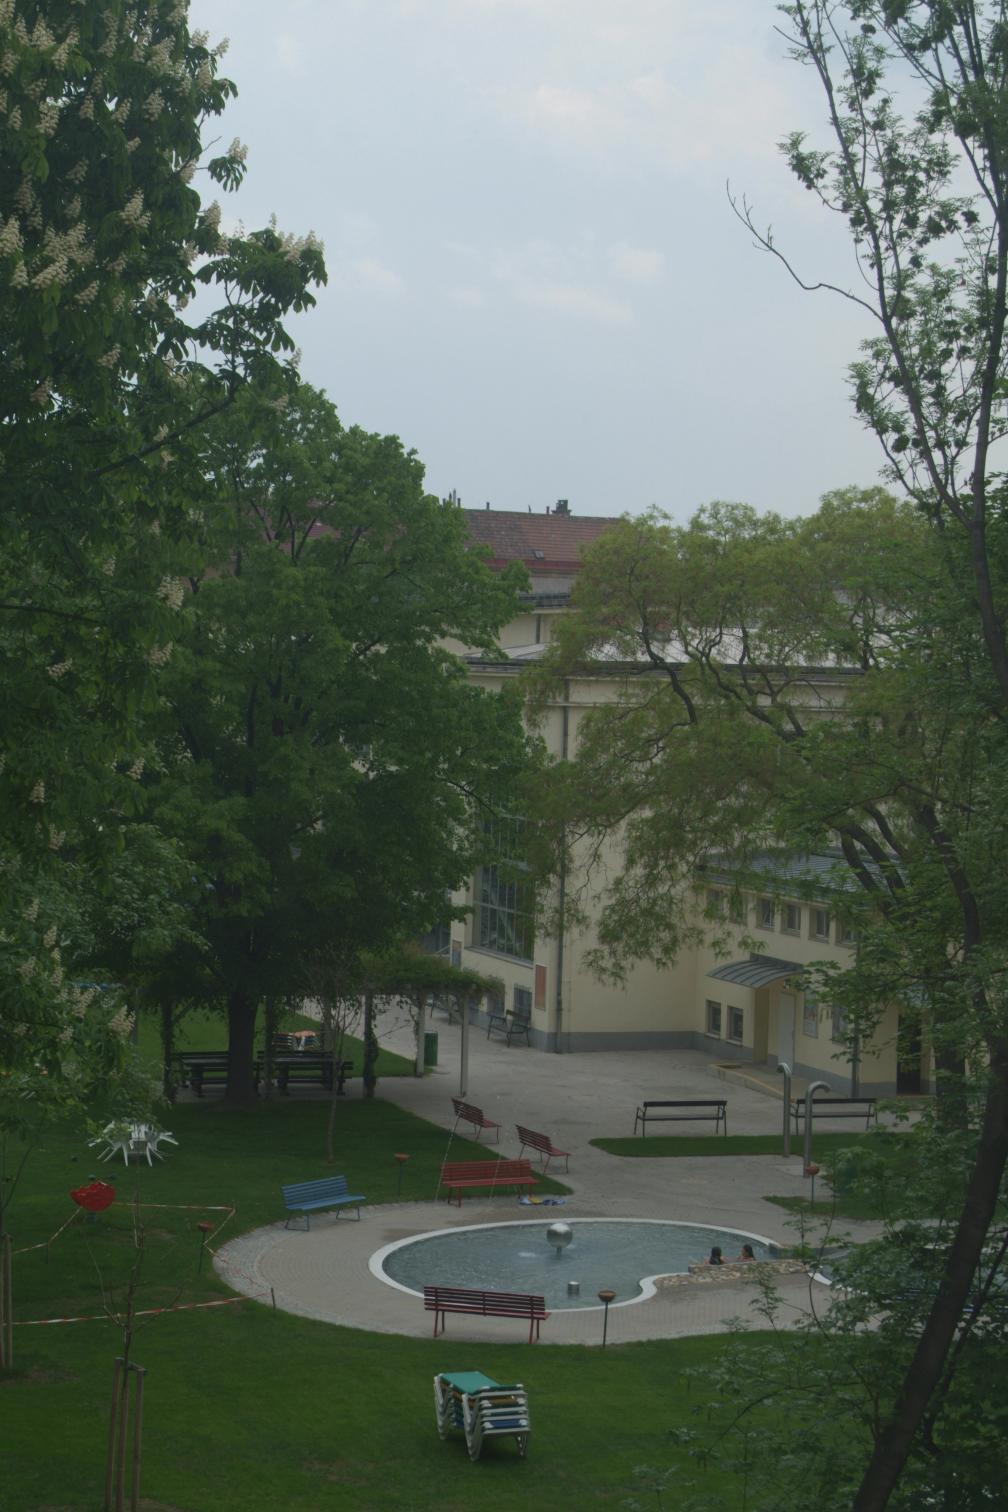
 |
Fuji S3 (DR settings WIDE2) No sky detail is lost. If
you think the image looks dull: pleas stop by at the
tonemapping
discussion. |
2.) Shooting with the extended DR
settings.
 |
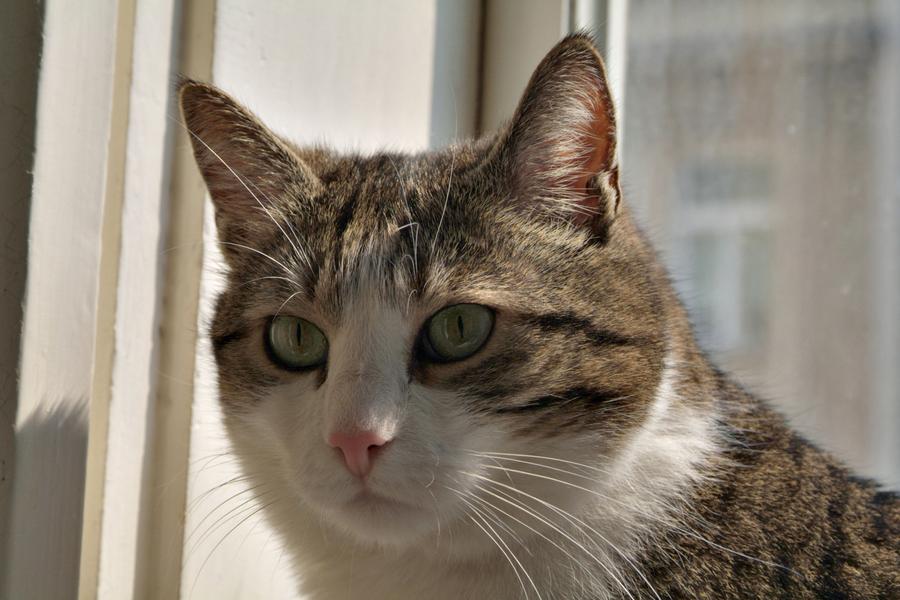
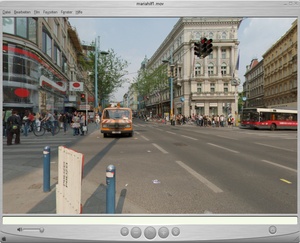
< Felix the Cat, sunbathing
(JPEG mode, DR settings WIDE2, 1 F-stop underexposed, shadows restored
and local brightness increased)
(click image to view large) |
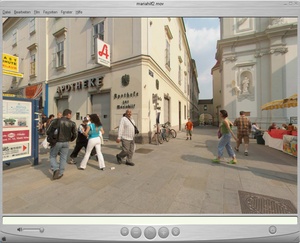
Yesterday, we had a sunny Saturday afternoon, the
best opportunity to capture a real challenging town scenery - the
Mariahilfer Street in Vienna. Crowds of people moving around and the
bright sun, combined with deep shadows in the small lanes. As a
panographer, you'll normally try to shoot (RAW) brackets to manually
blend them. This is very time consuming - and - if you have
something moving around in your images - sometimes simply not
possible (See a typical HDR shot at the
Neubaugasse Panorama).
 |
Exposure leaned towards hightlights, restored shadows.
Click thumbnail to open the panorama. |
 |
Exposure like negative film (towards shadows) Click
thumbnail to open the panorama. |
3.) Comparison of the Dynamic
Range capabilities of different cameras
It turned out to be a little tricky to estimate the
DR of the S3 compared to other cameras. As a first idea, i thought
about direct RAW to HDR conversion but this was not possible due to
software (compatibility) reasons.
So i ended up shooting a bracketed series of images to determine,
when the camera will begin to under- respectively overexpose.
The brackets are done with a 1EV stepping. Note that
the images use in-camera JPEG mode, something i am not really
comfort about, as it introduces an unknown post-processing step
which may falsify results. So, please take the results with a grain
of salt.
Median values of the R-G-B
channels
Red color: overexposed, blue color: underexposed
4.) Conclusion
Don't expect the camera to reward its purchase by
delivering spectacular eye-popping HDR shots that are already tonemapped with
your favourite mapping algorithm. The S3 is able to capture an extra
dynamic range, worth a 2EV bracketed shot.
Different from my original intention, i now decided to leave out the
comparison to film. I see no sense in it, as even the digital vs.
digital comparison causes me serious headaches about measuring the
useable dynamic range in a standardized way. |