|
||||||||||||||||||||||||||||||||||||||||||||||||||||||||||||||||||||||||||||||||||||||||||||||||||||||||||||||||||||||||||||||||||||||||||||||||||||||||||||||||||||||||||||||||||
|
Page Index:
|
Additional Resources:
|
Other external HDR-tonemapping resources:
|
The photographers approach to HDR & MDR tonemapping
While digital cameras utilize linear response curves, negative
film incorporates a logarithmic one:
Brightness values near the minimum or maximum values are compressed,
utilizing
a higher dynamic range than typical digial cameras are capable of.
Many photographers are used to this fact and have perfected their
darkroom workflow towards logarithmic response curves.
How to capture high dynamic range
To overcome the limited dynamic range of digital cameras, there
is a workaround available - called "bracketing".
The problem however is, how to map this increased dynamic range into
a standar color space for display or print.
( All panoramas use SPi-V viewer technology © Aldo Hoeben )
Bracketed panorama (click image
to open full size version)
Click here
to open the 3 images as dynamic ADR-Panorama
How to make high dynamic range viewable
This is the so called "tonampping" process. There are several approaches available. The most common ones are:
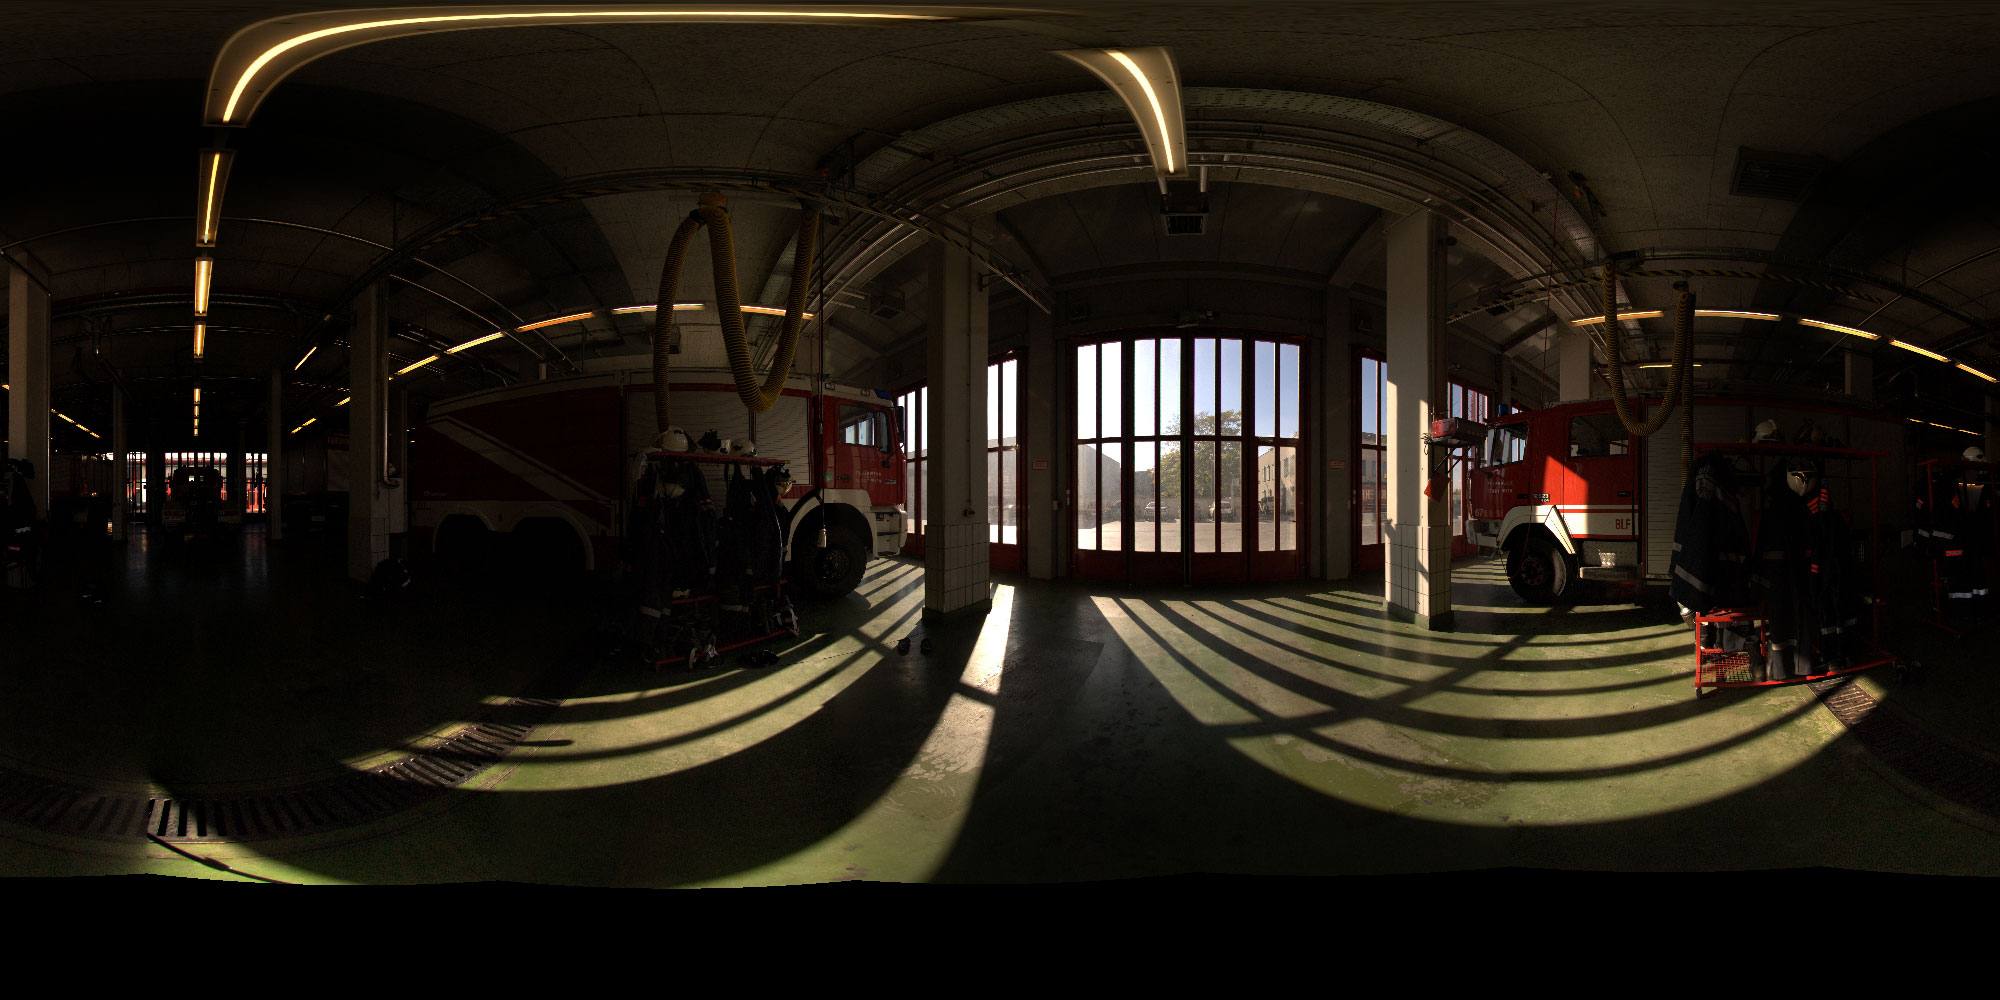
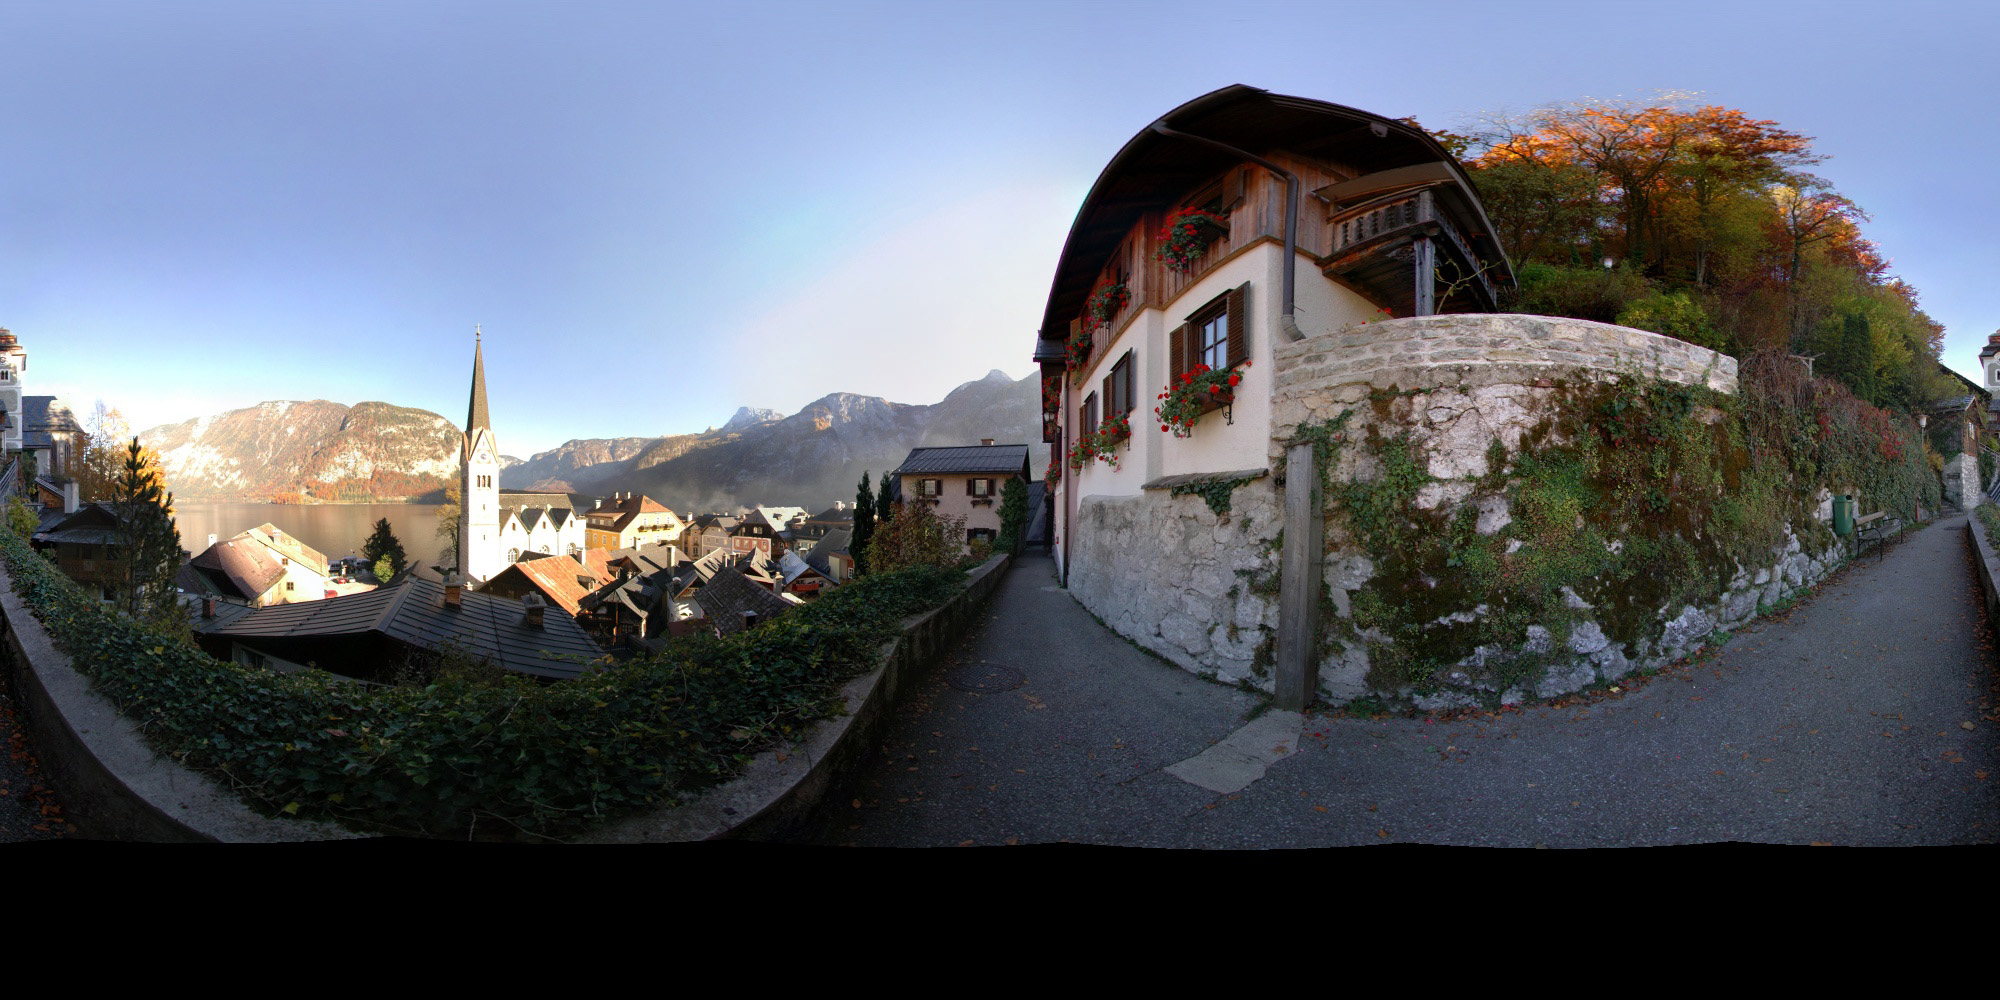
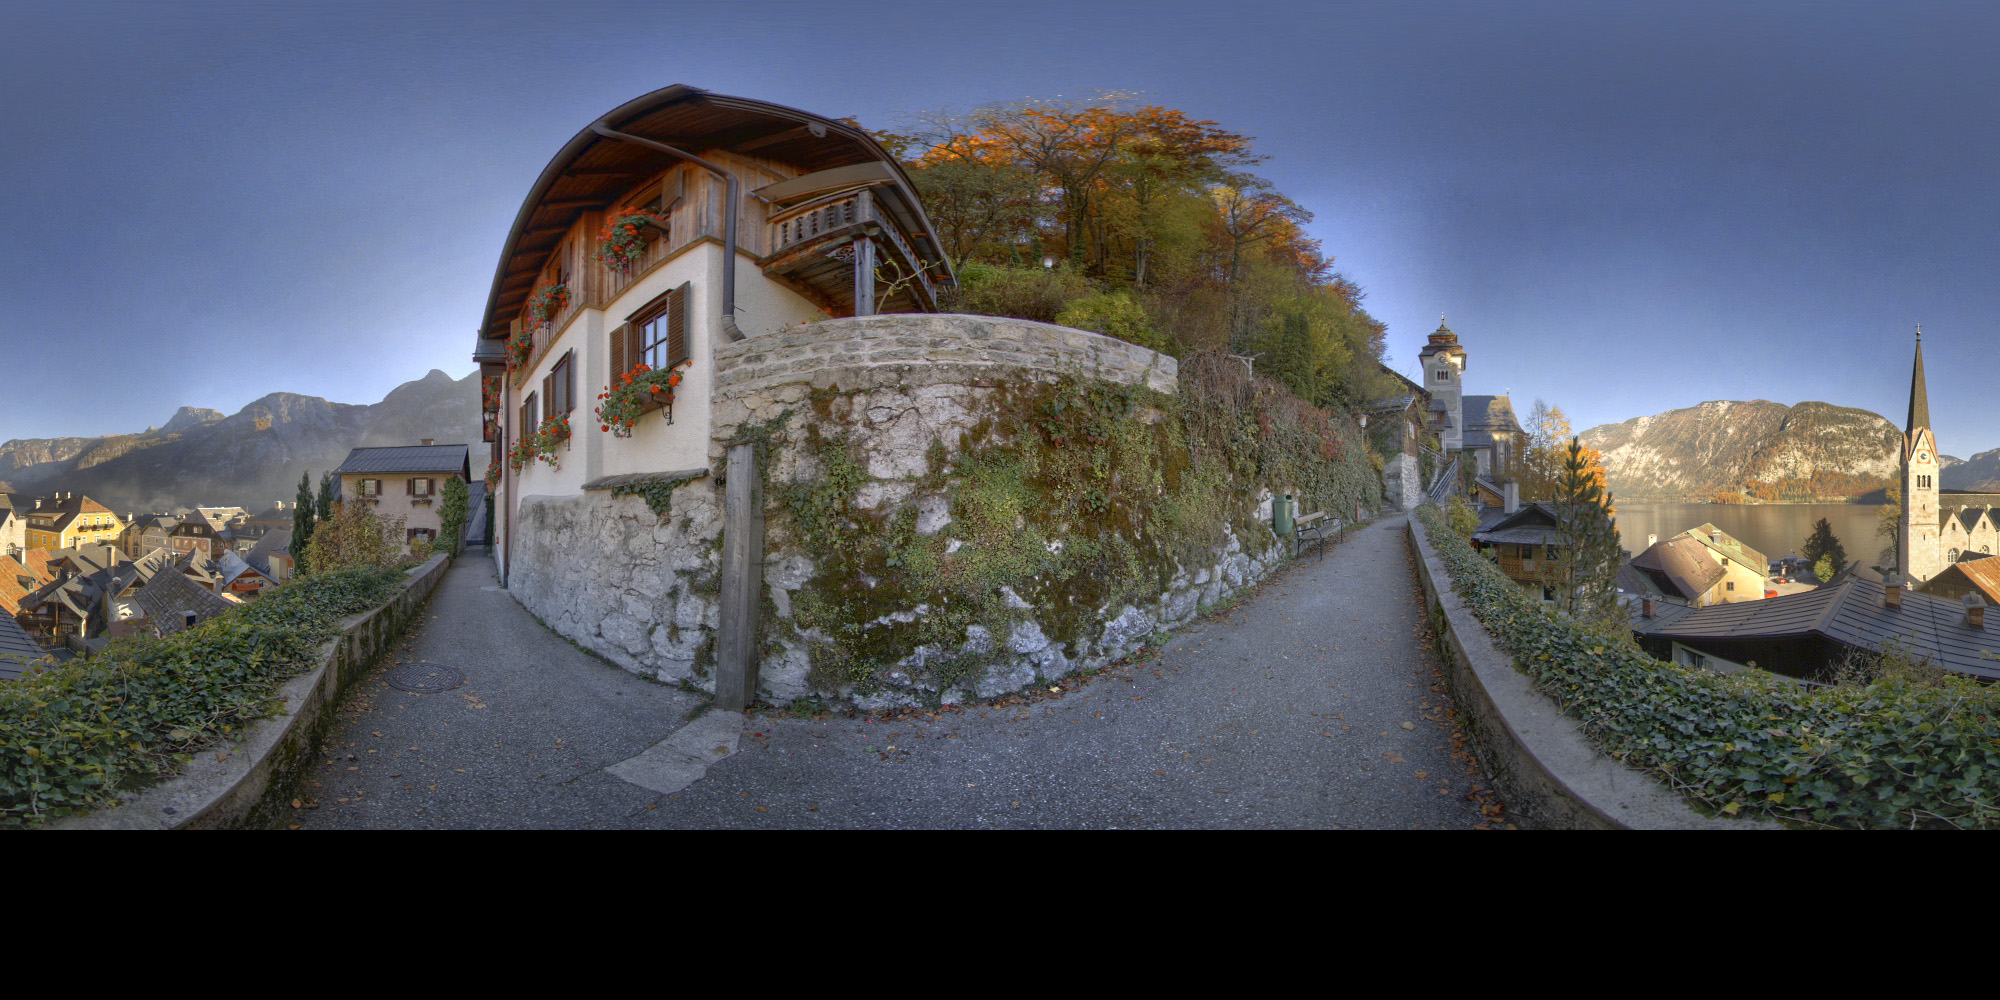
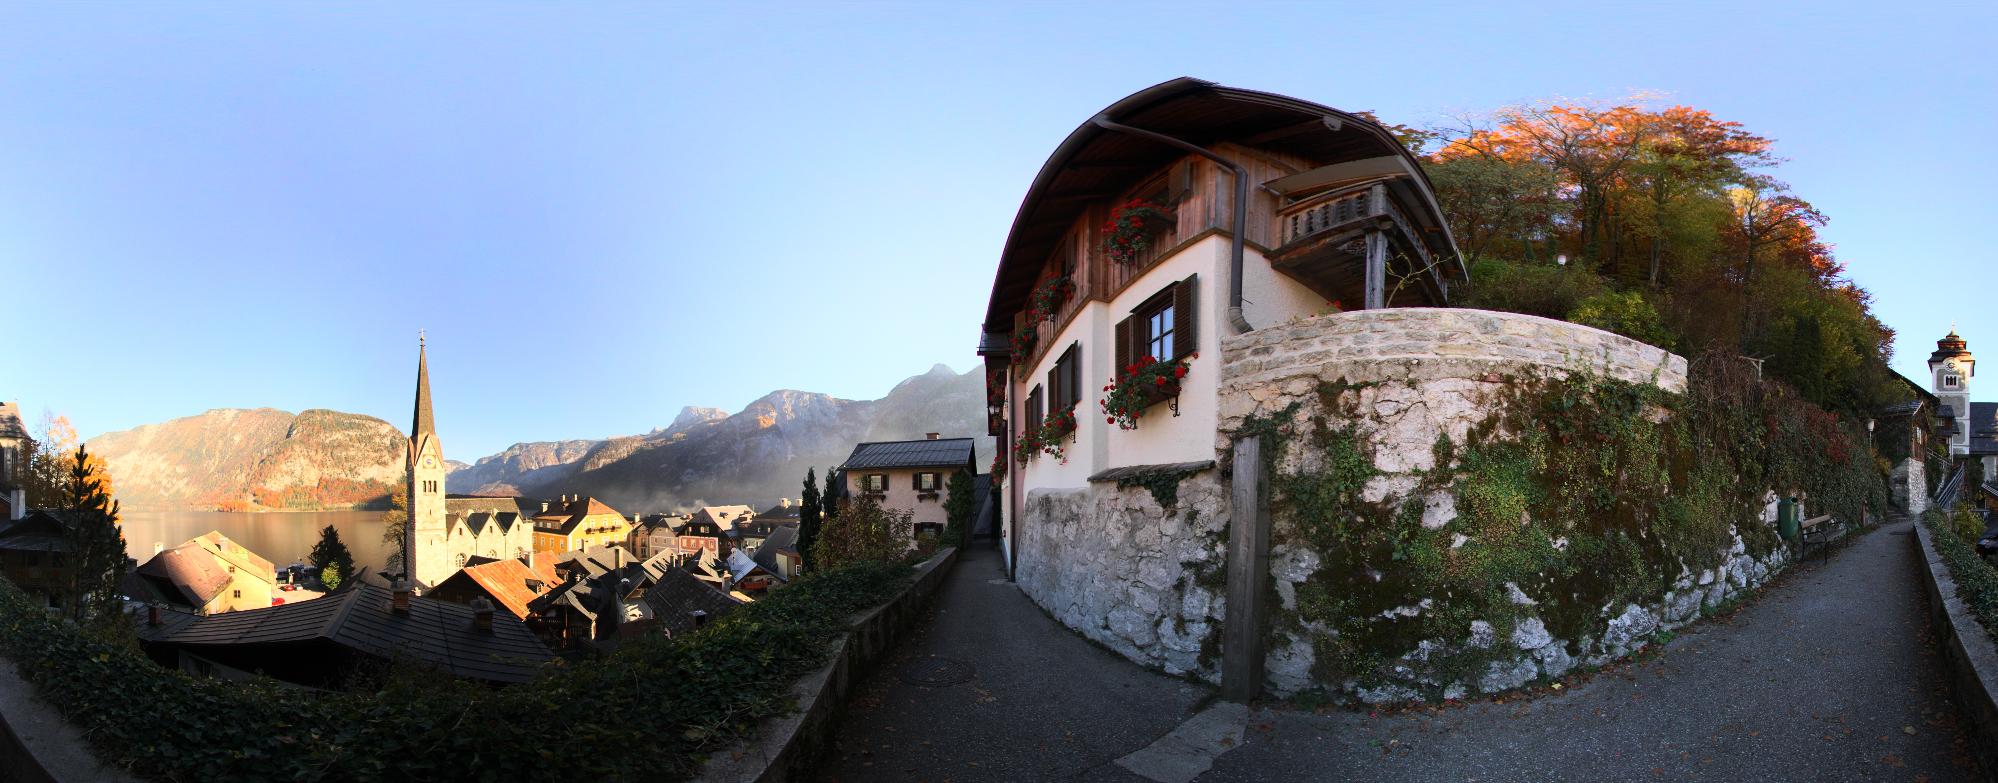
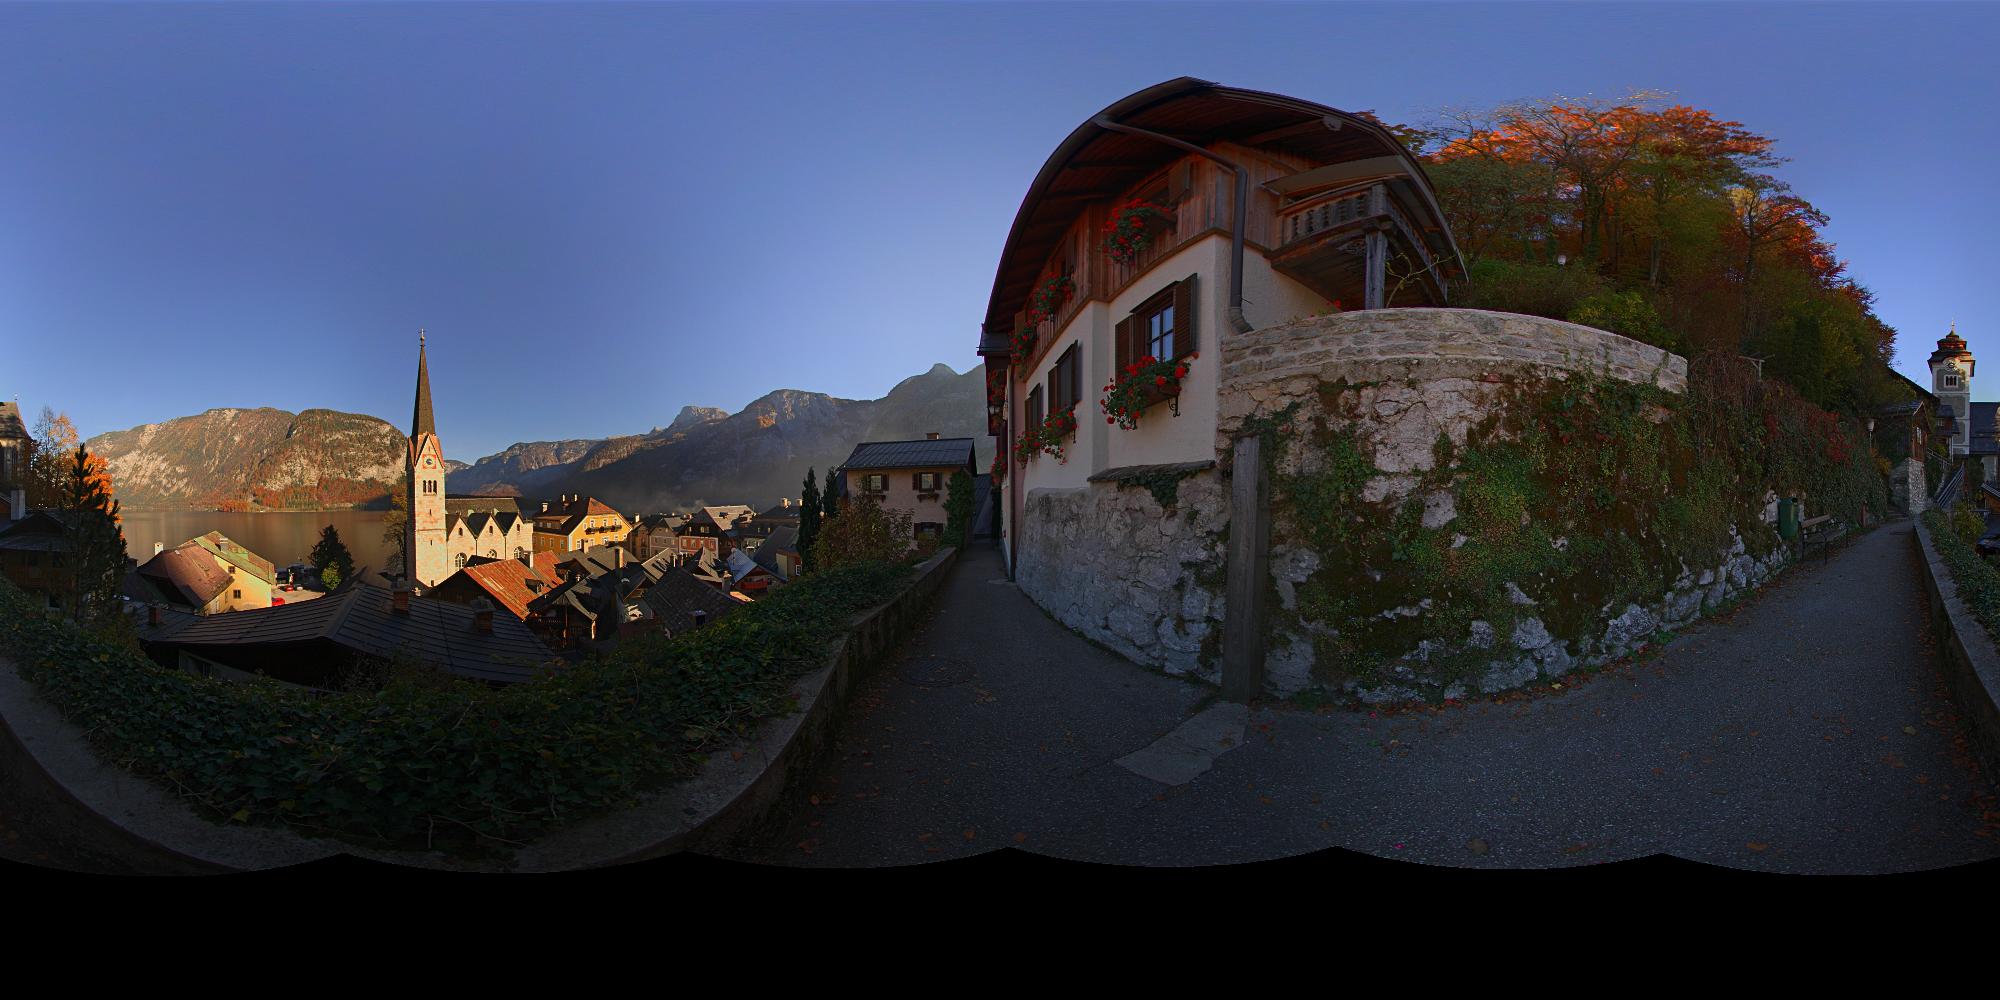
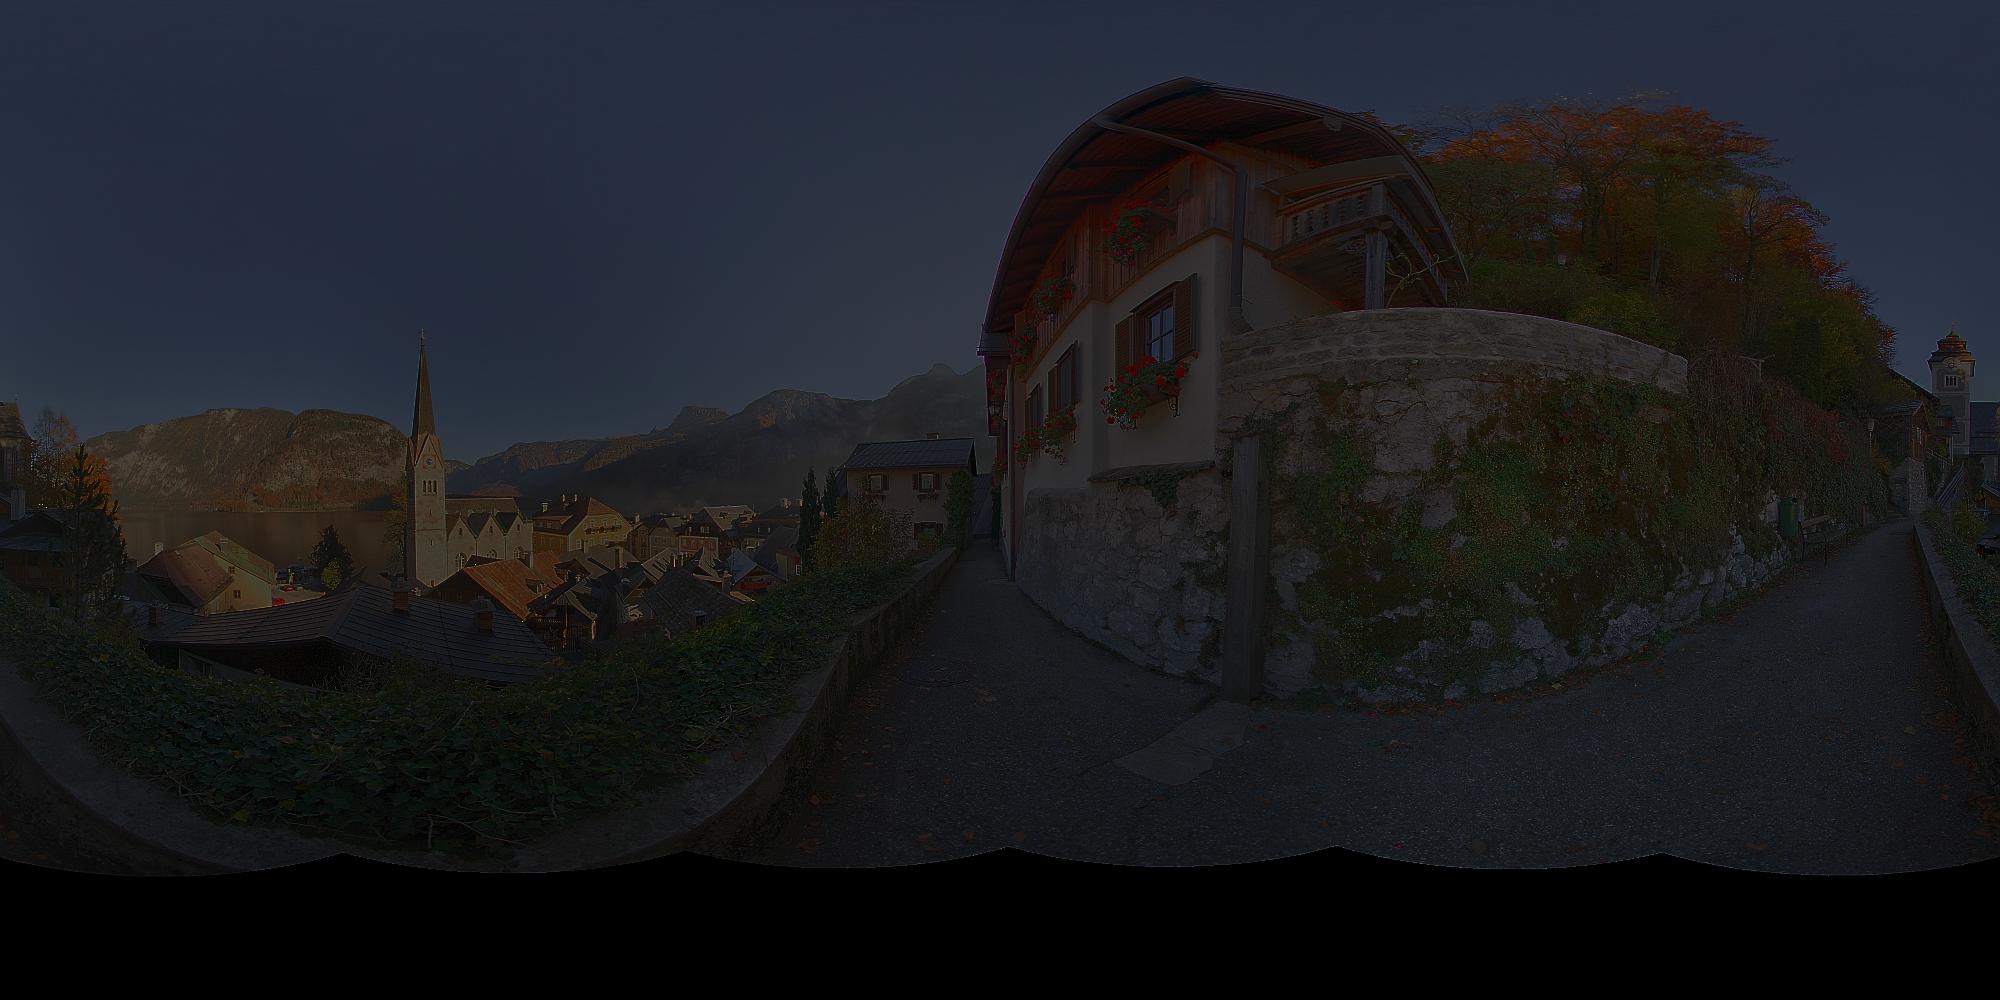
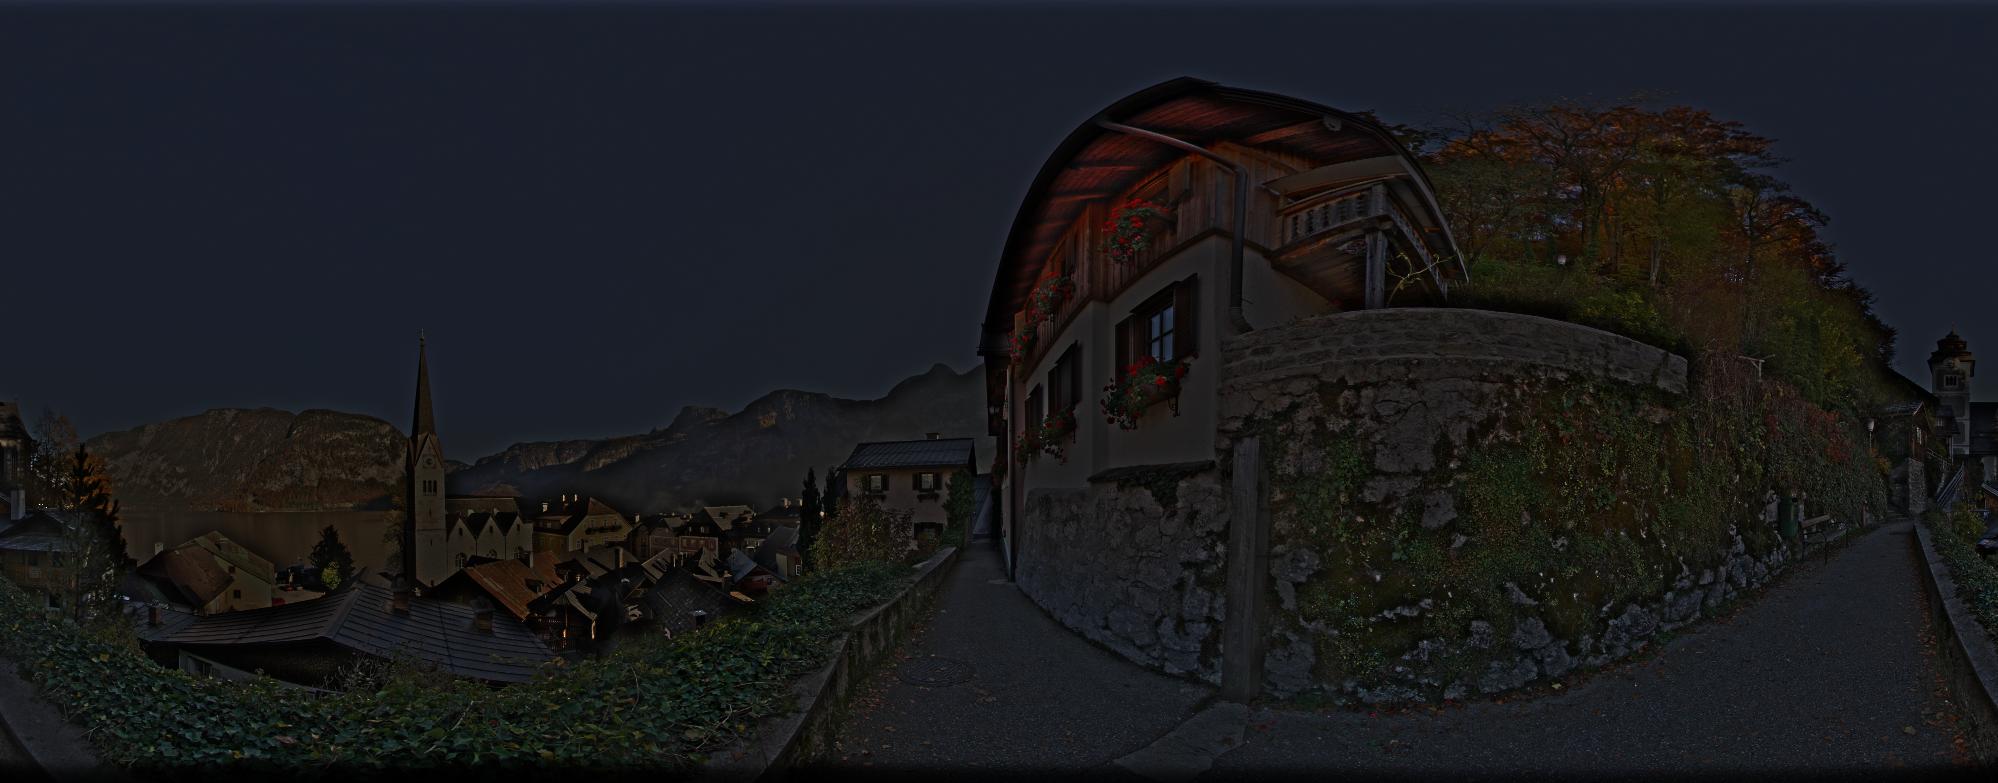
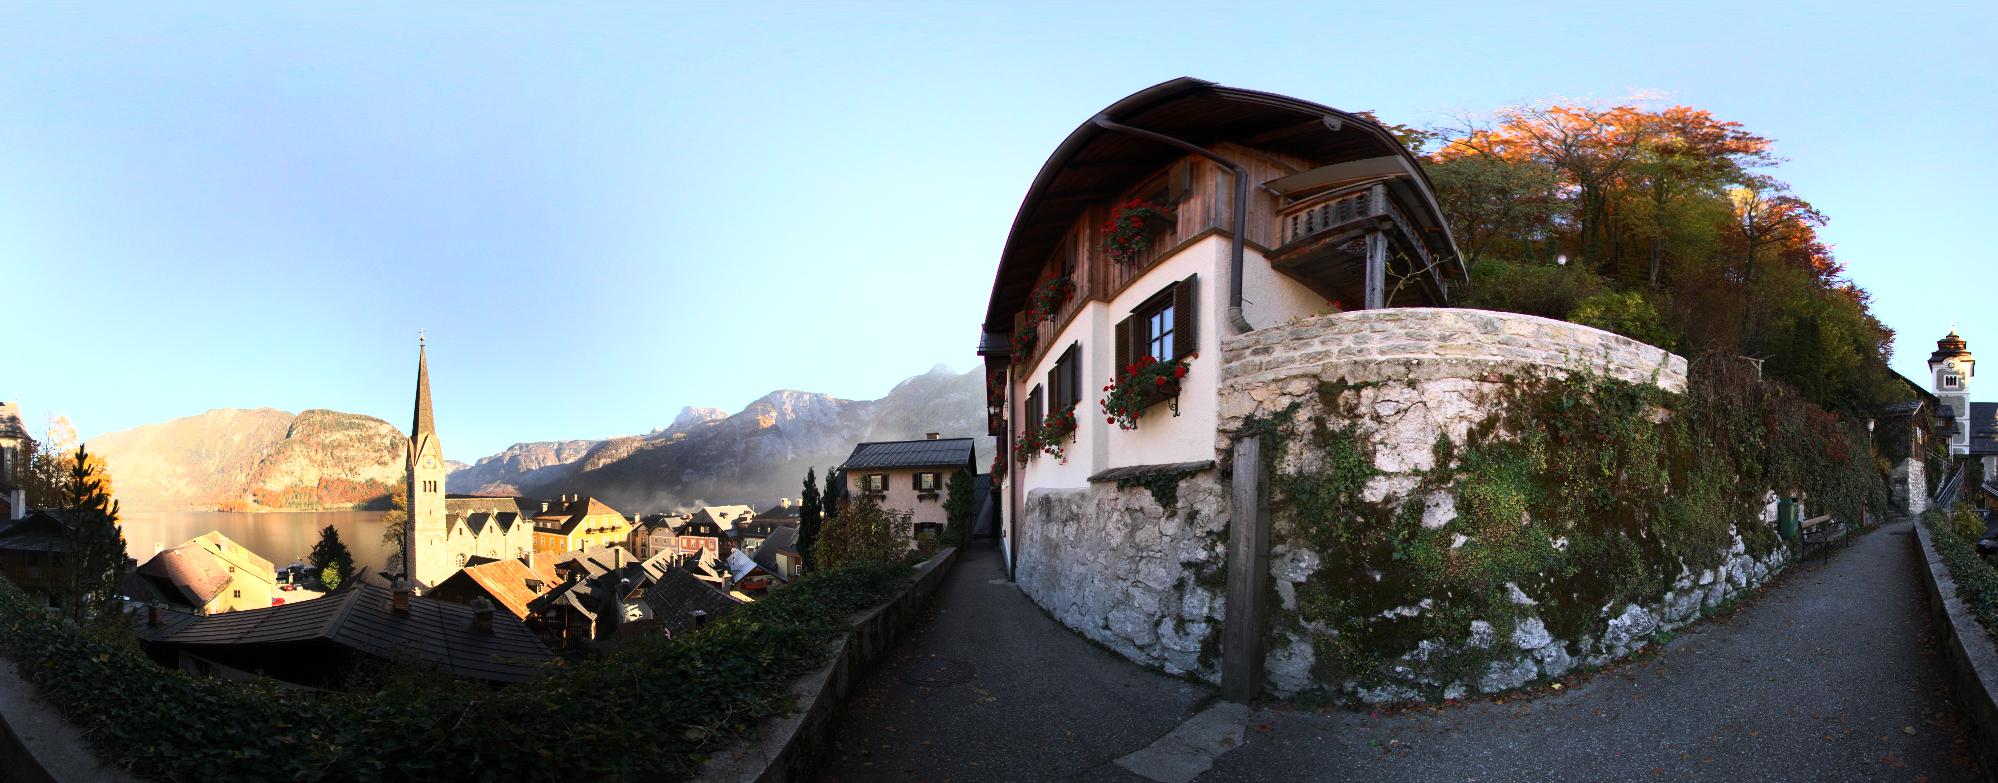
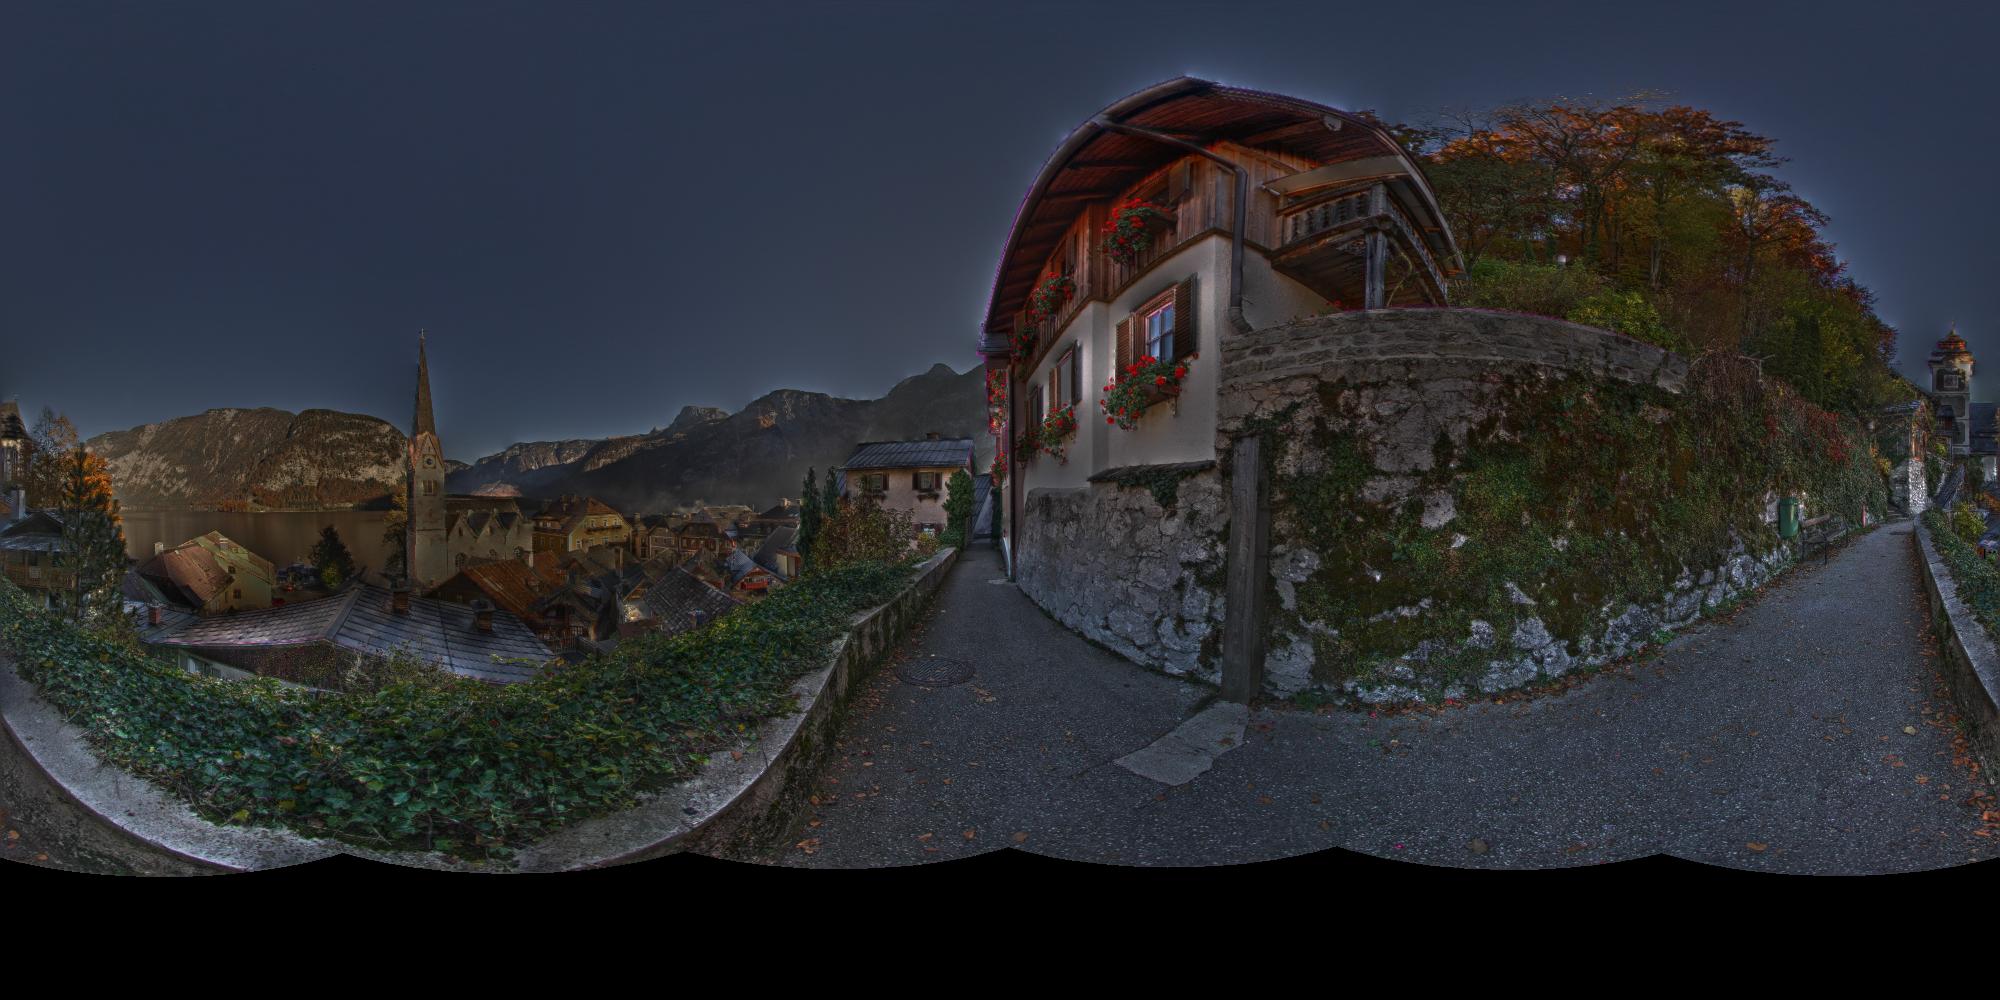
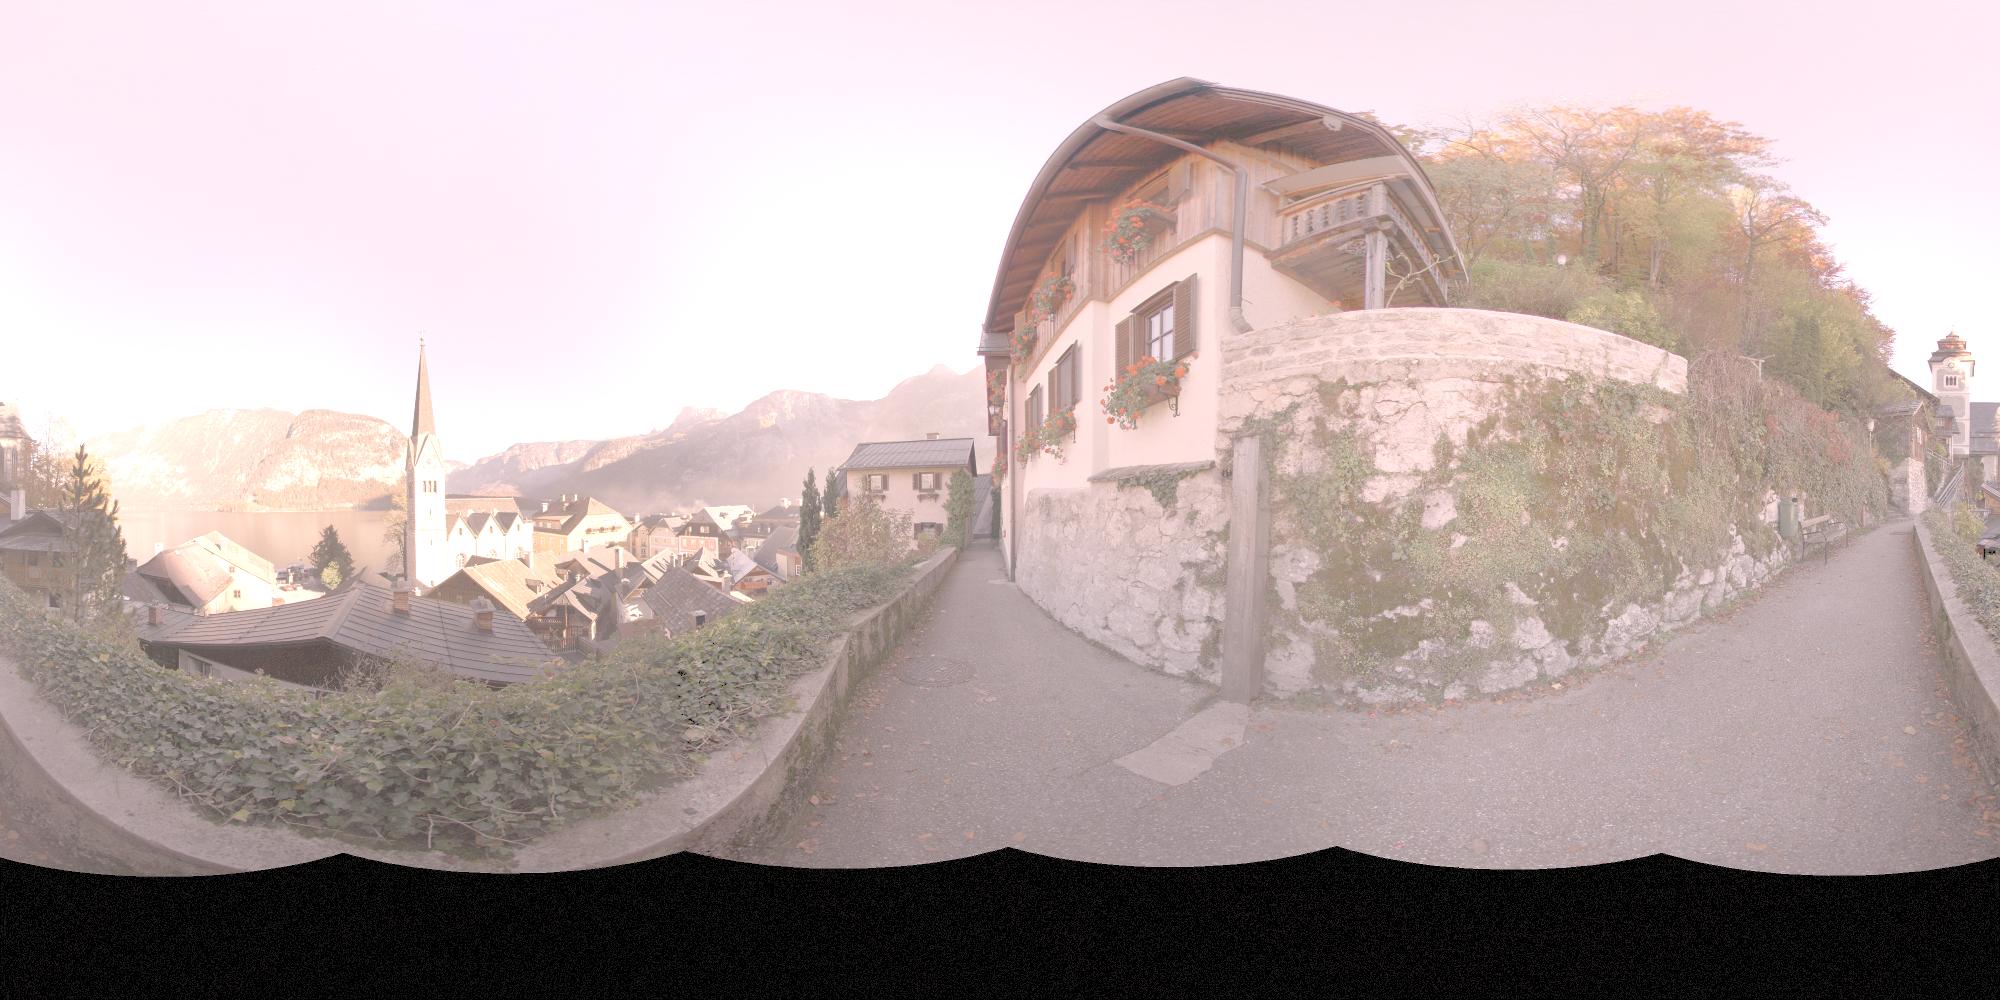
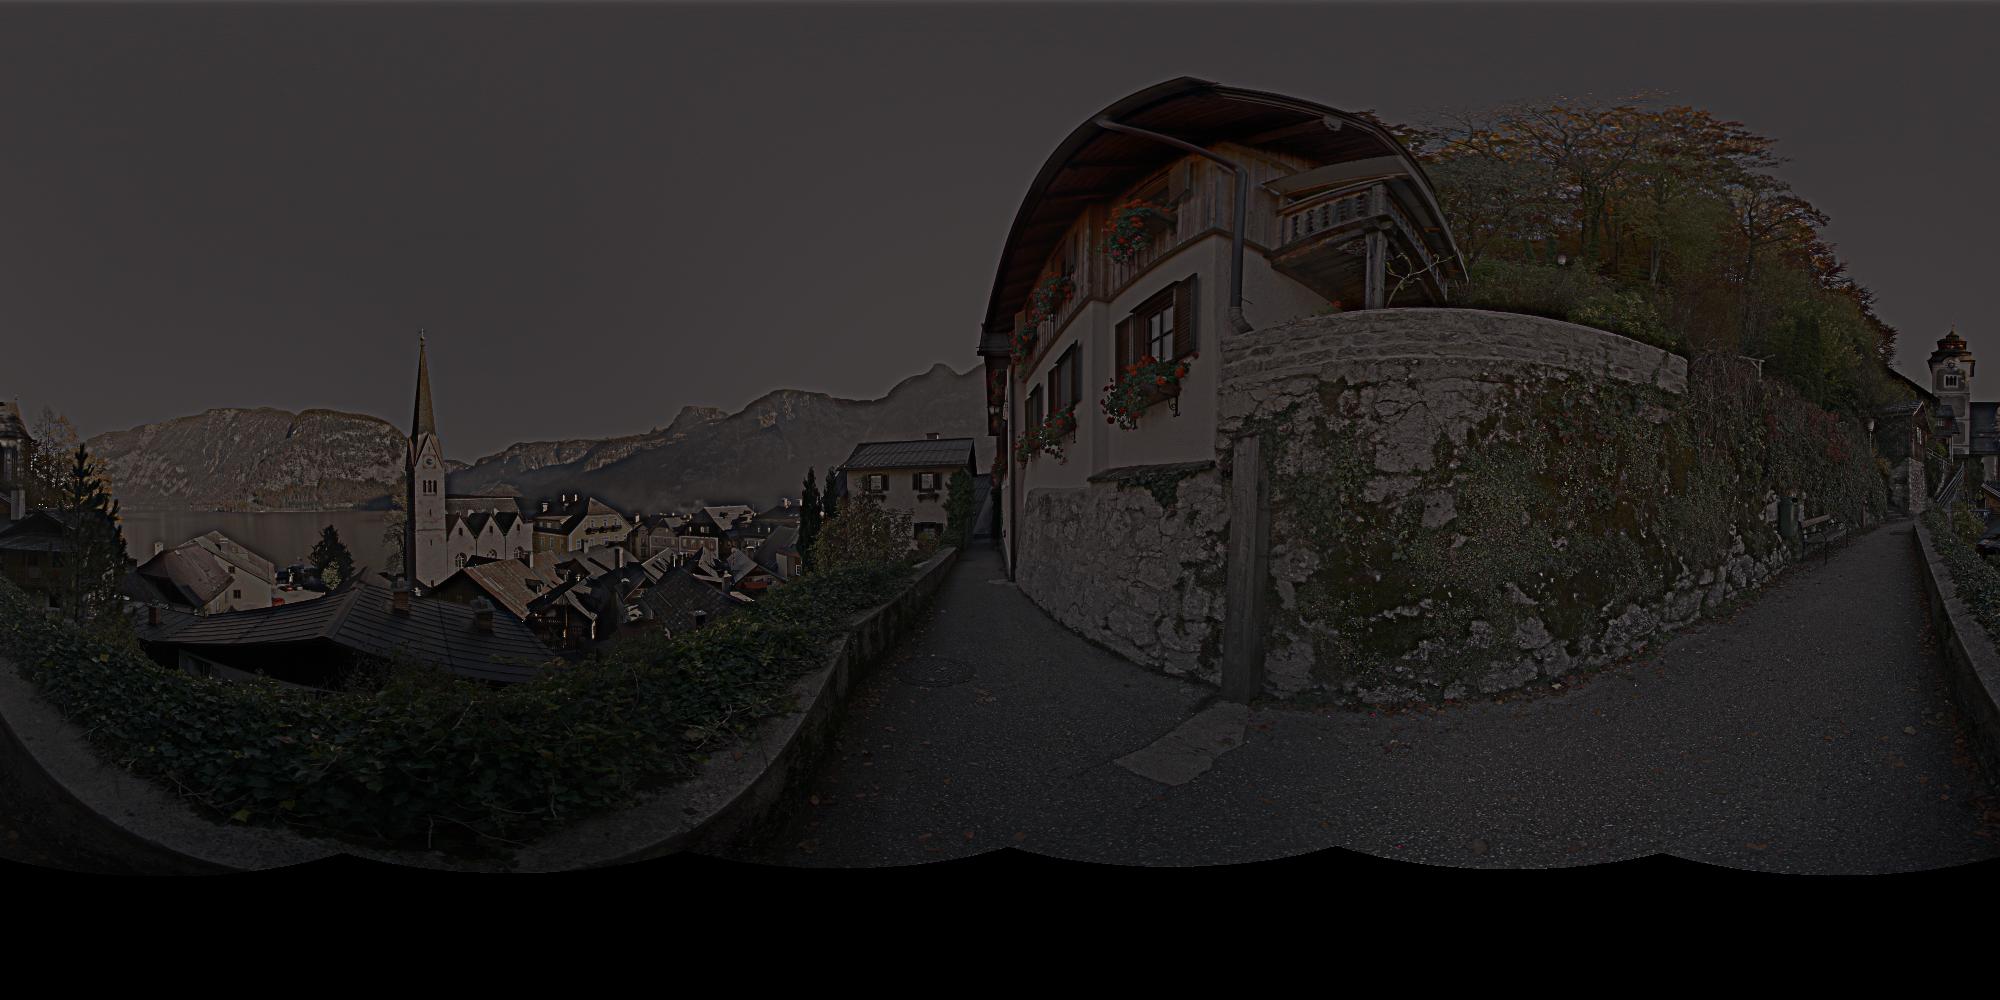
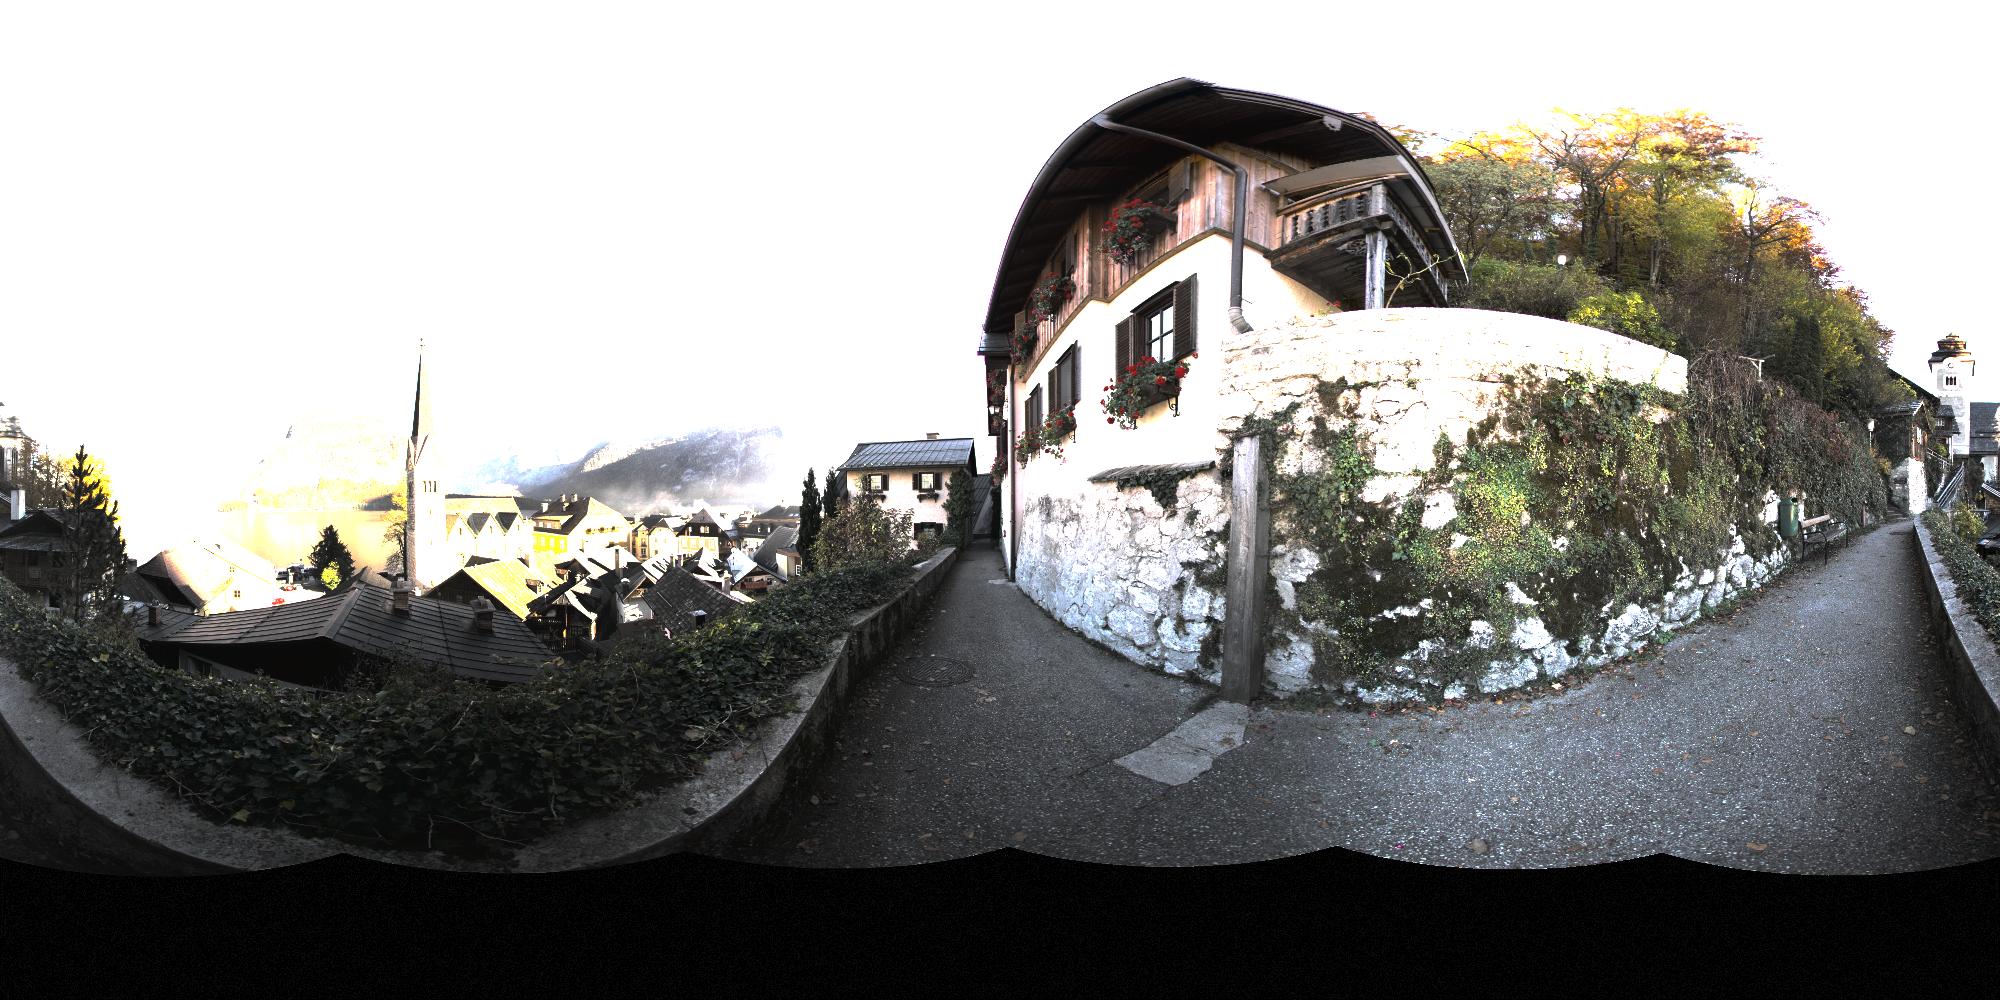
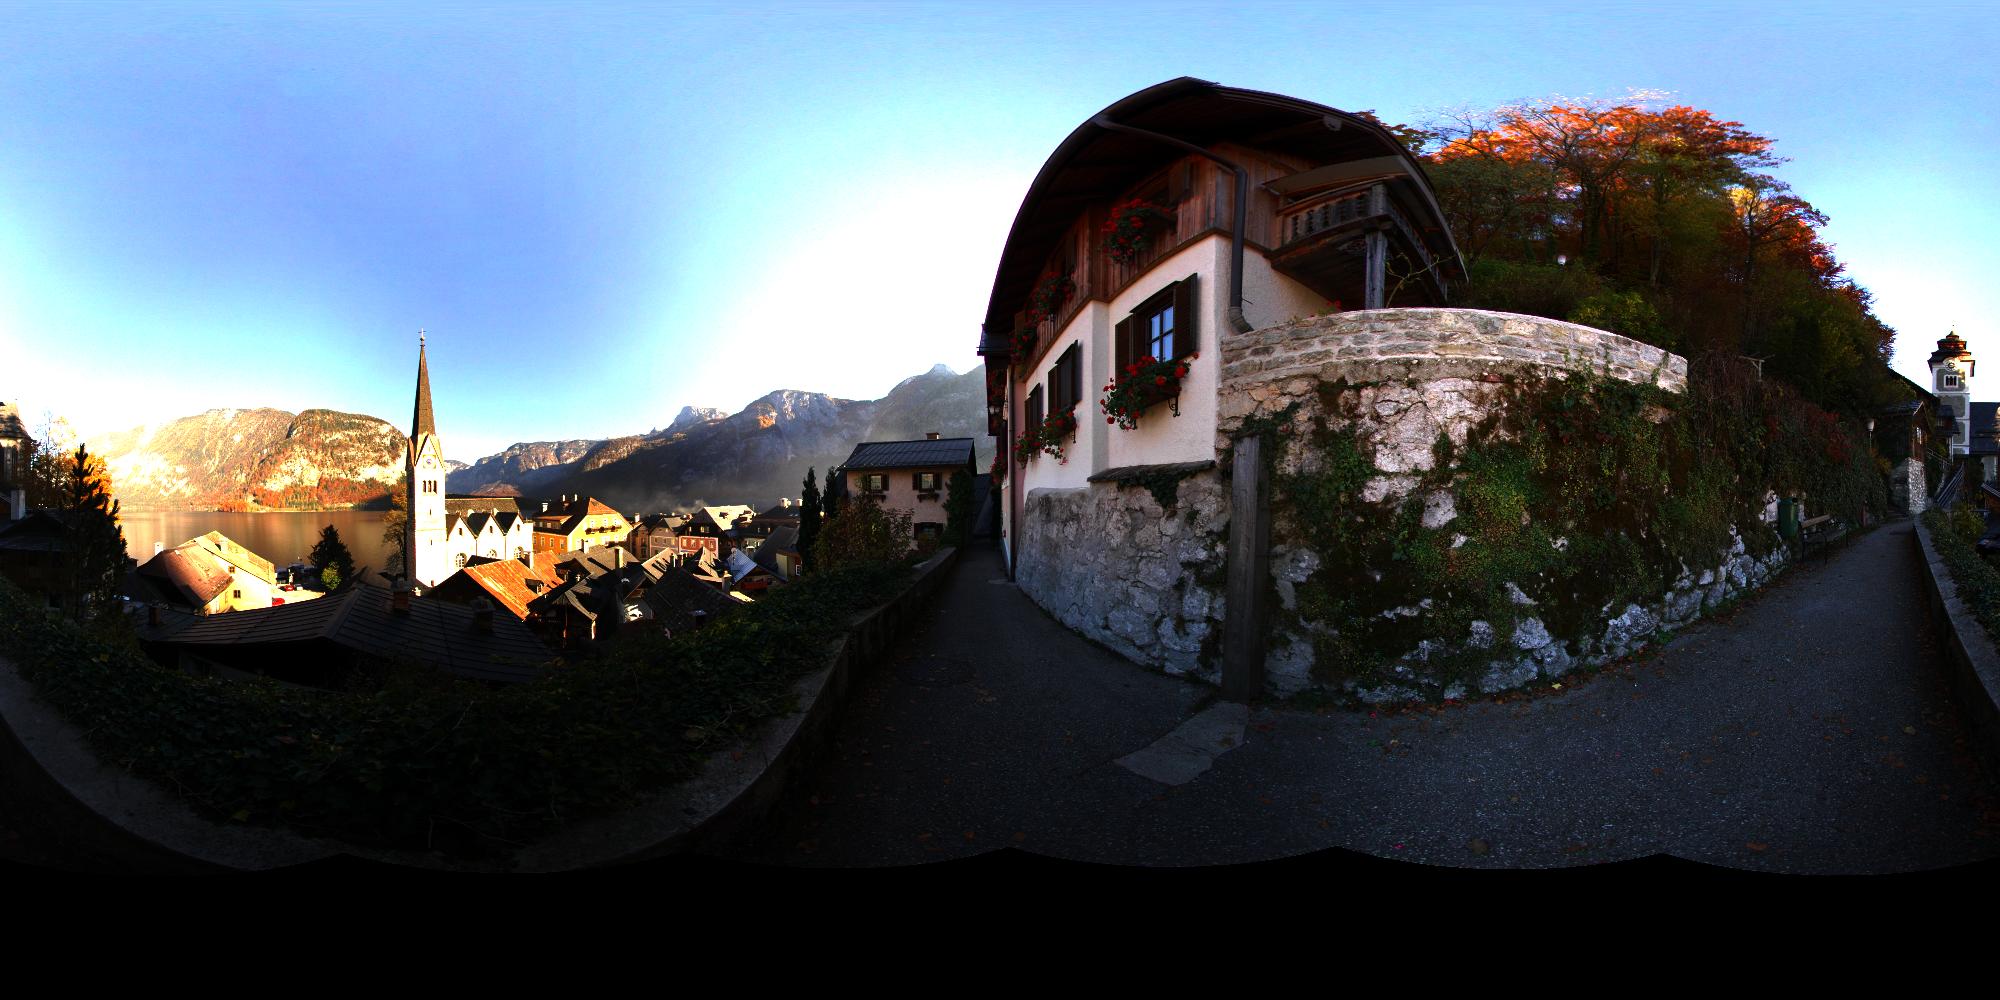
 Averaged (click image to open panorama) |
Averaging (created with Photomatix): Pixel value of all input images are averaged.
|
|||||||||||||||||||||||||||||||||||||||||||||||||||||||||||||||||||||||||||||||||||||||||||||||||||||||||||||||||||||||||||||||||||||||||||||||||||||
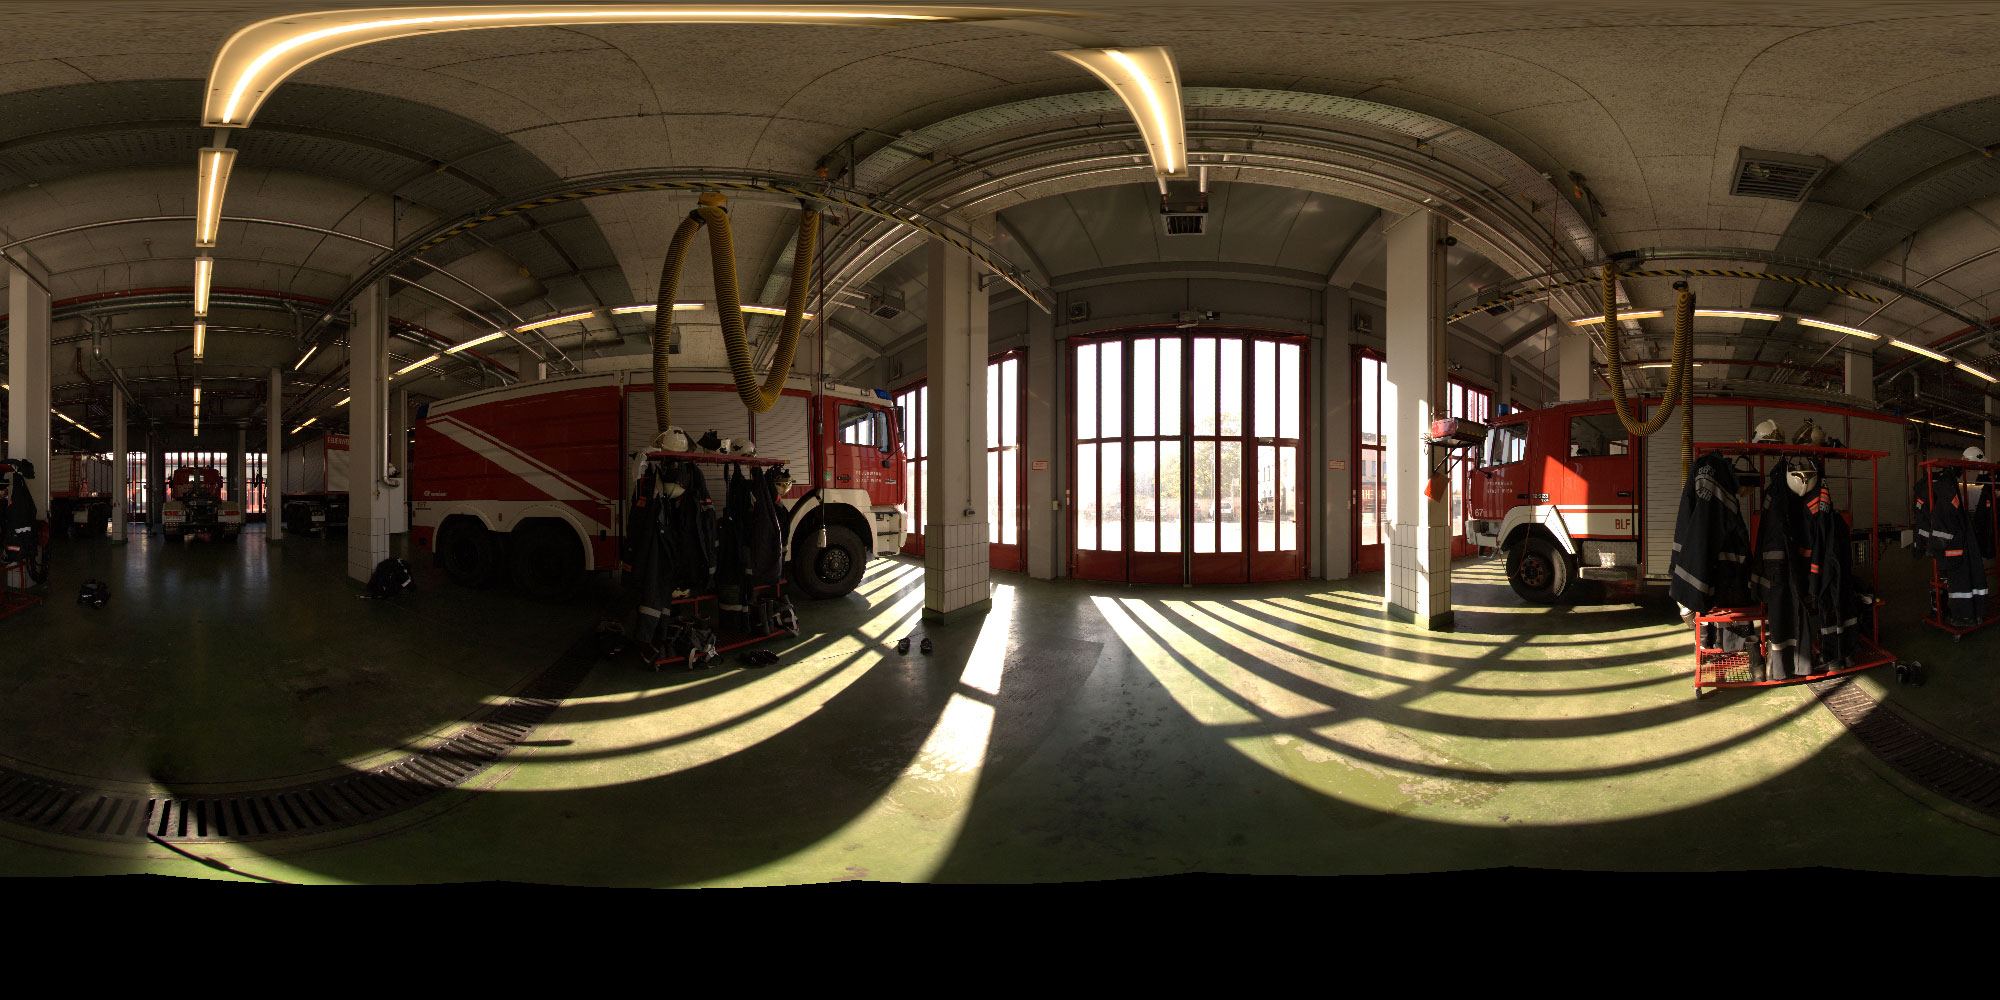
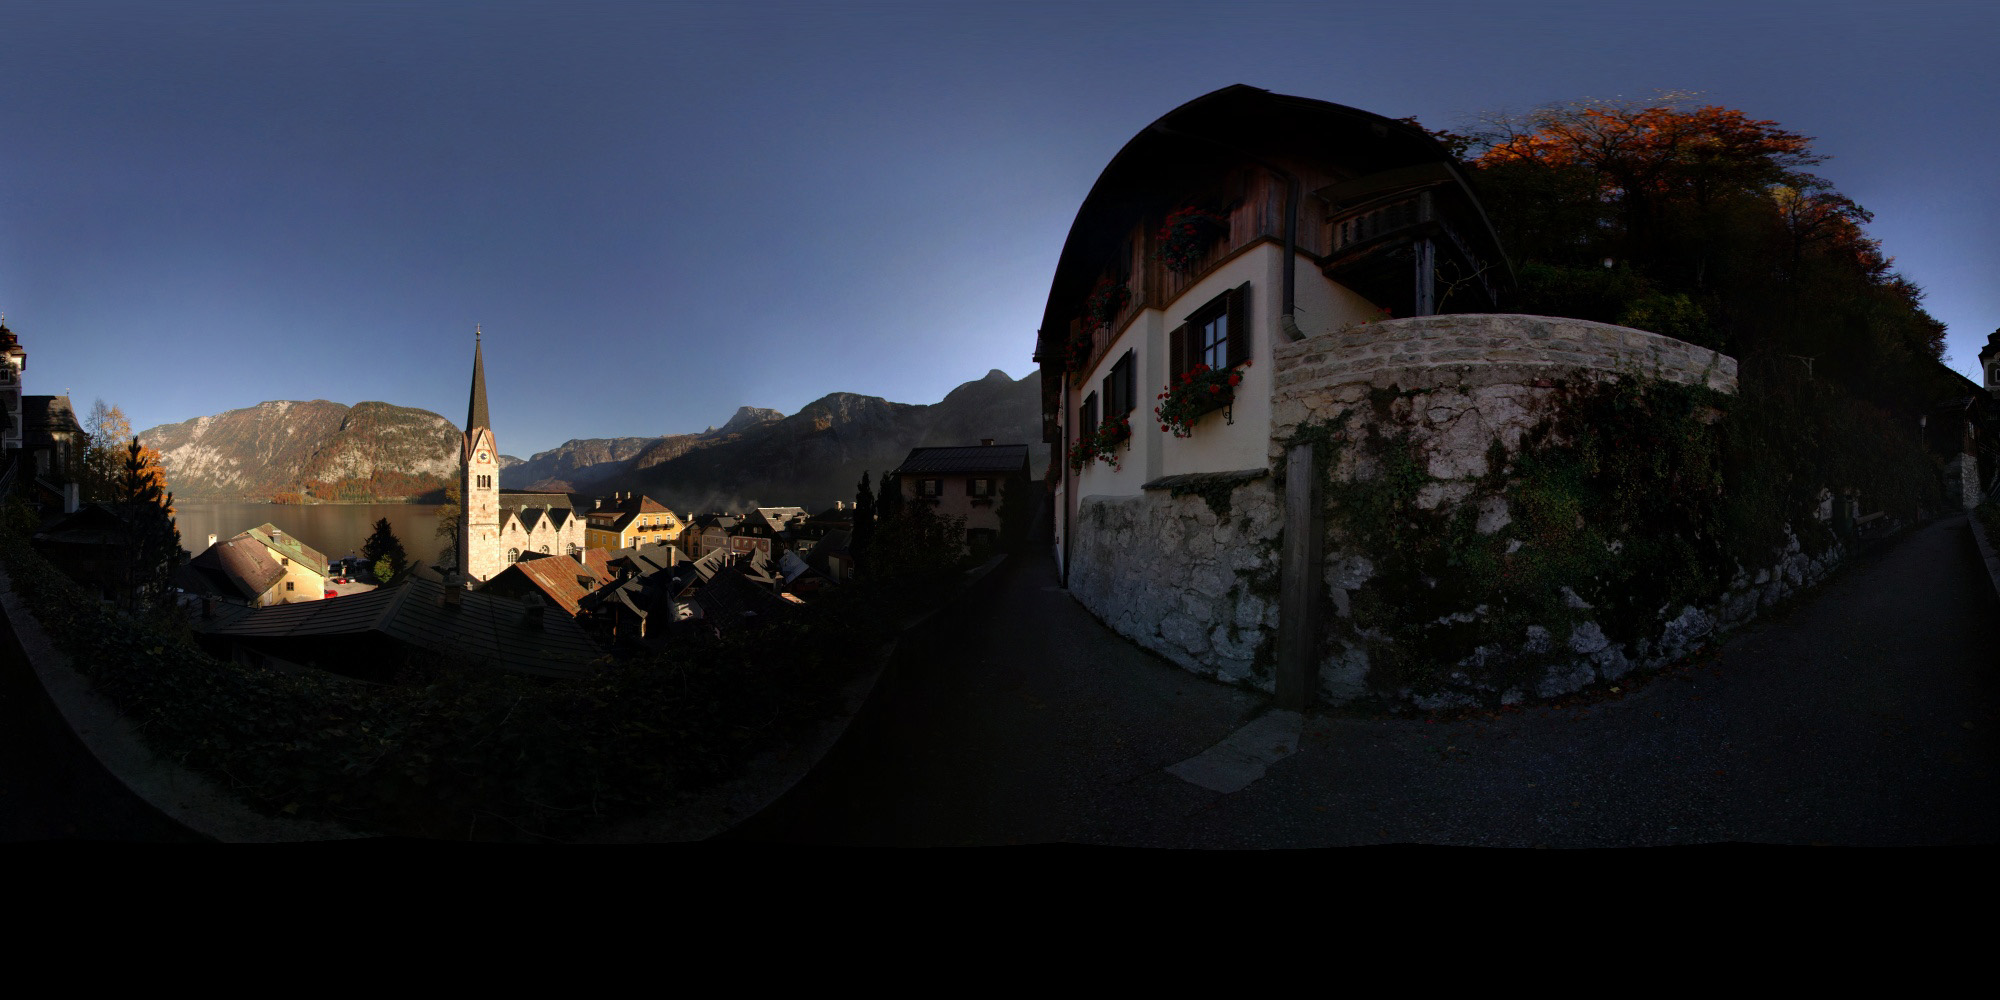
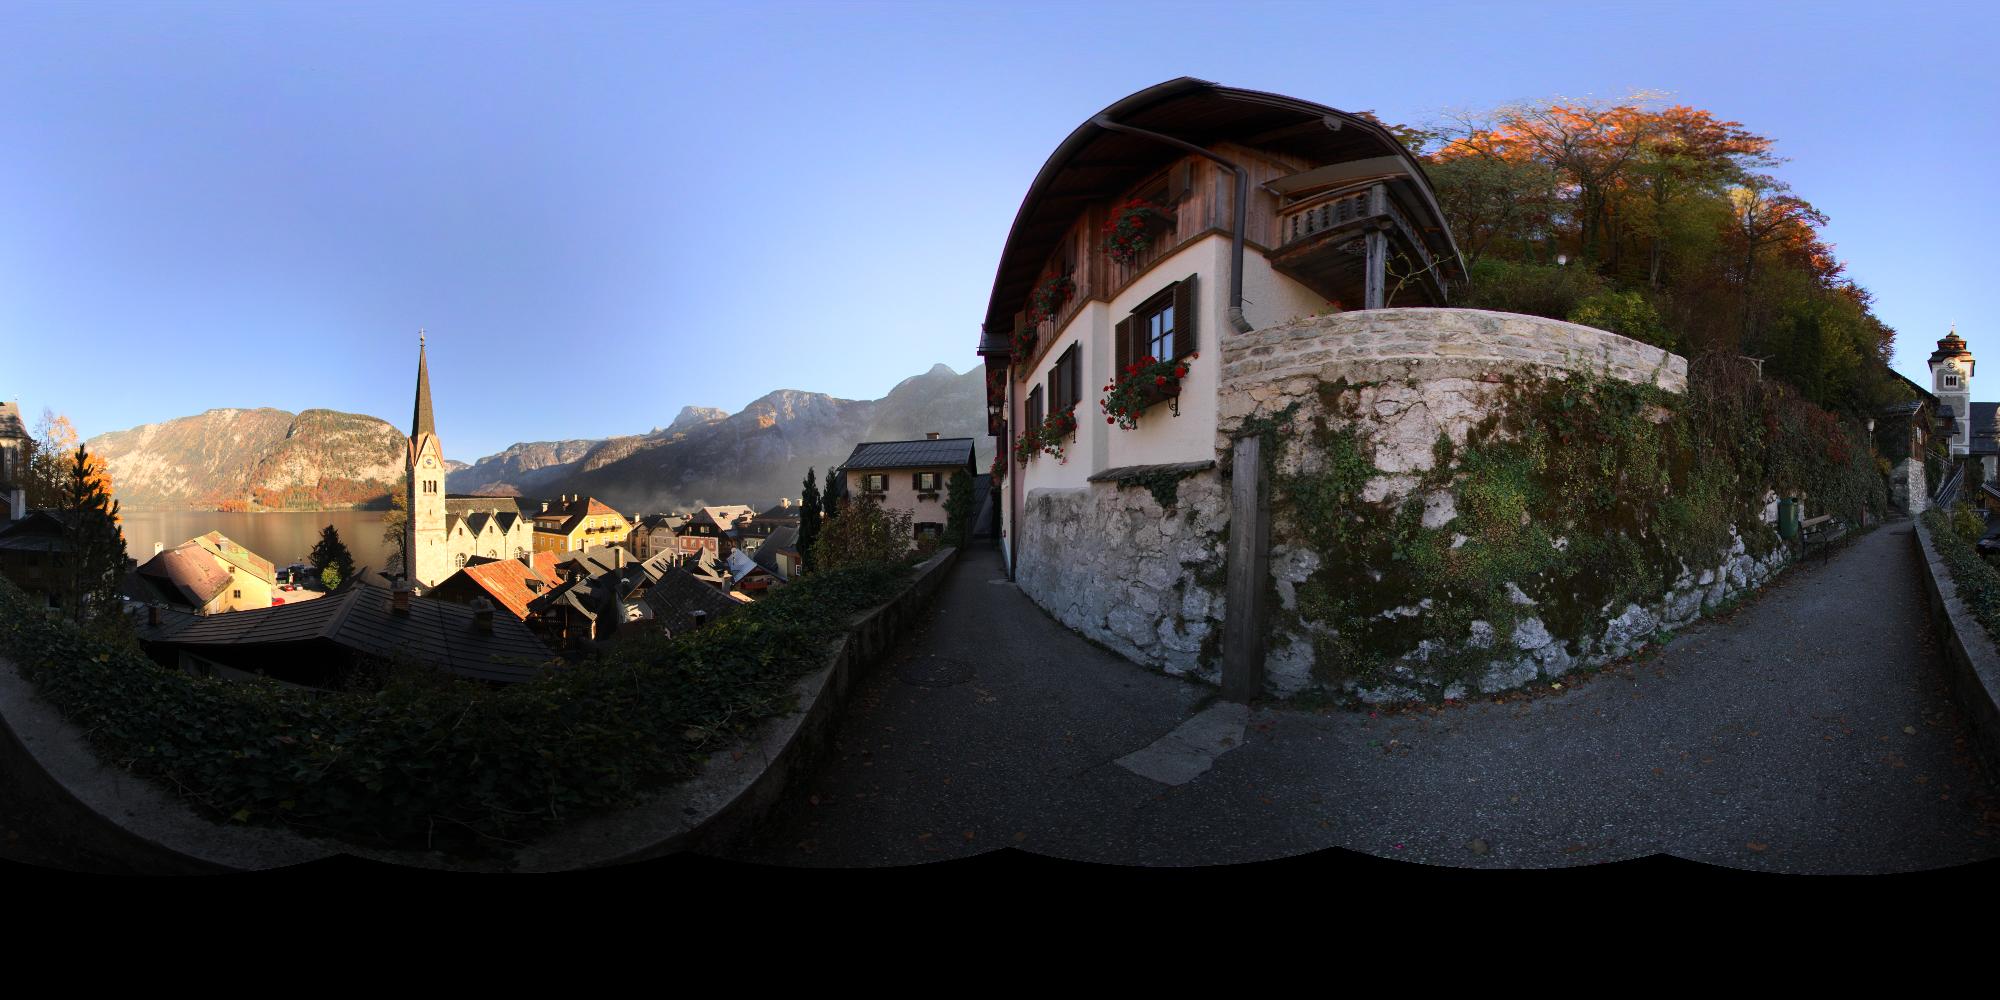
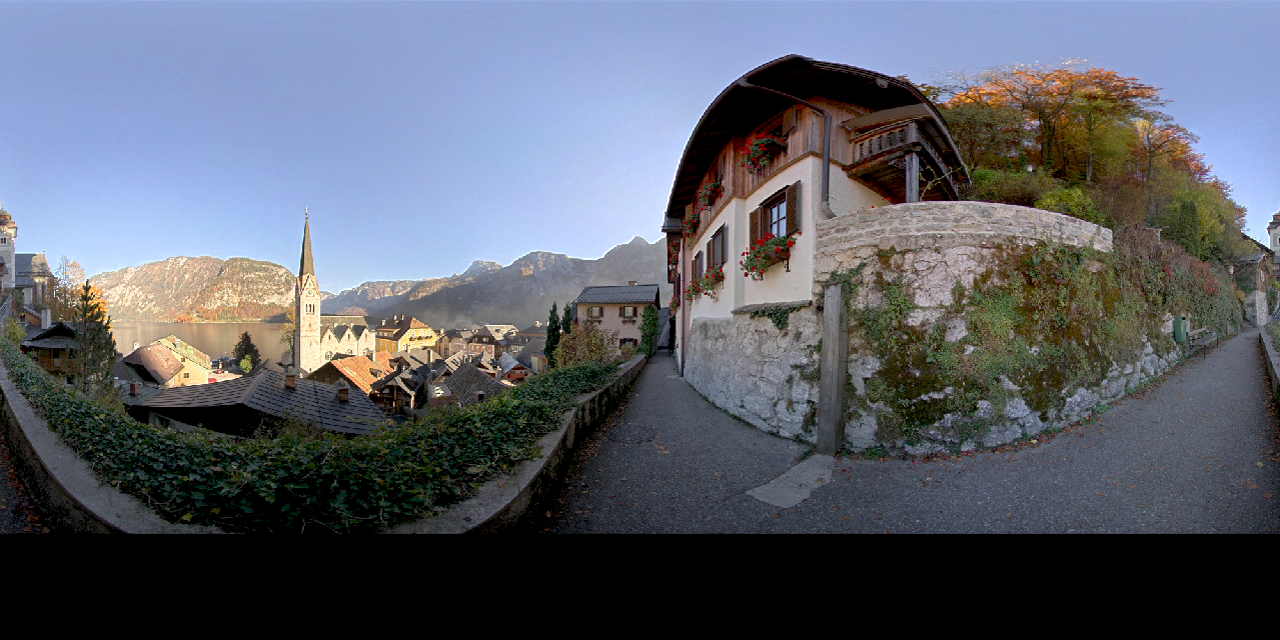
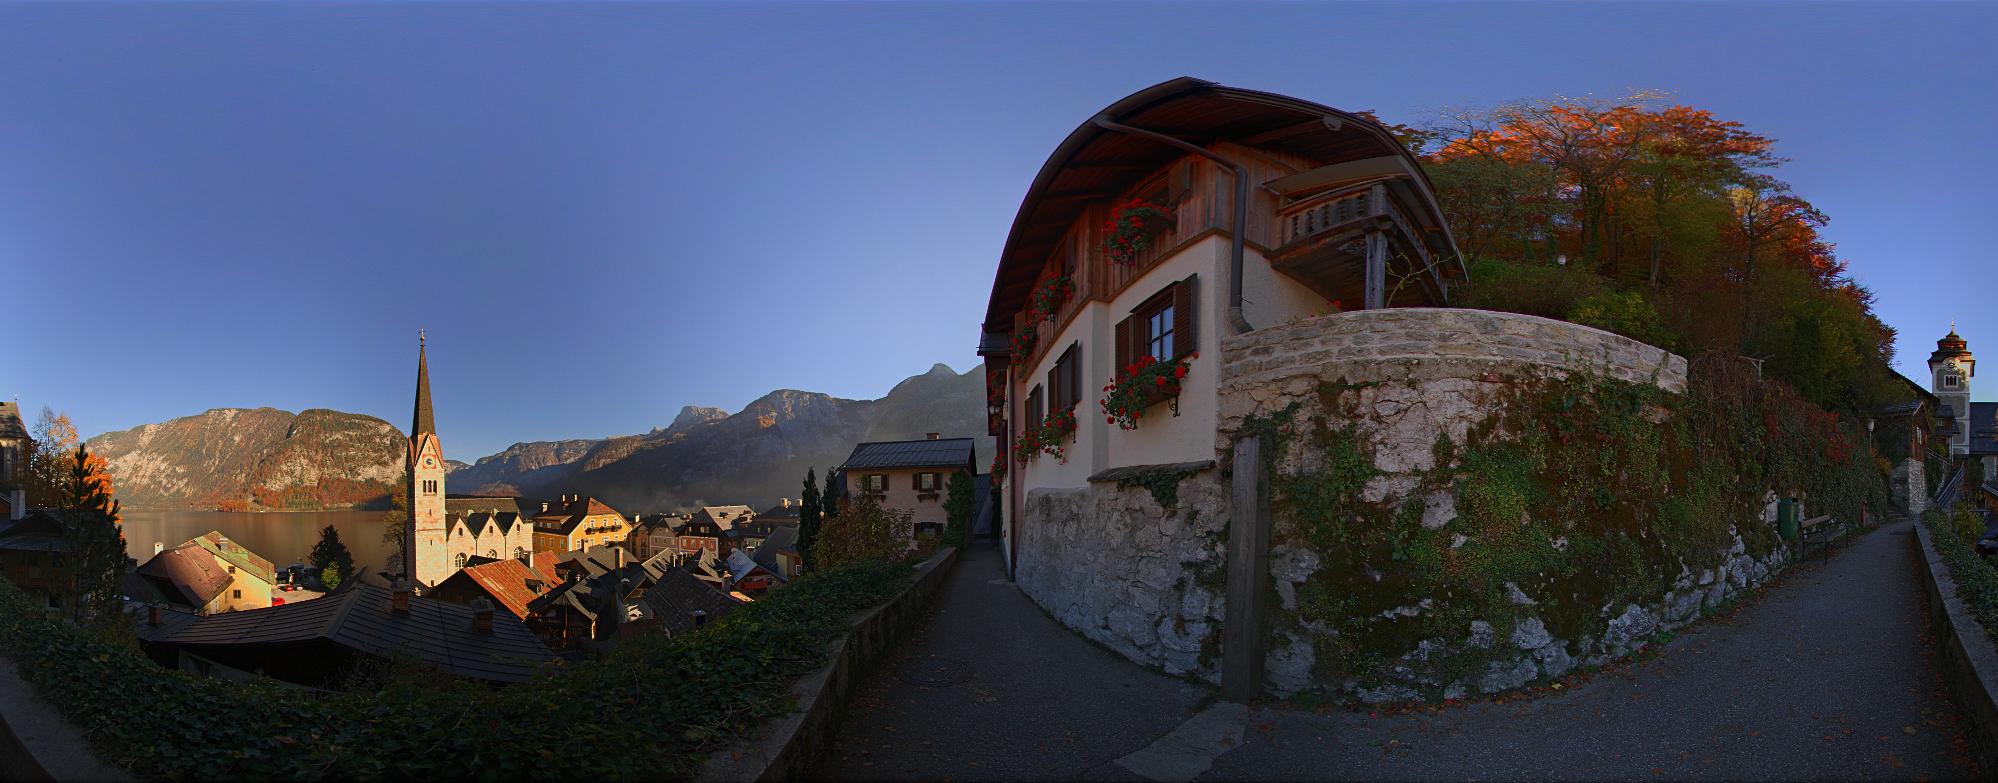
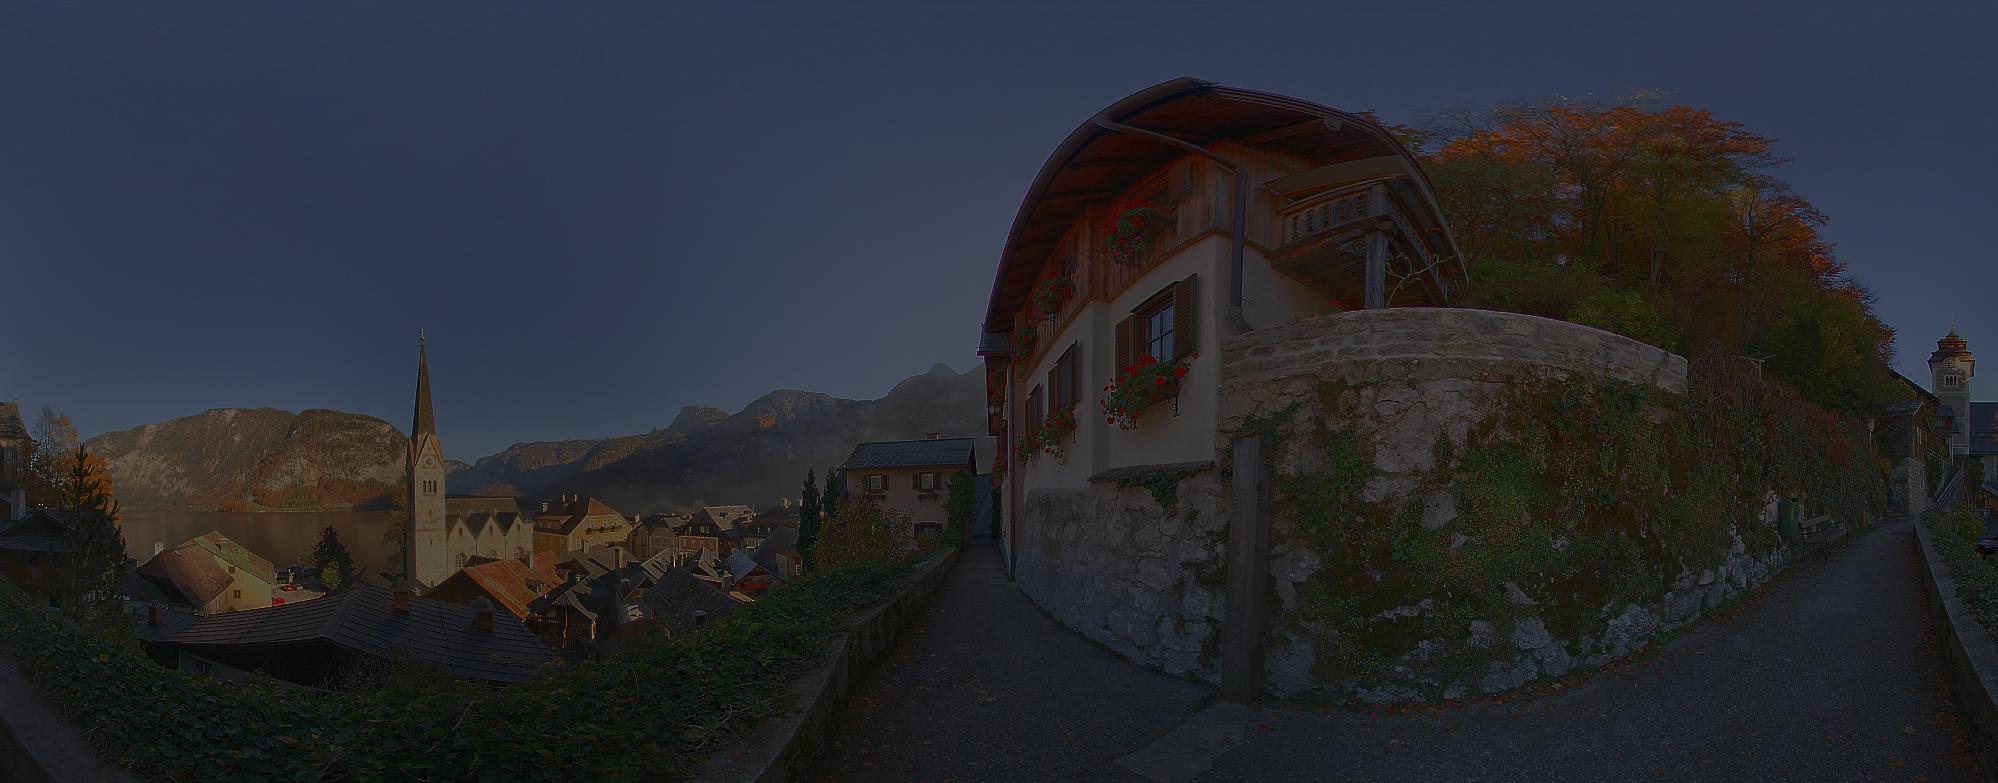
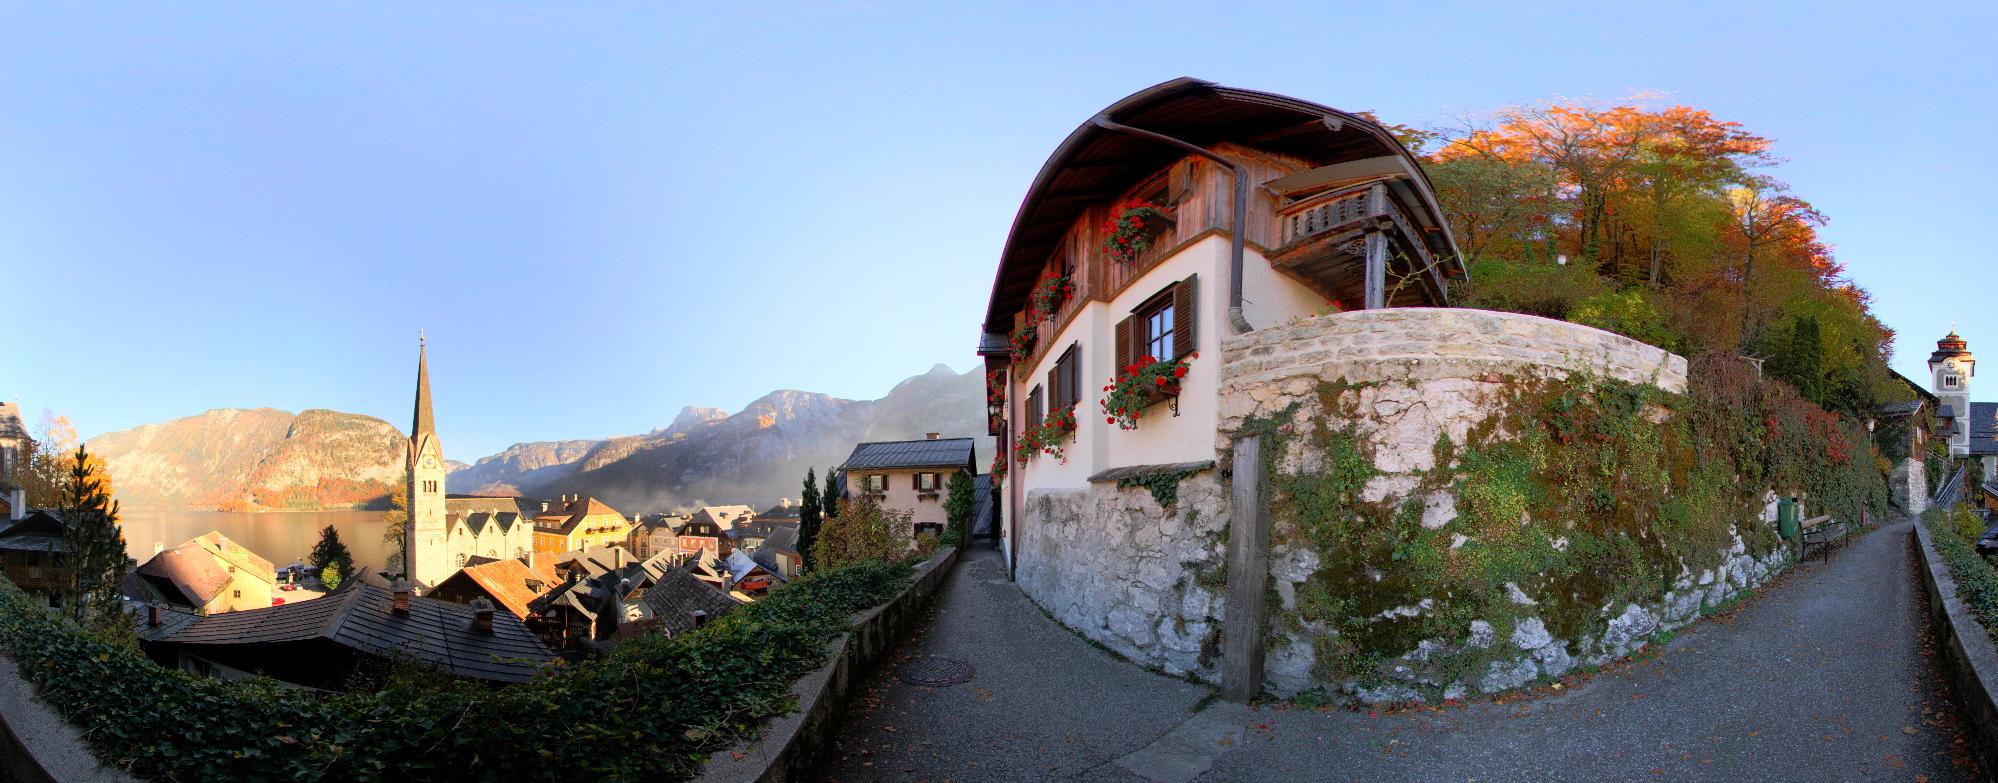
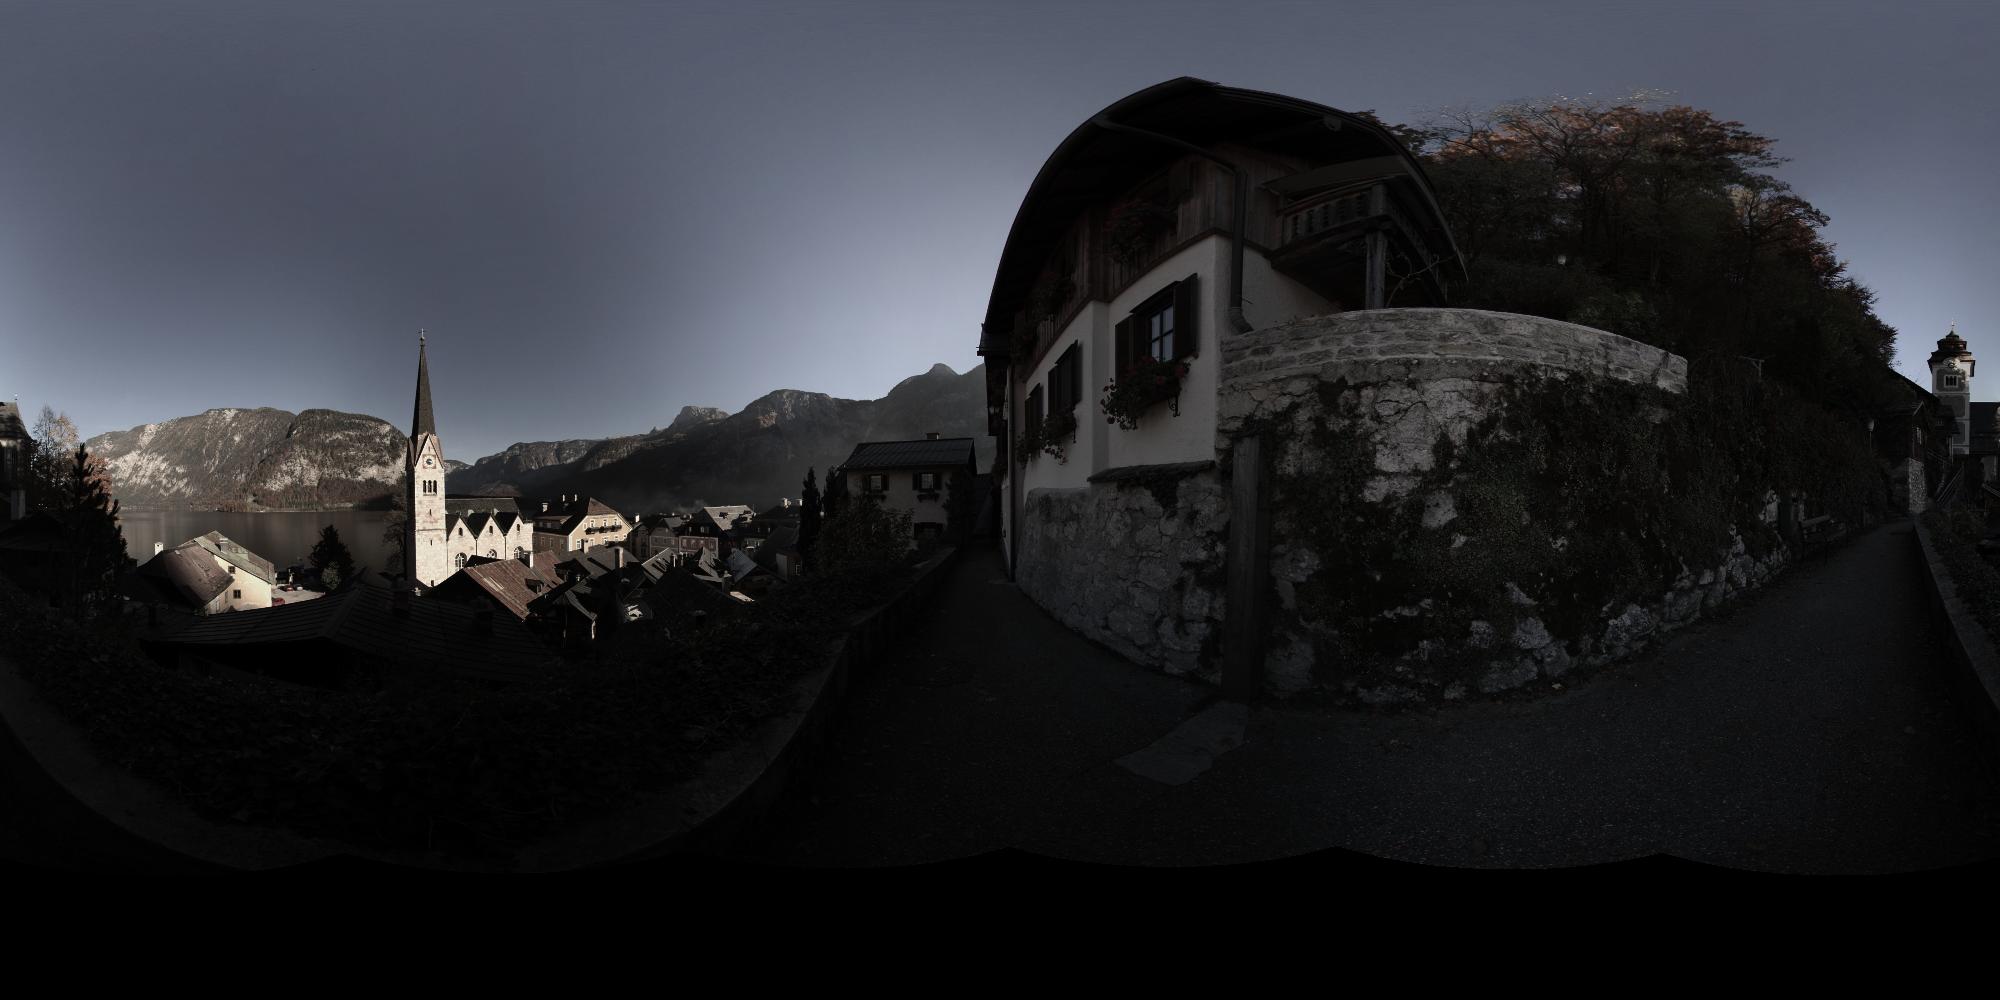
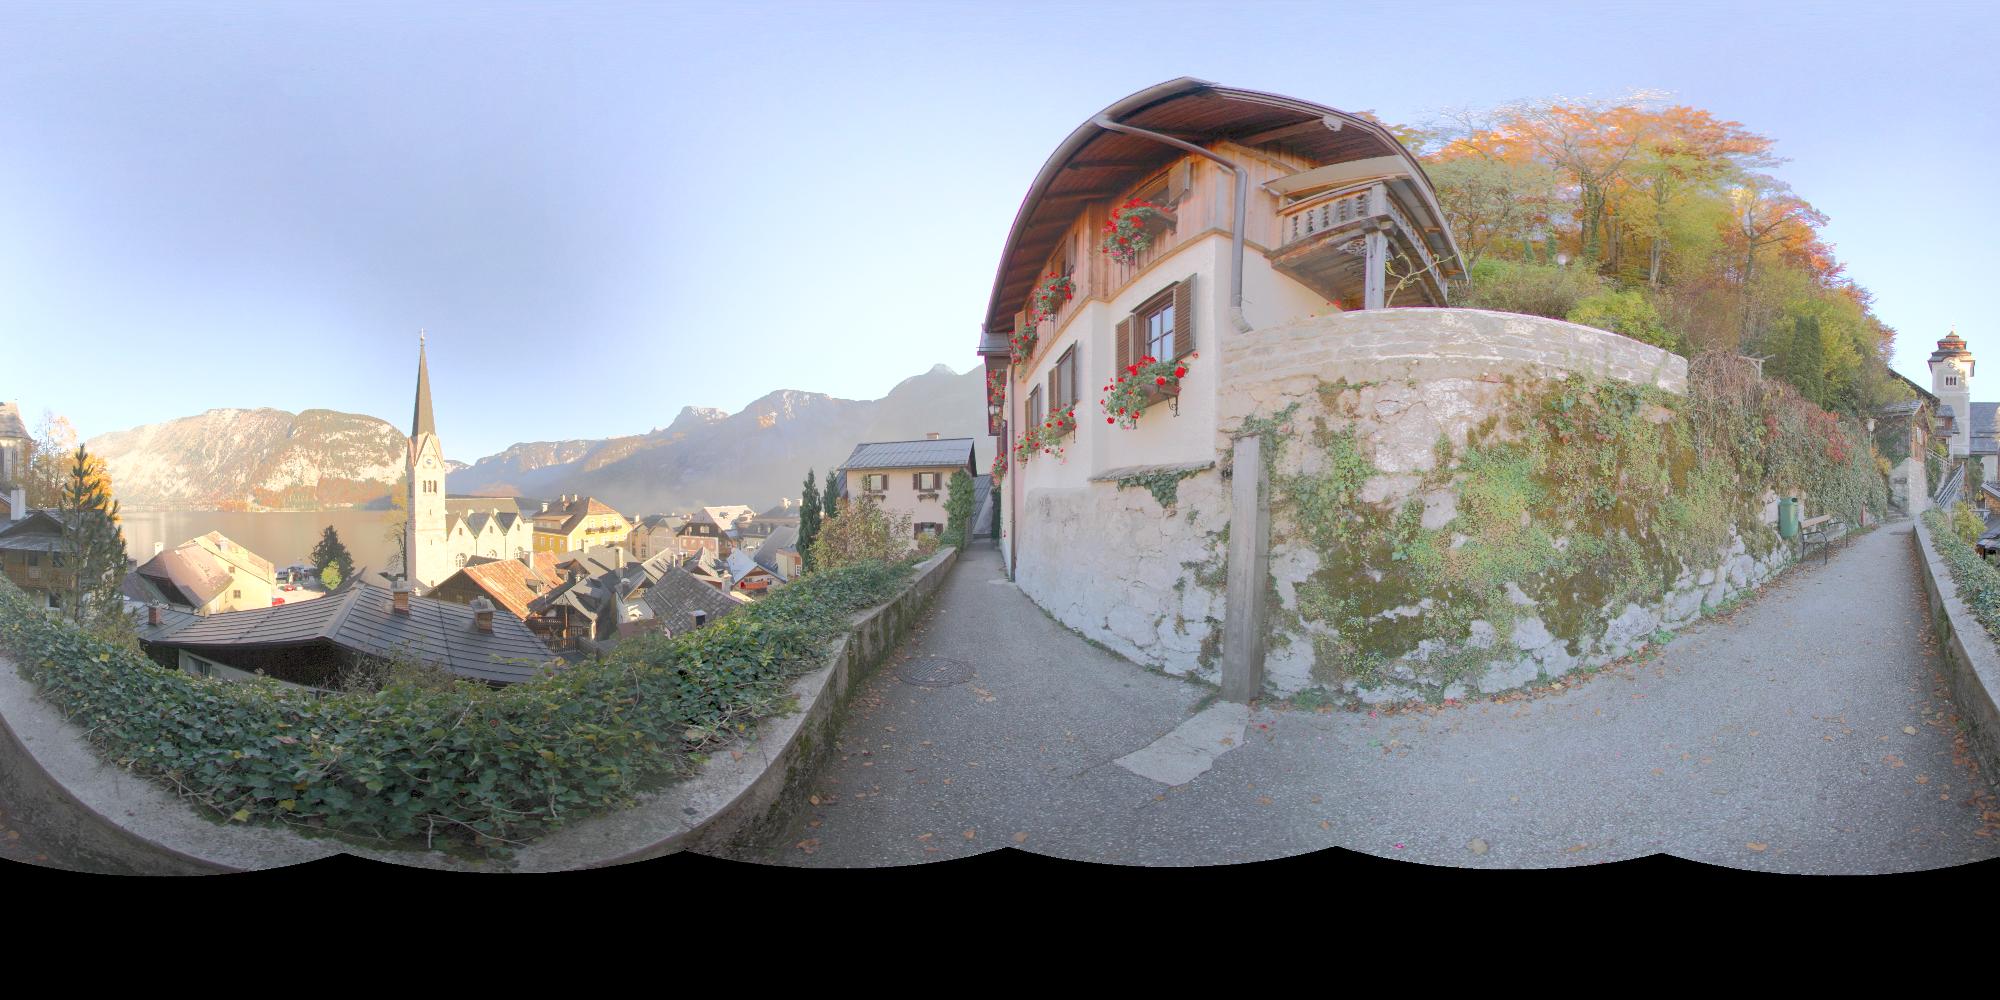
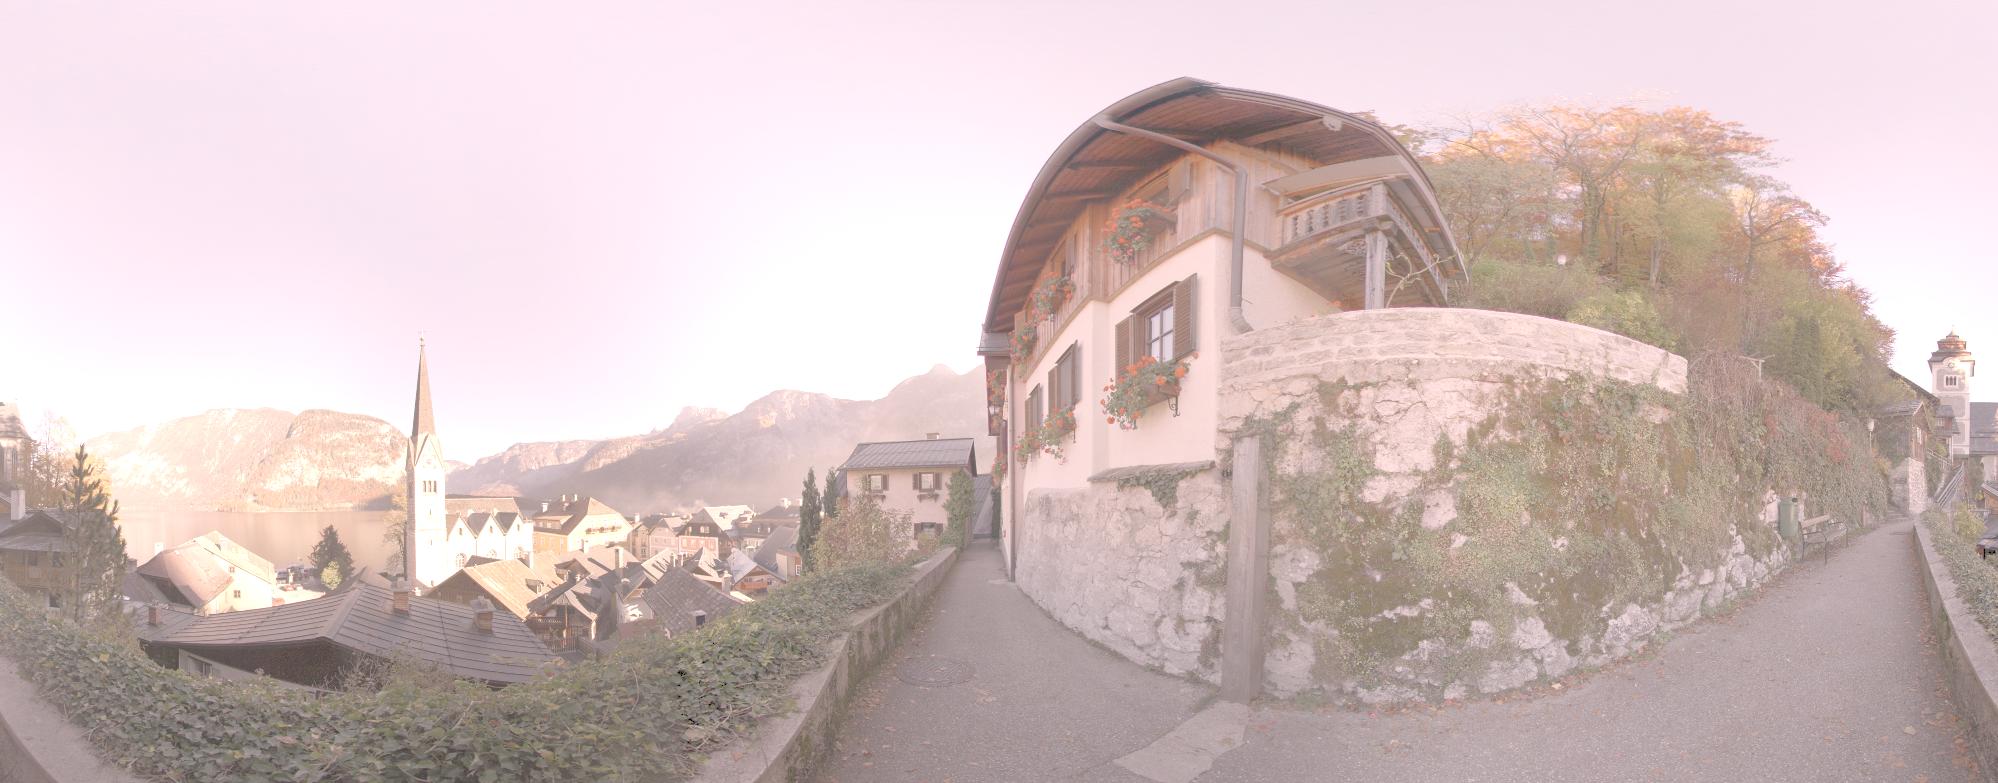
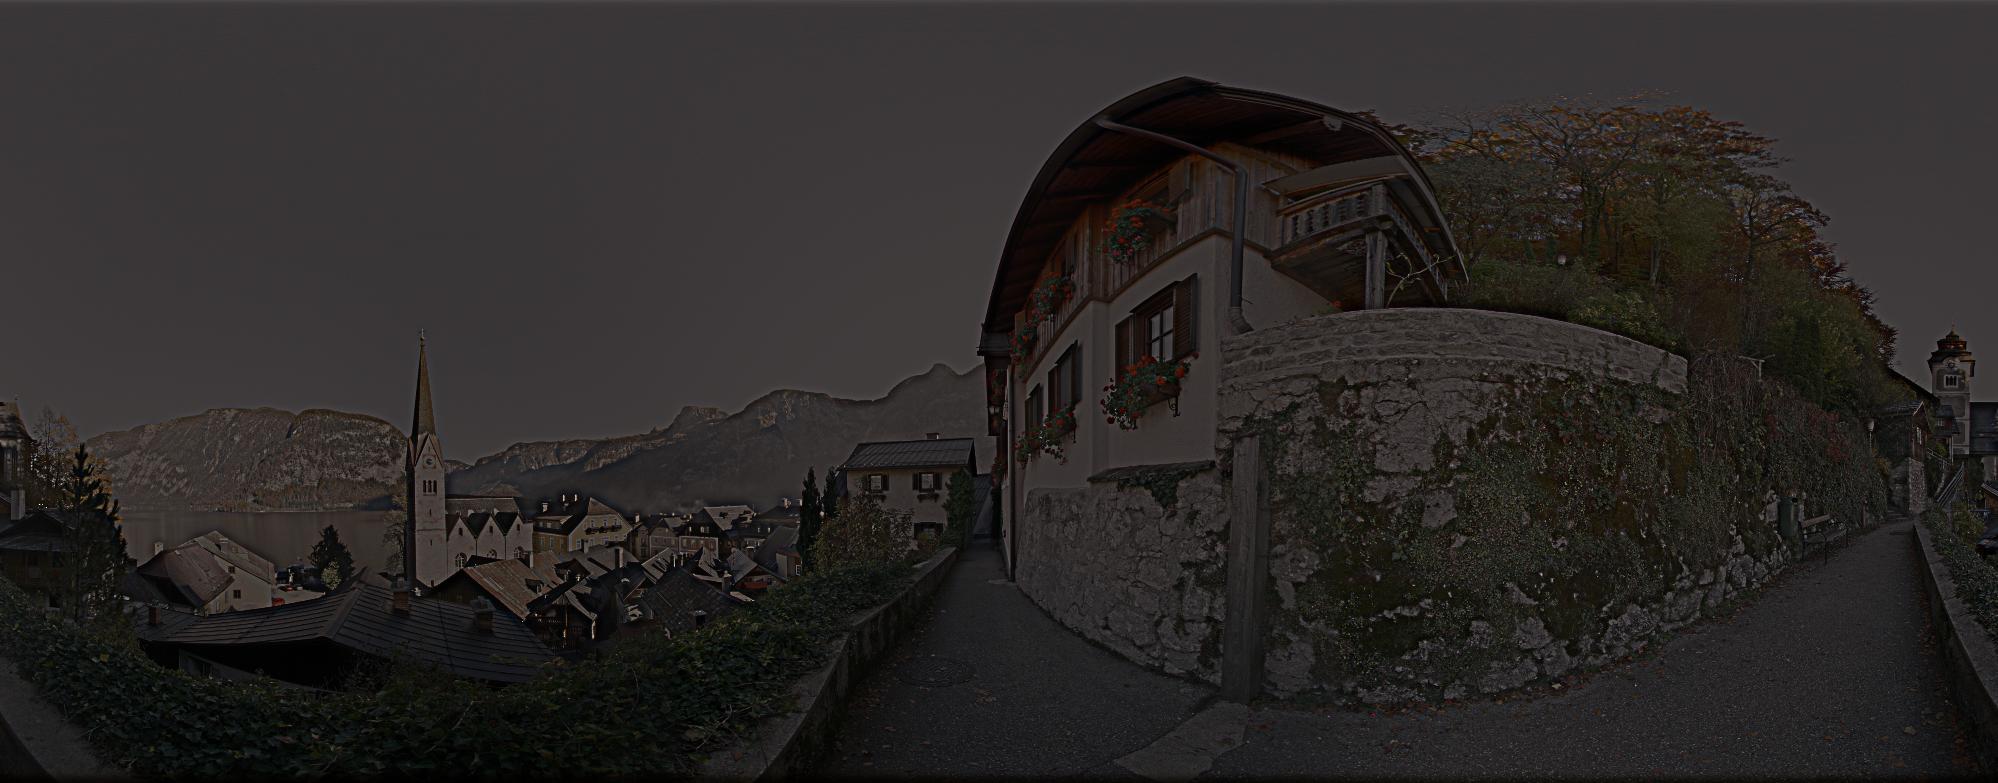
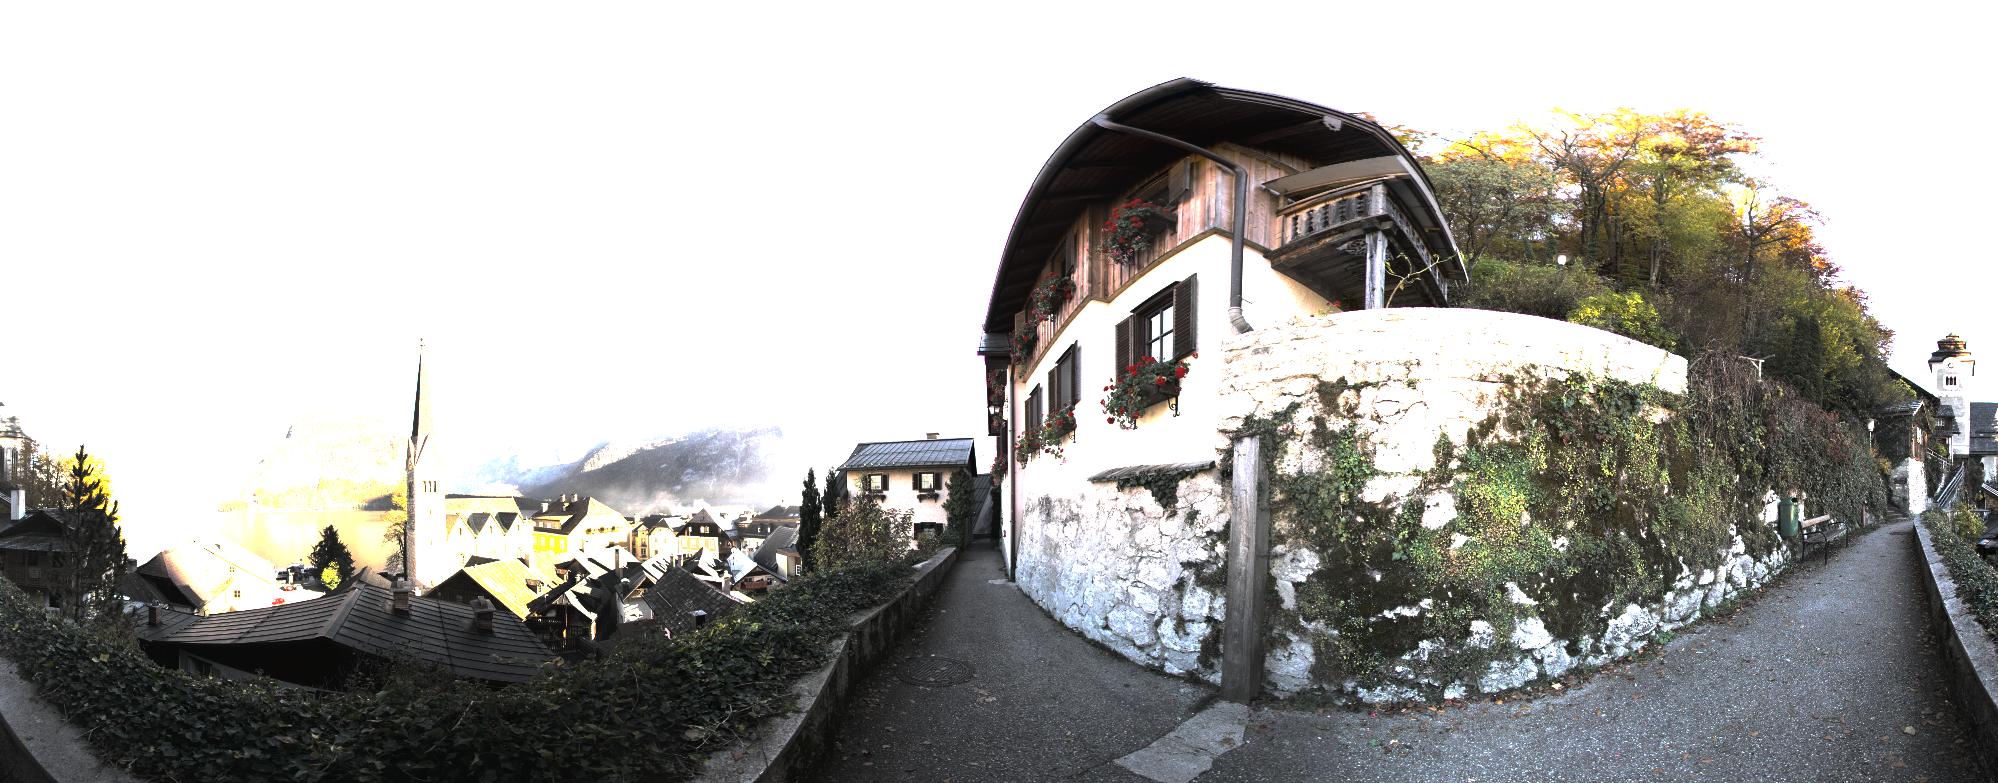
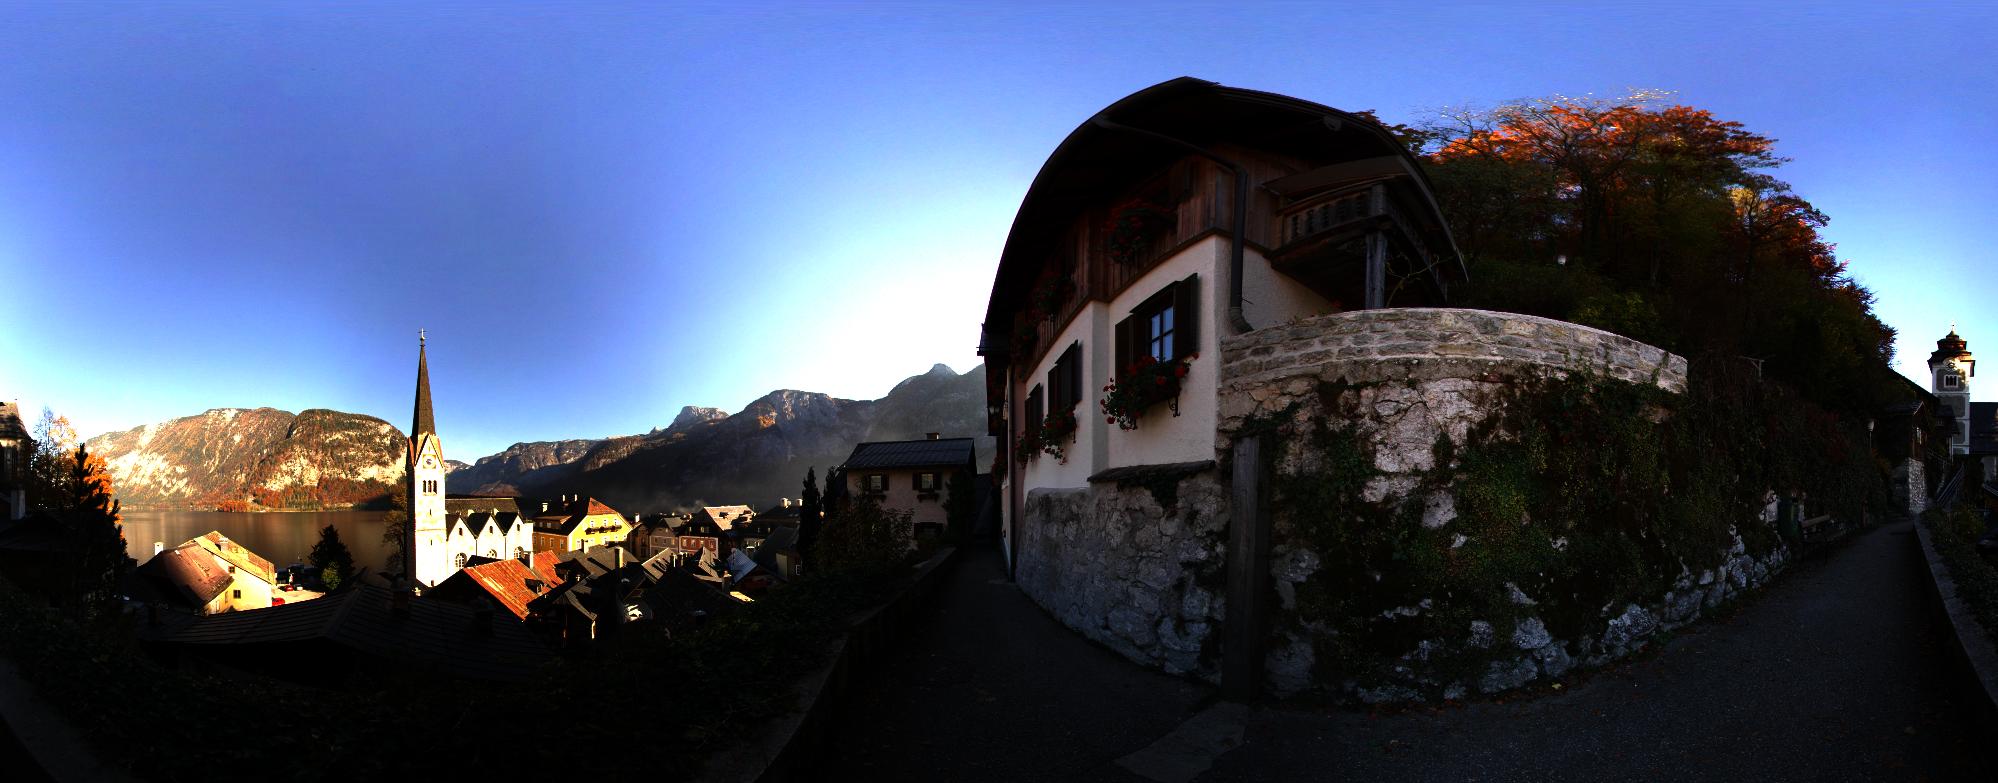
 Highlight & Shadow Details (click image to open panorama) |
Exposure Blending
("Highlight and Shadow Details" in
Photomatix terminology): The pixel values of each input image are compared. The pixel value of the picture that is neither under- nor overexposed will be used for the final image. |
|||||||||||||||||||||||||||||||||||||||||||||||||||||||||||||||||||||||||||||||||||||||||||||||||||||||||||||||||||||||||||||||||||||||||||||||||||||
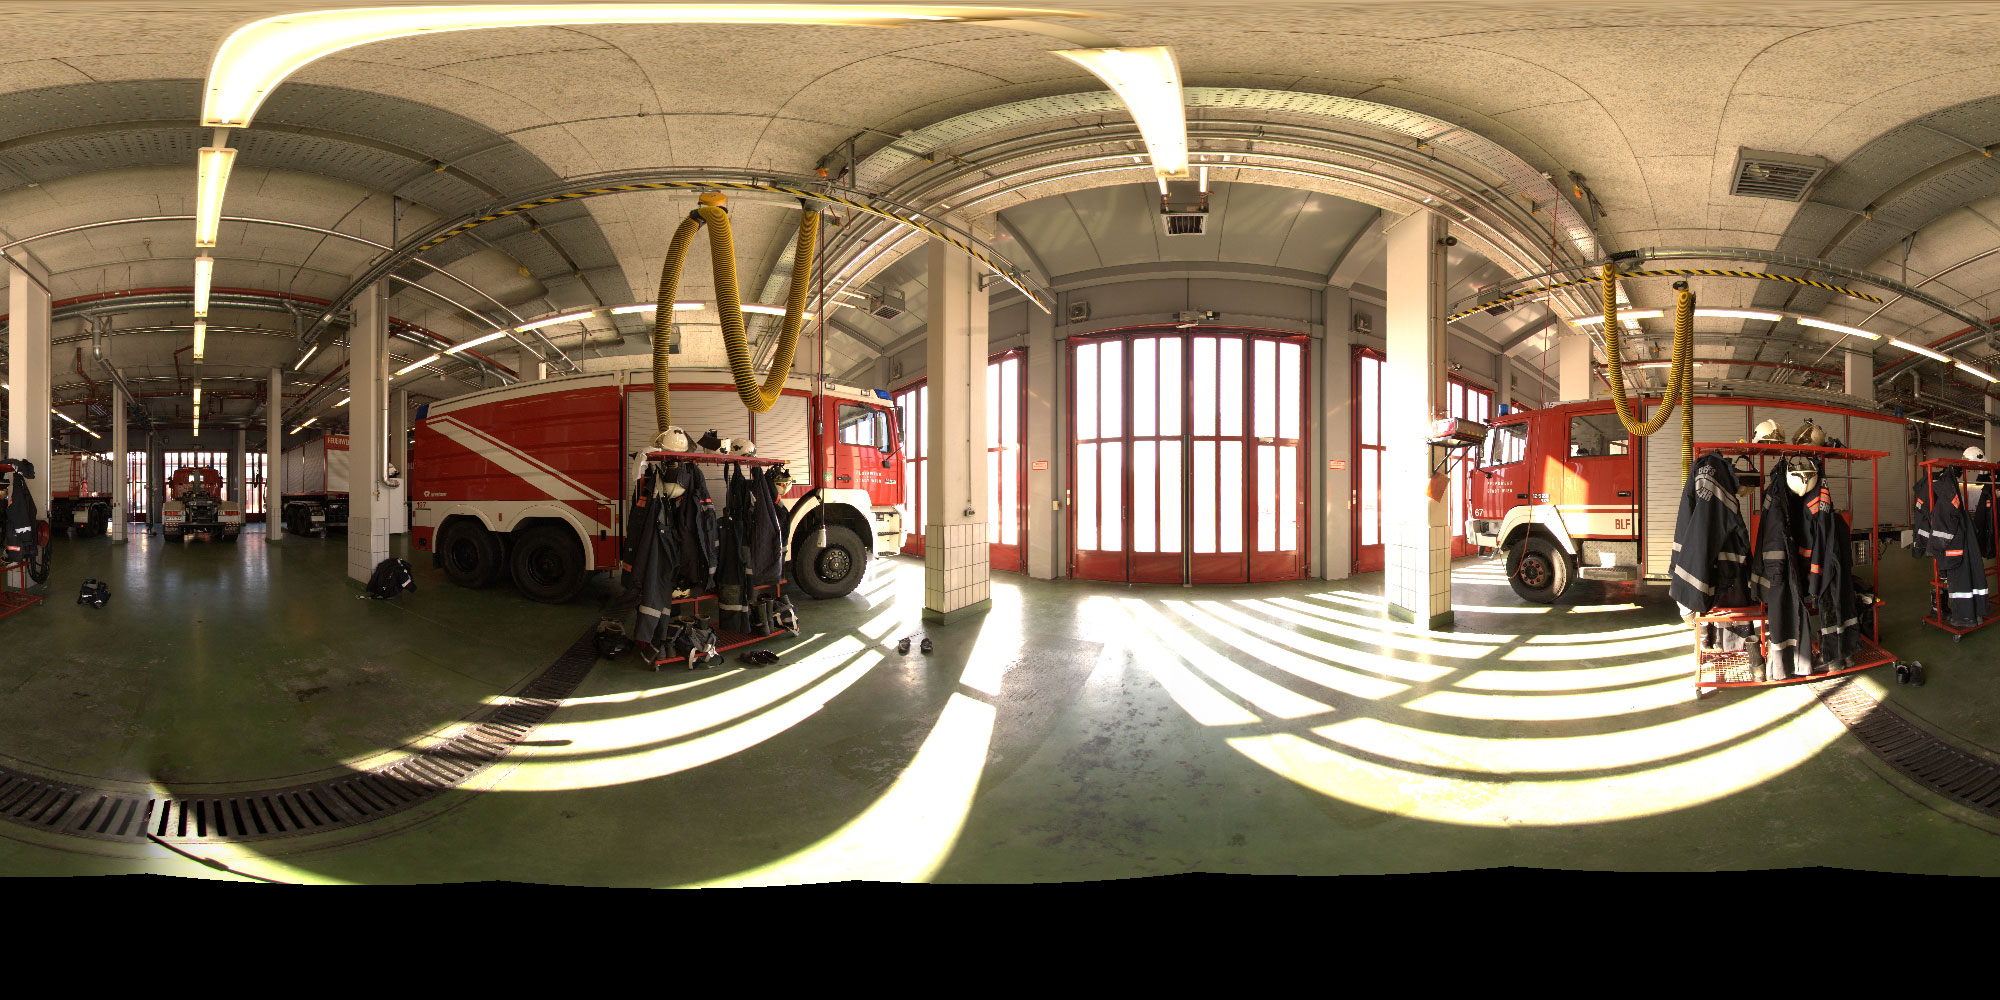
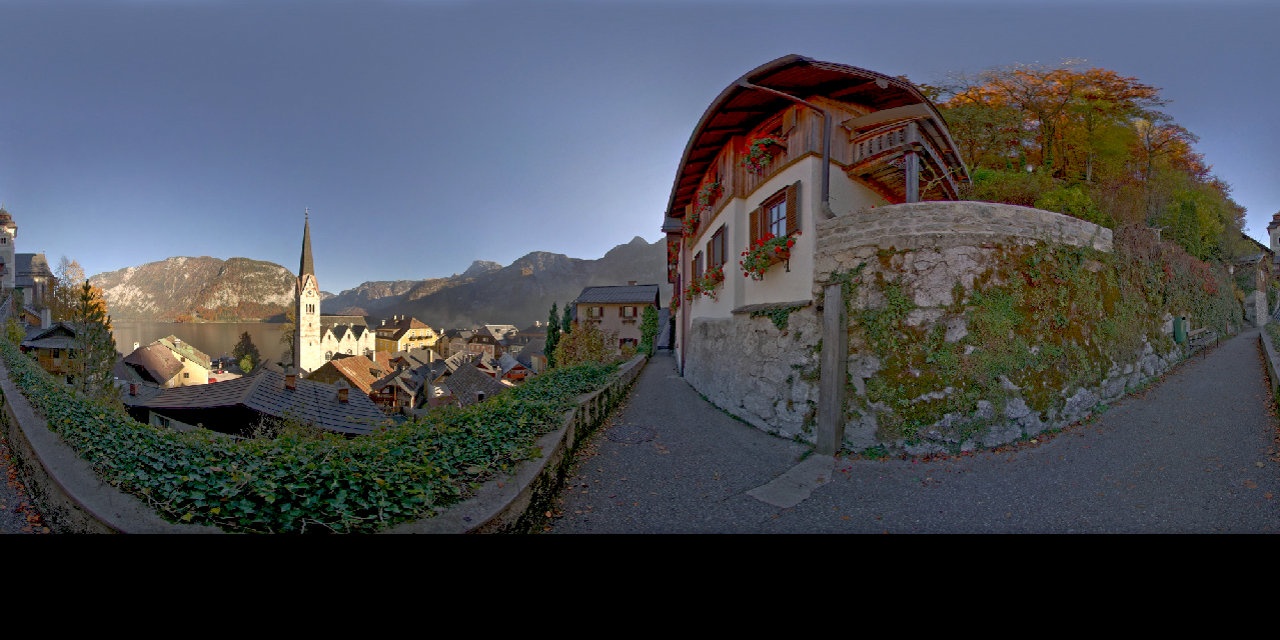
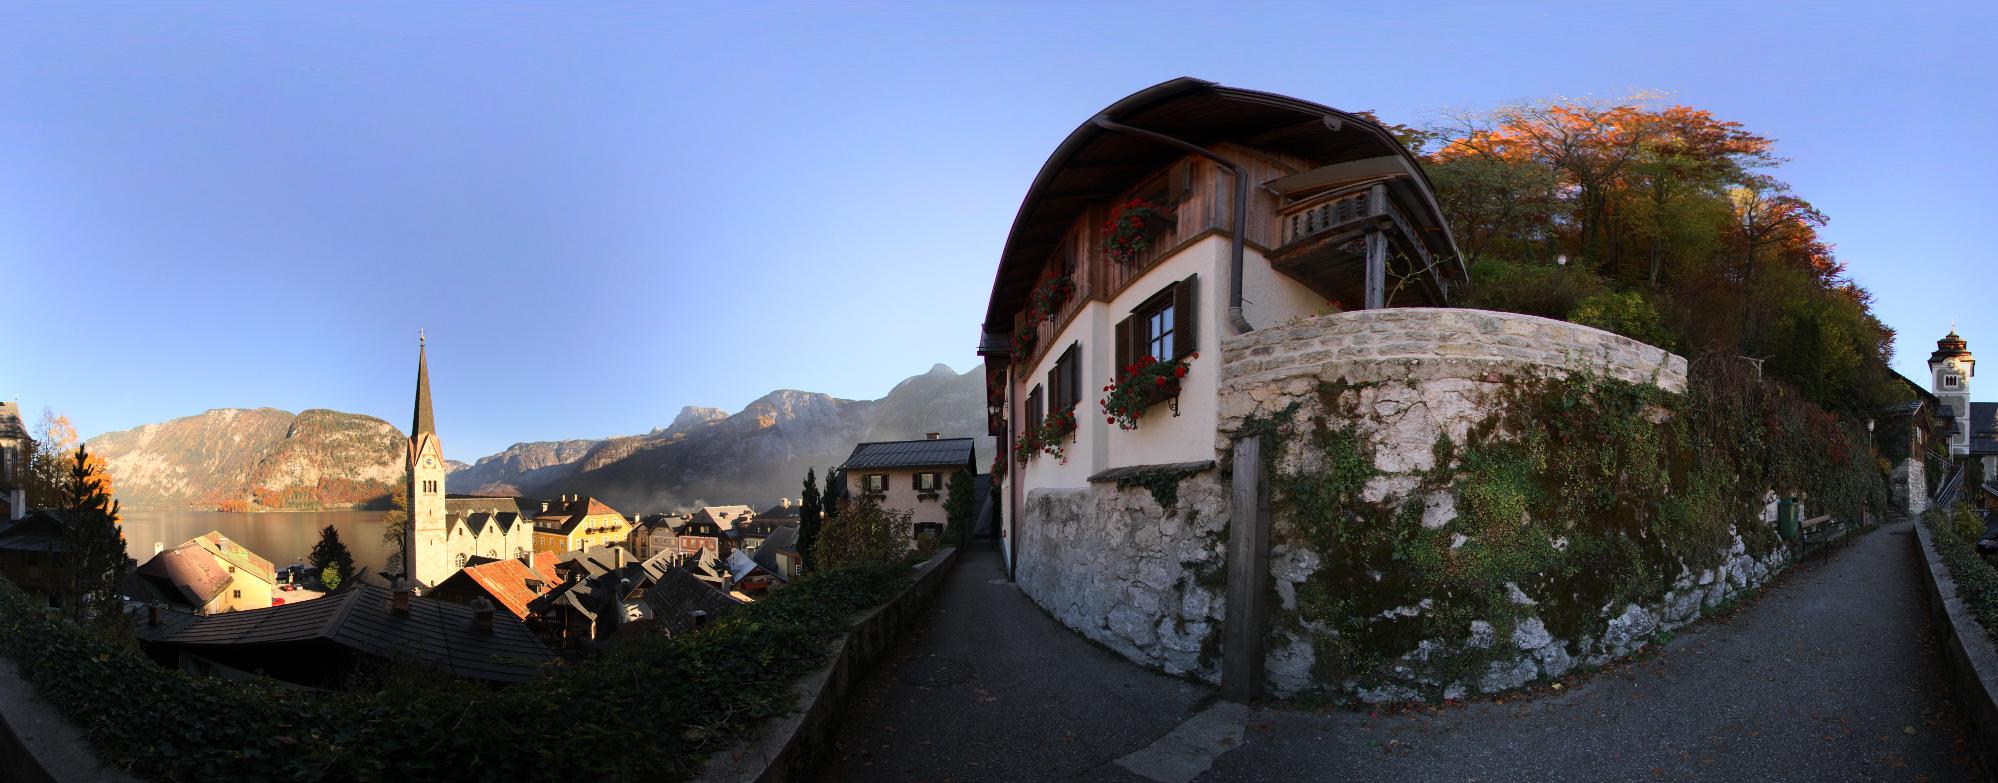
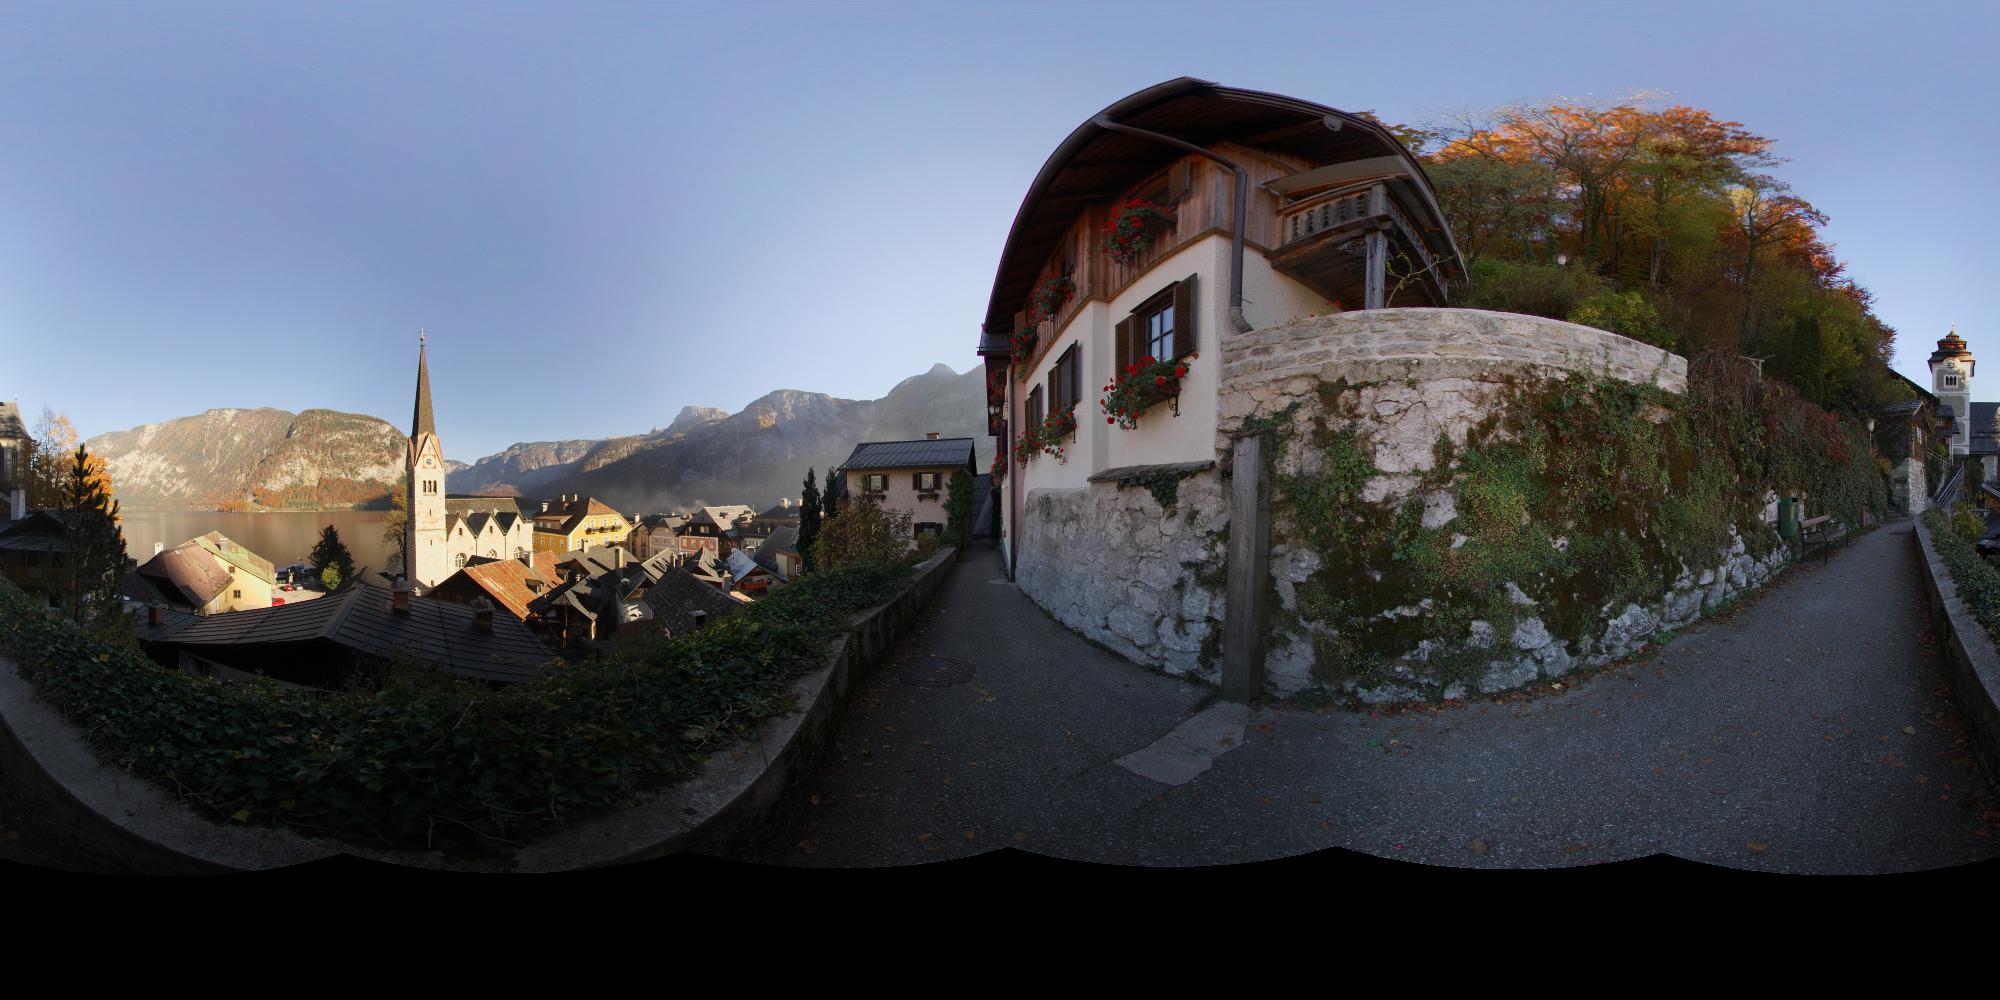
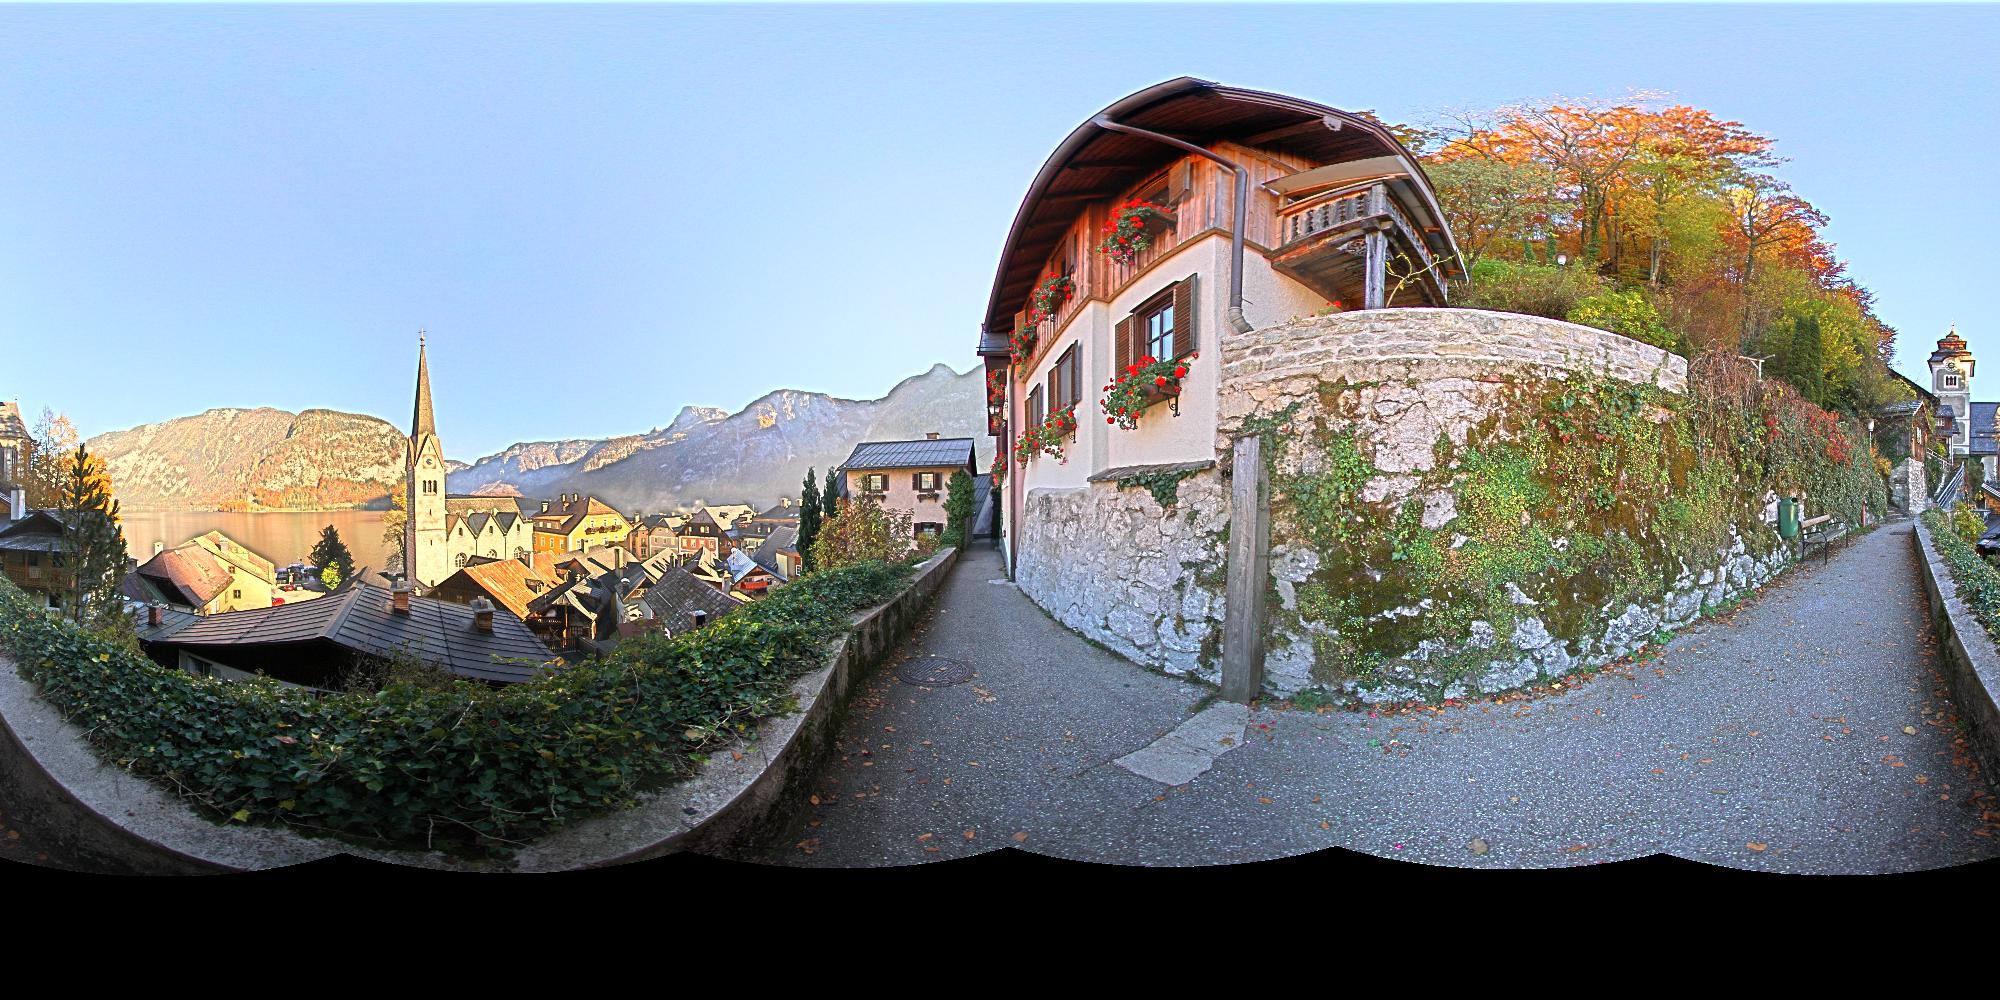
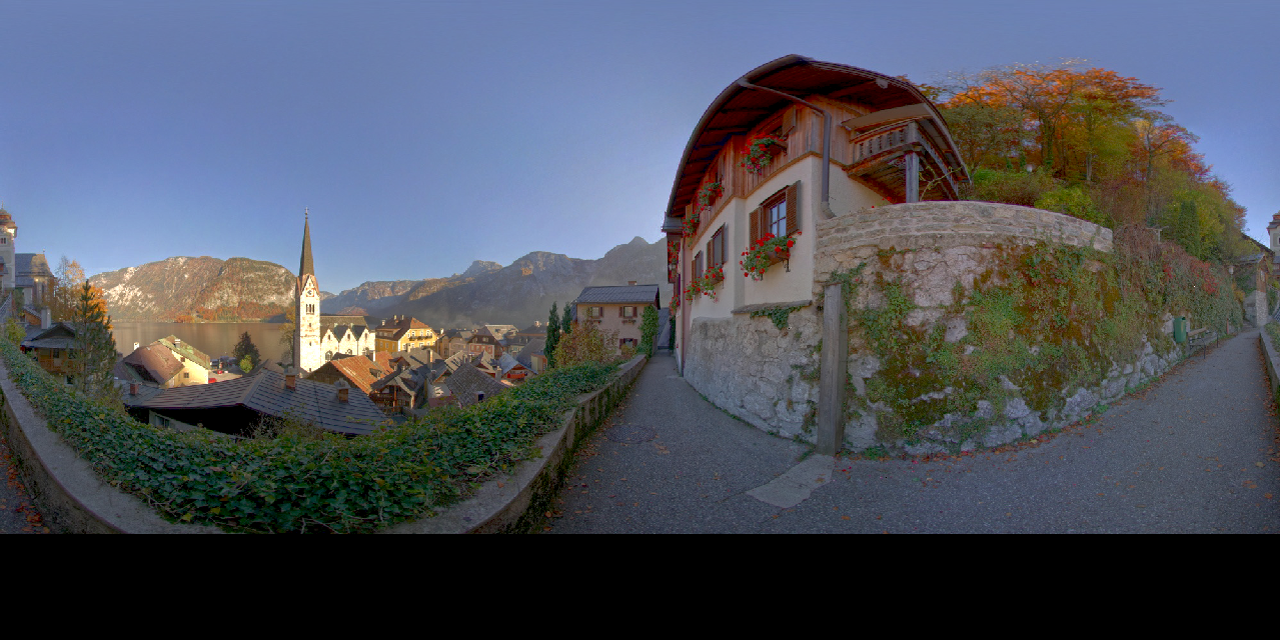
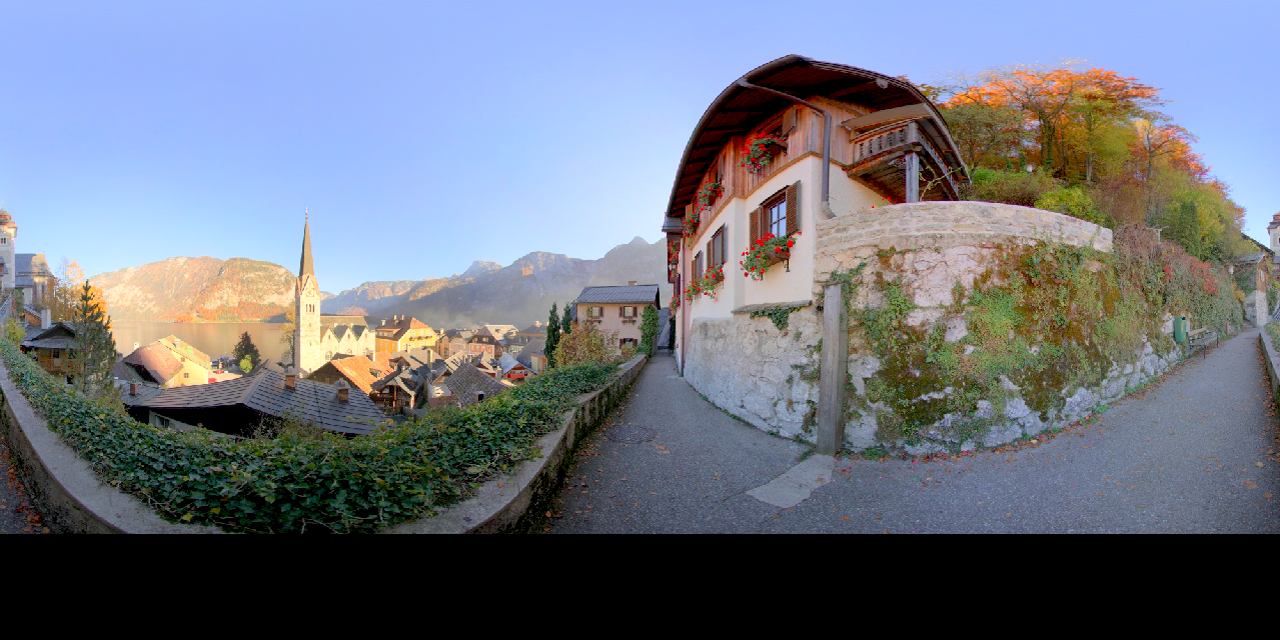
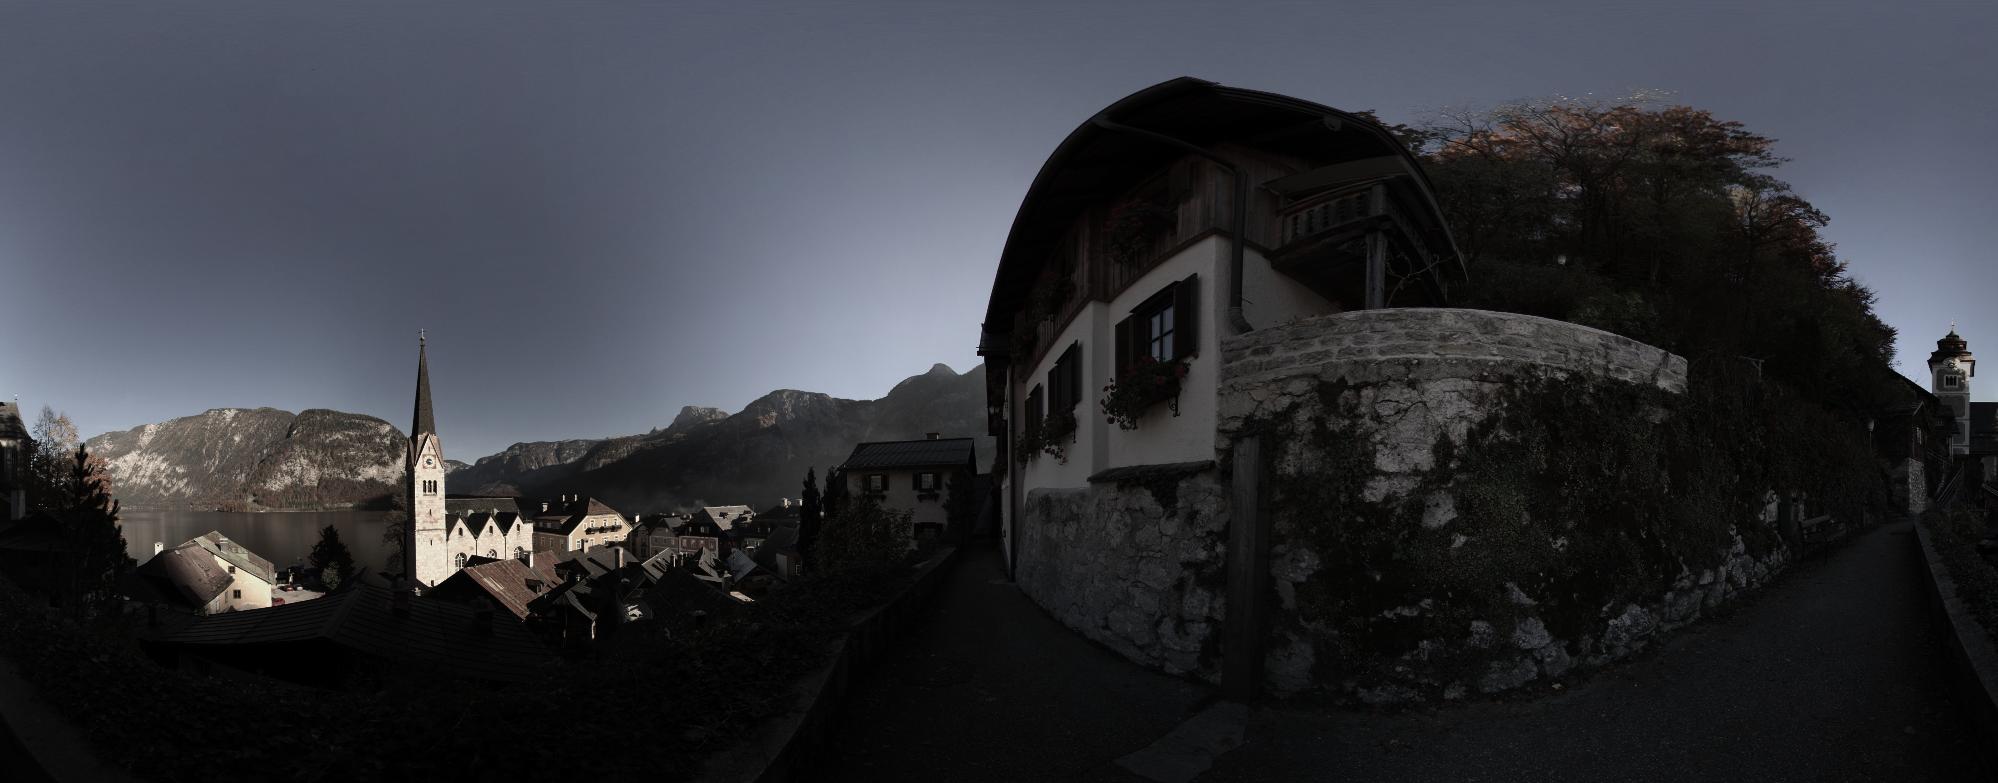
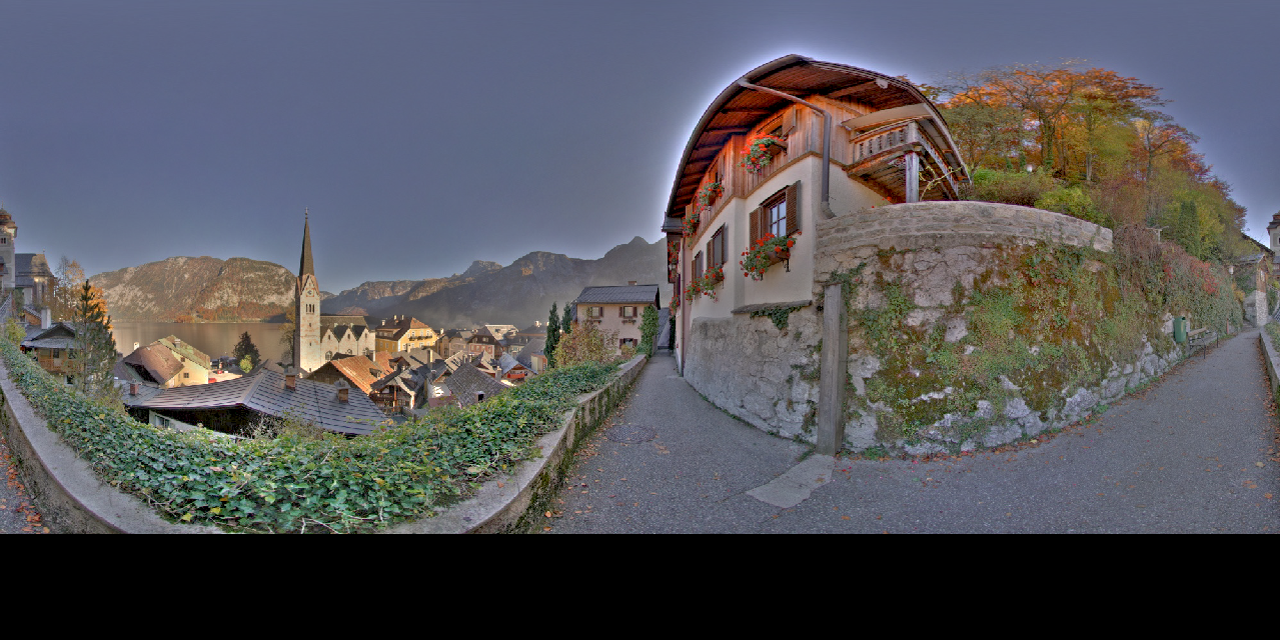
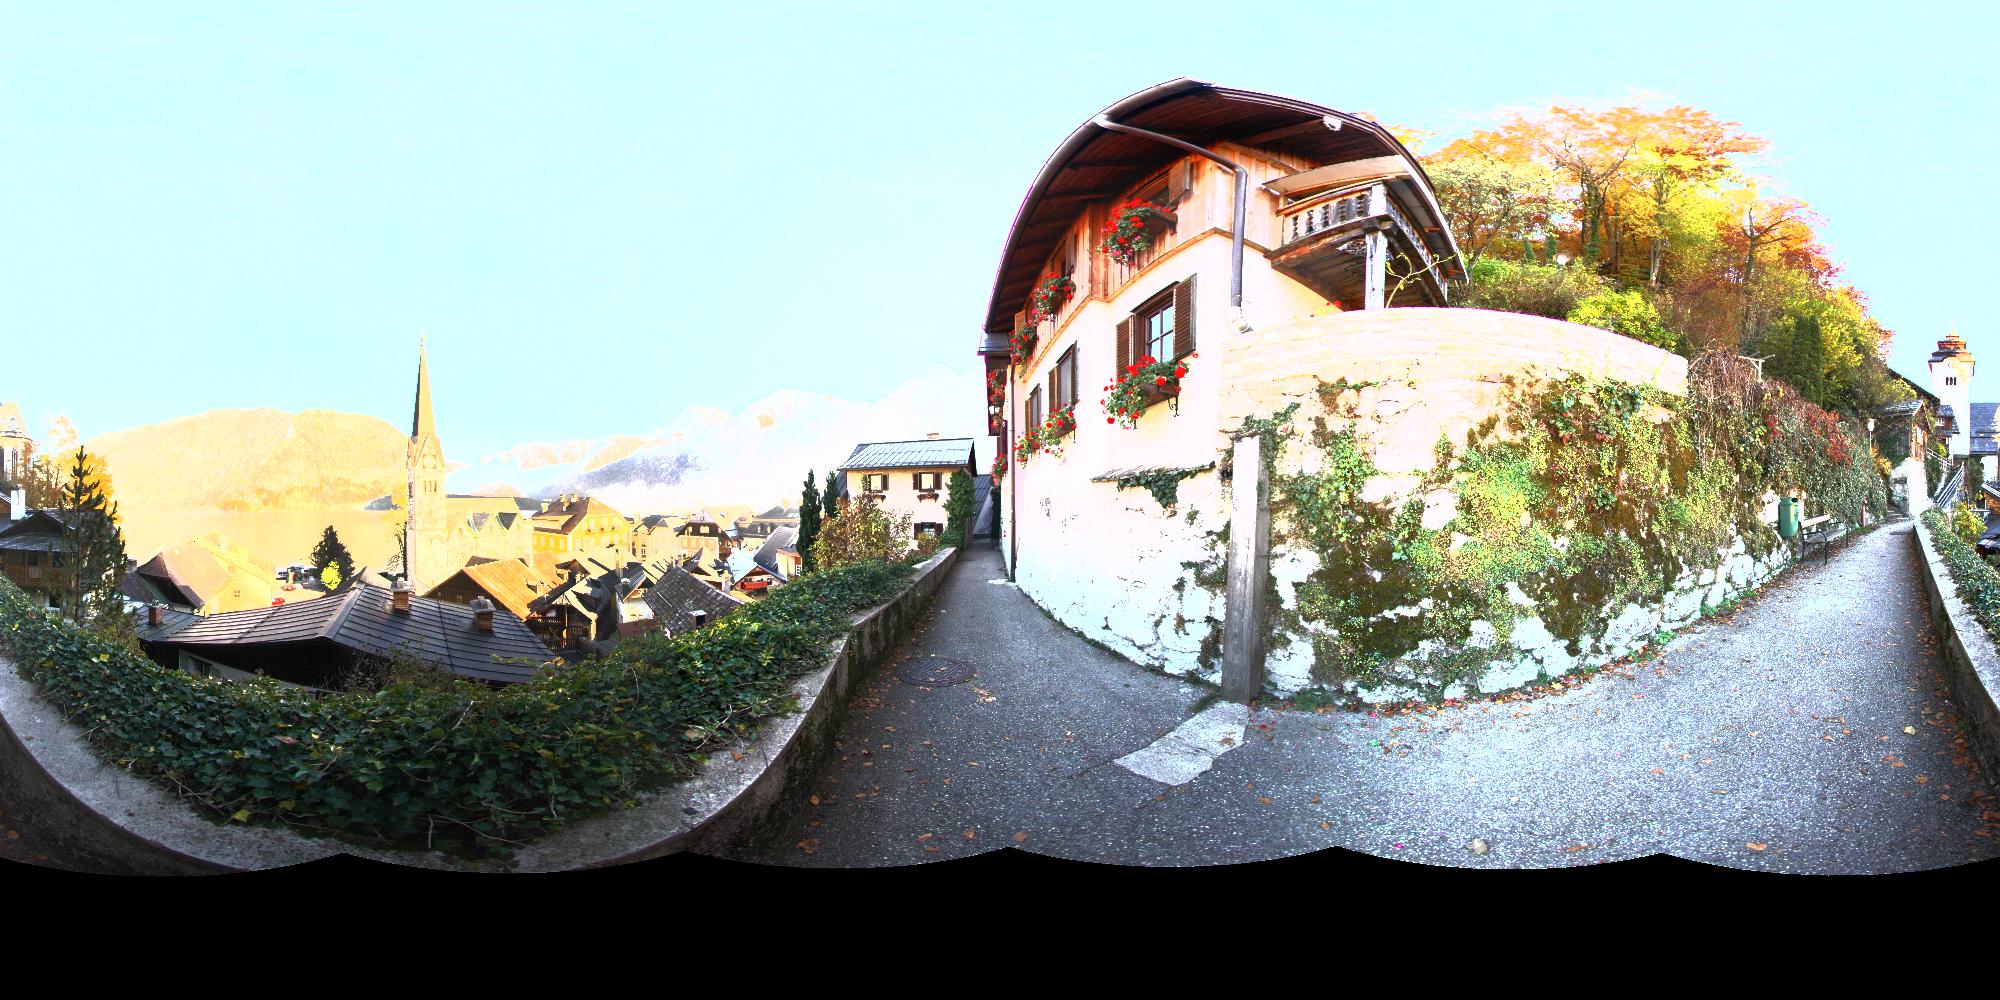
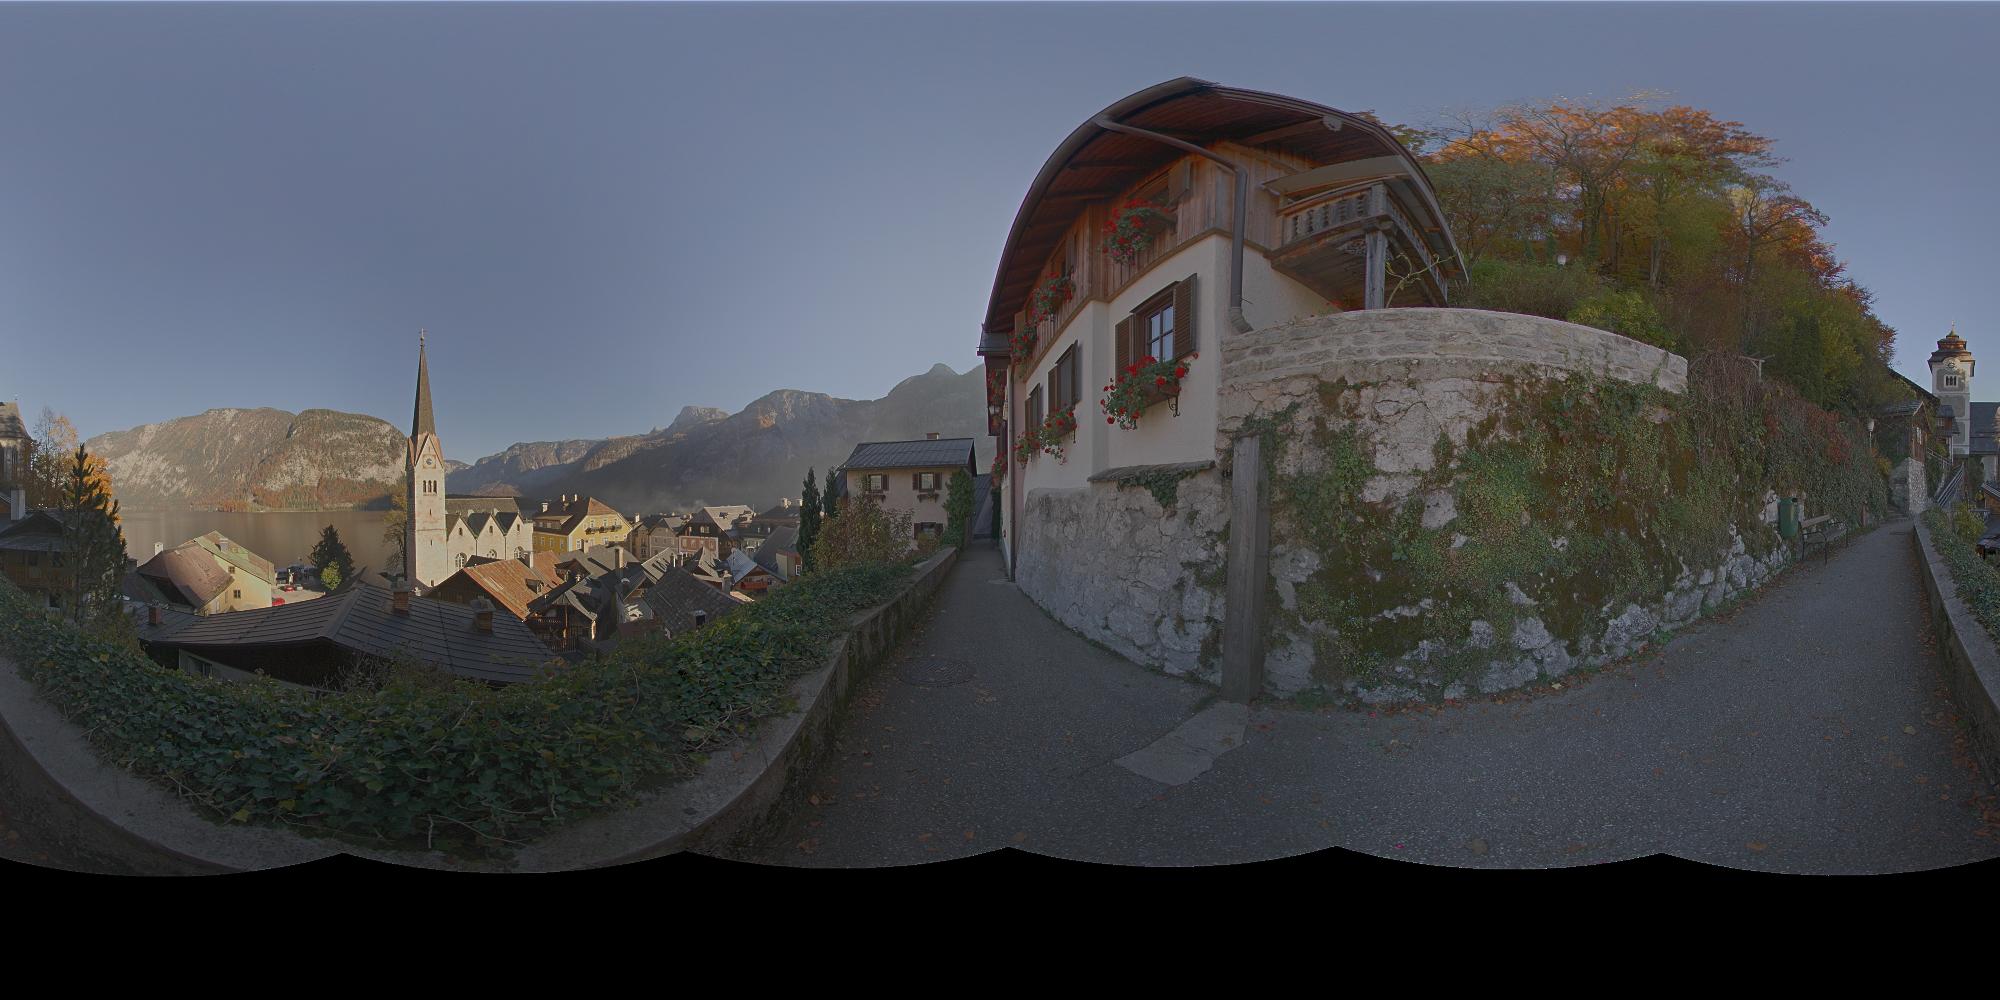
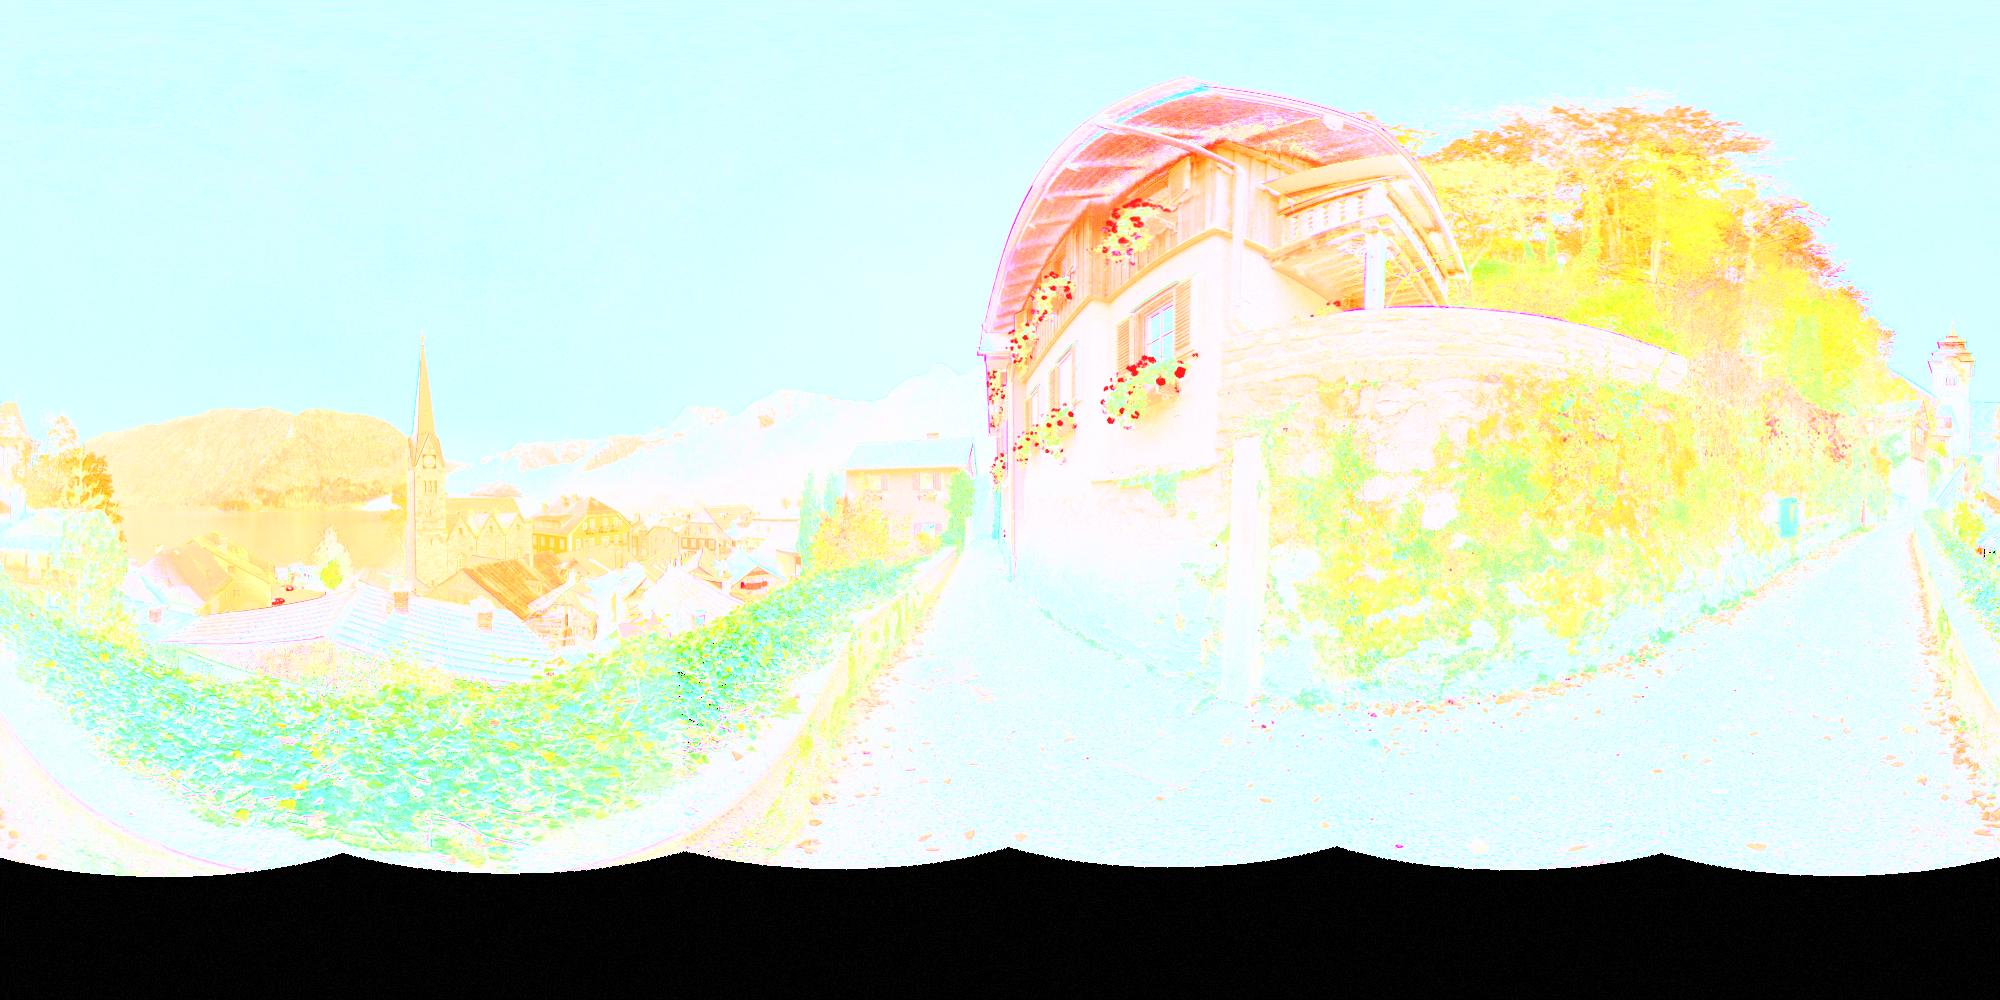
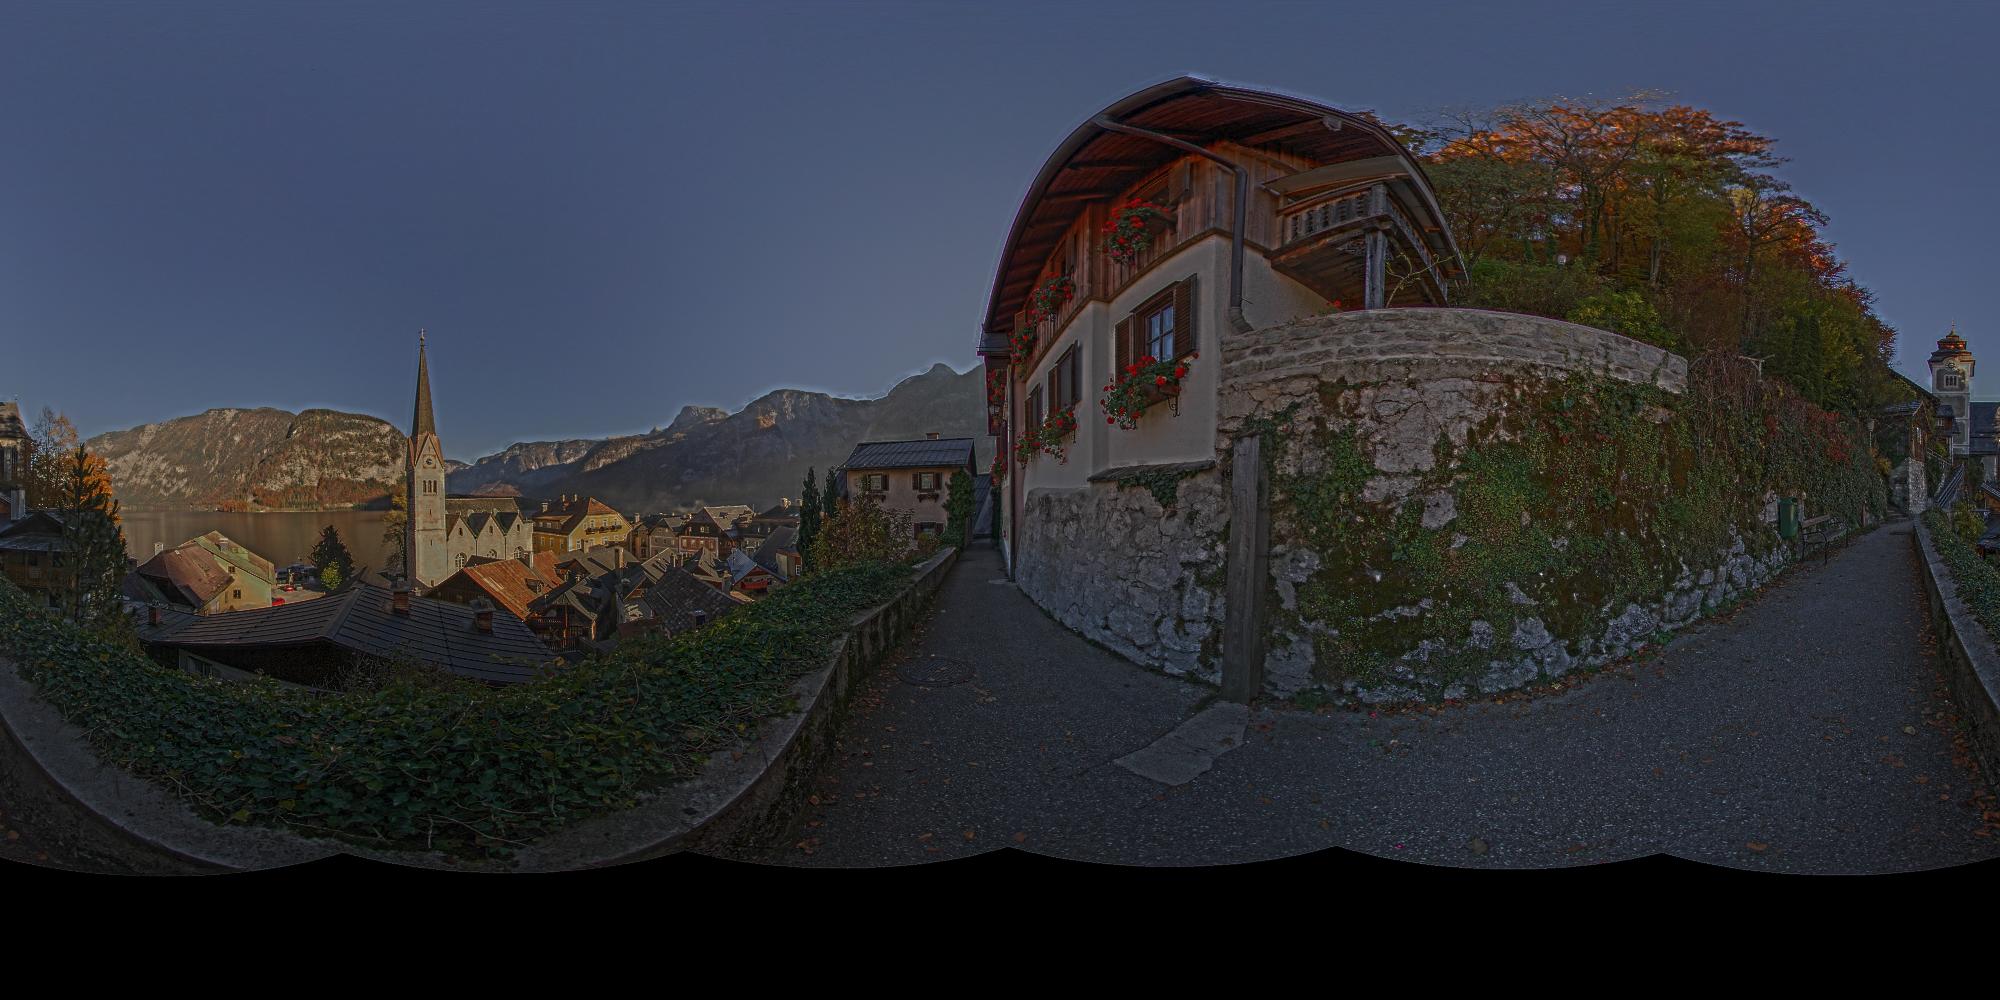
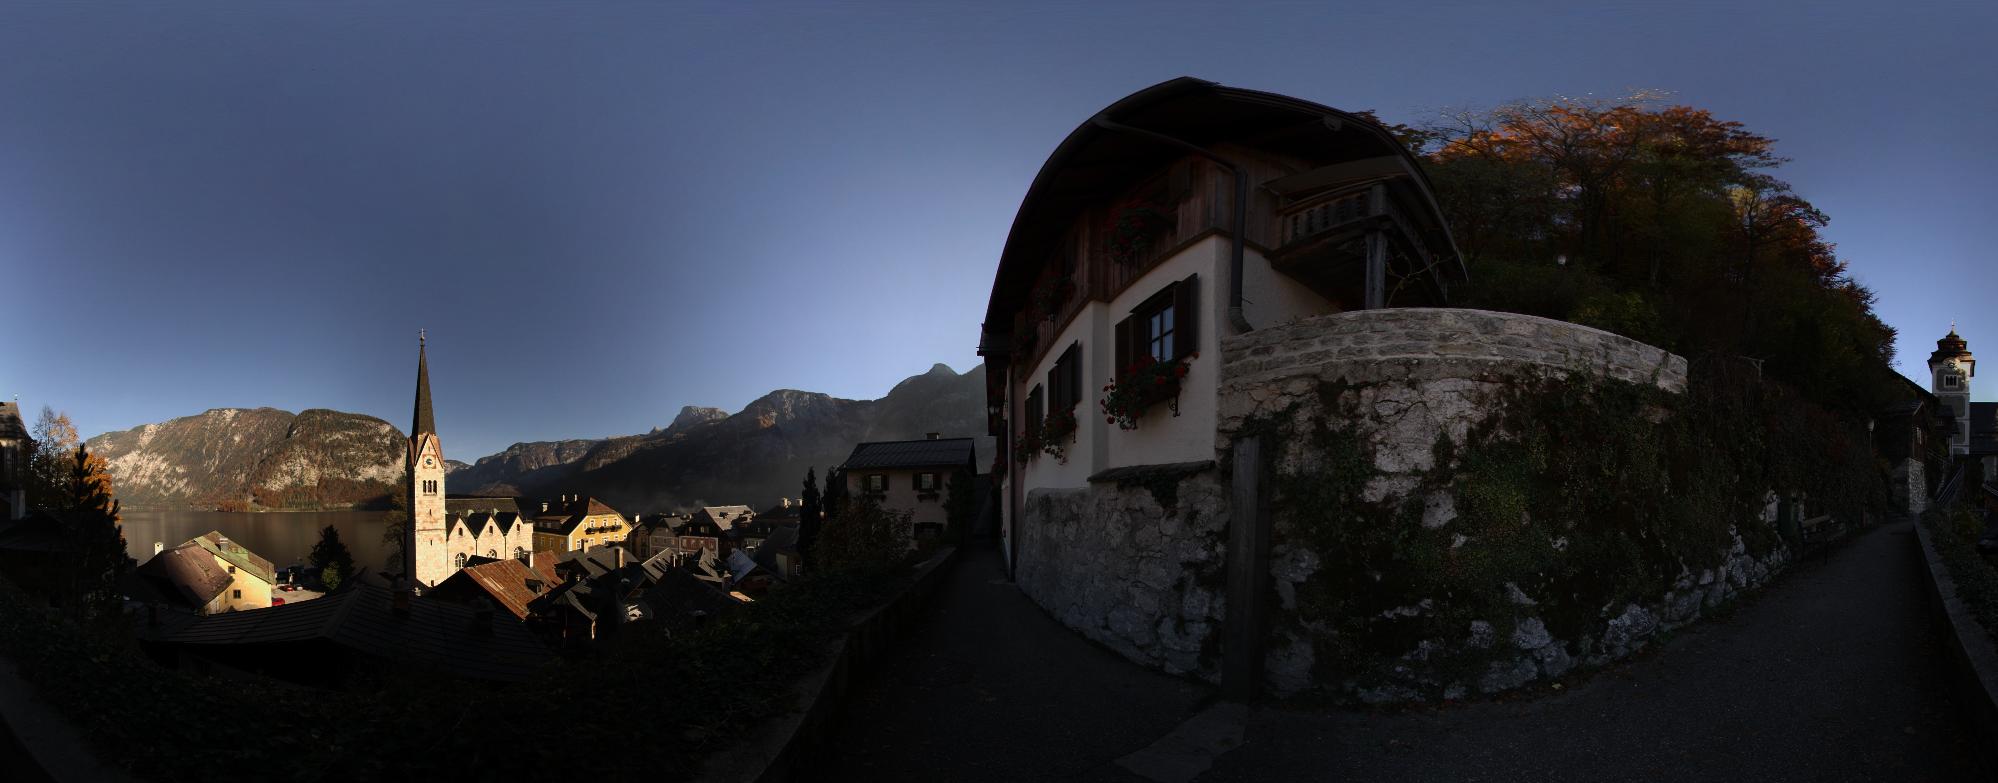
 Tonemapped (click image to open panorama) |
Tonemapping: An adaptive mathematical function is used to recalculate all pixel values to guarantee their fit into a standard (s)RGB color space. This function is used by applications like Photomatix. Read Photomatix' FAQ to learn more about their tonemapping function. |
|||||||||||||||||||||||||||||||||||||||||||||||||||||||||||||||||||||||||||||||||||||||||||||||||||||||||||||||||||||||||||||||||||||||||||||||||||||
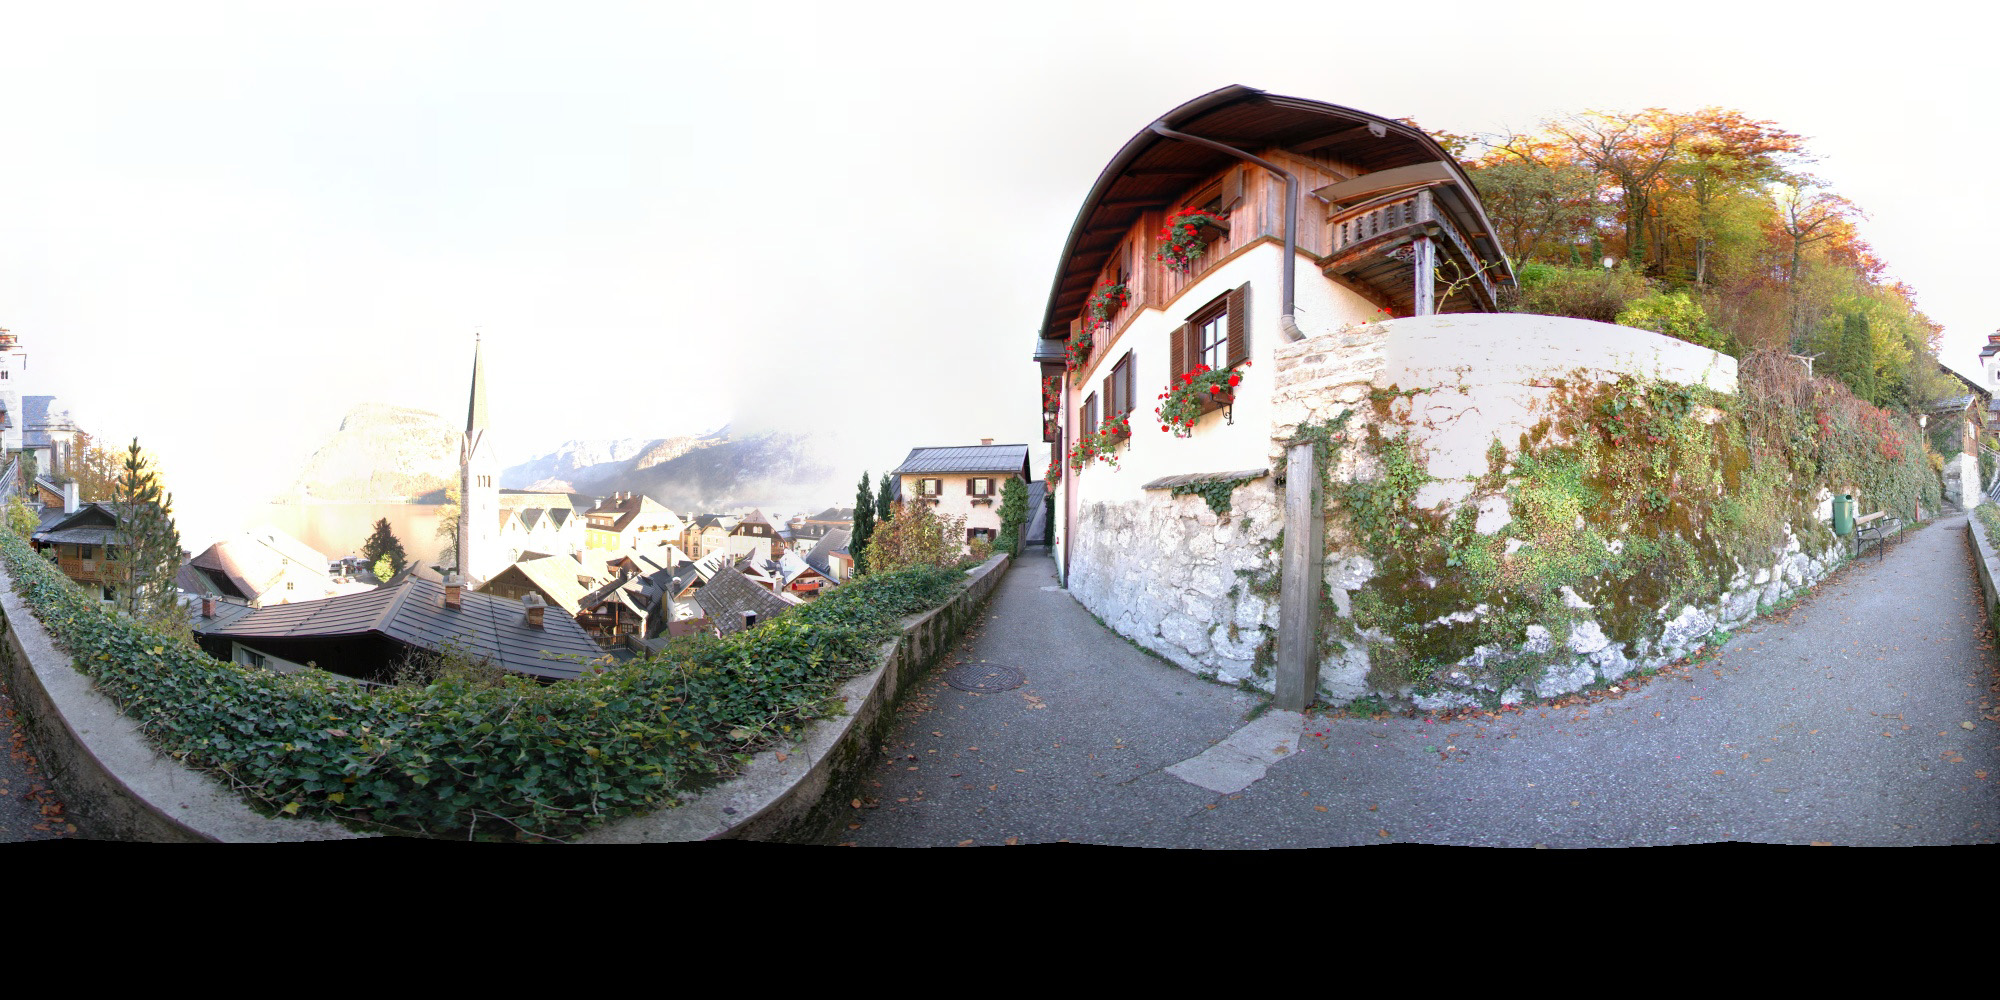
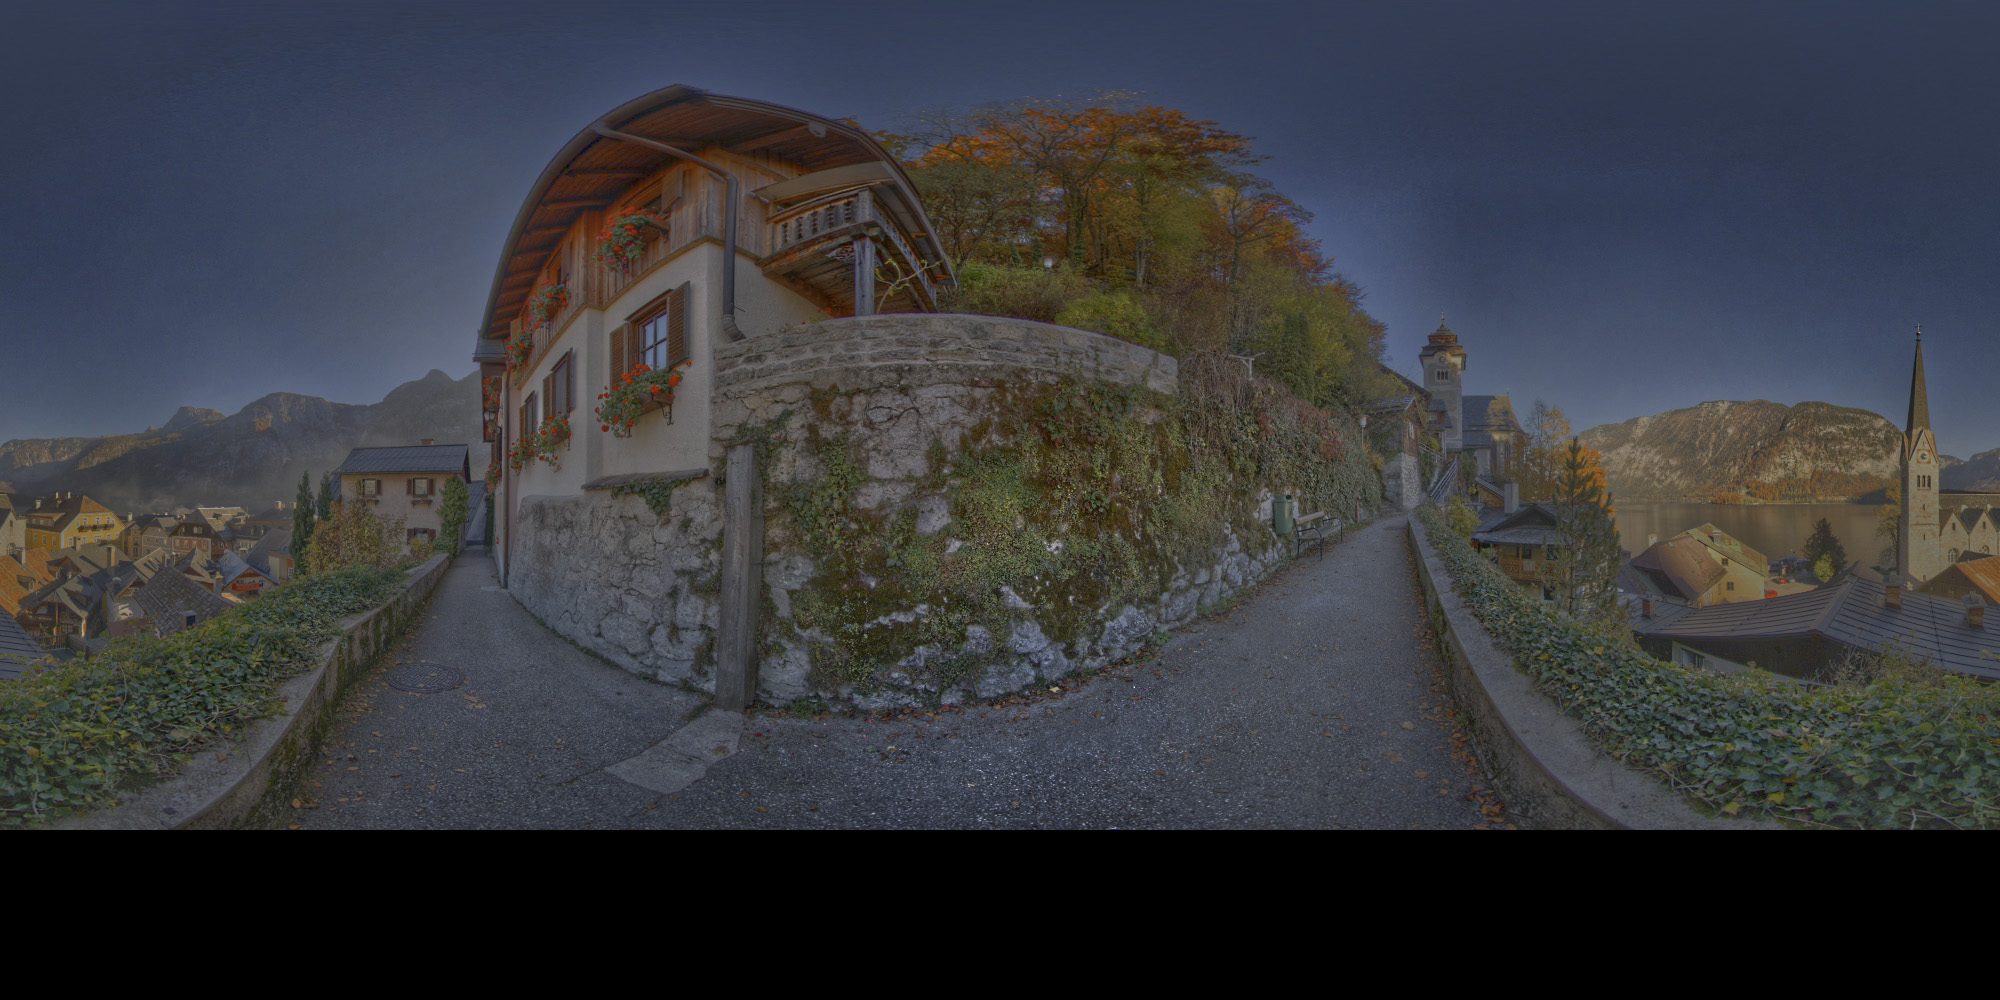
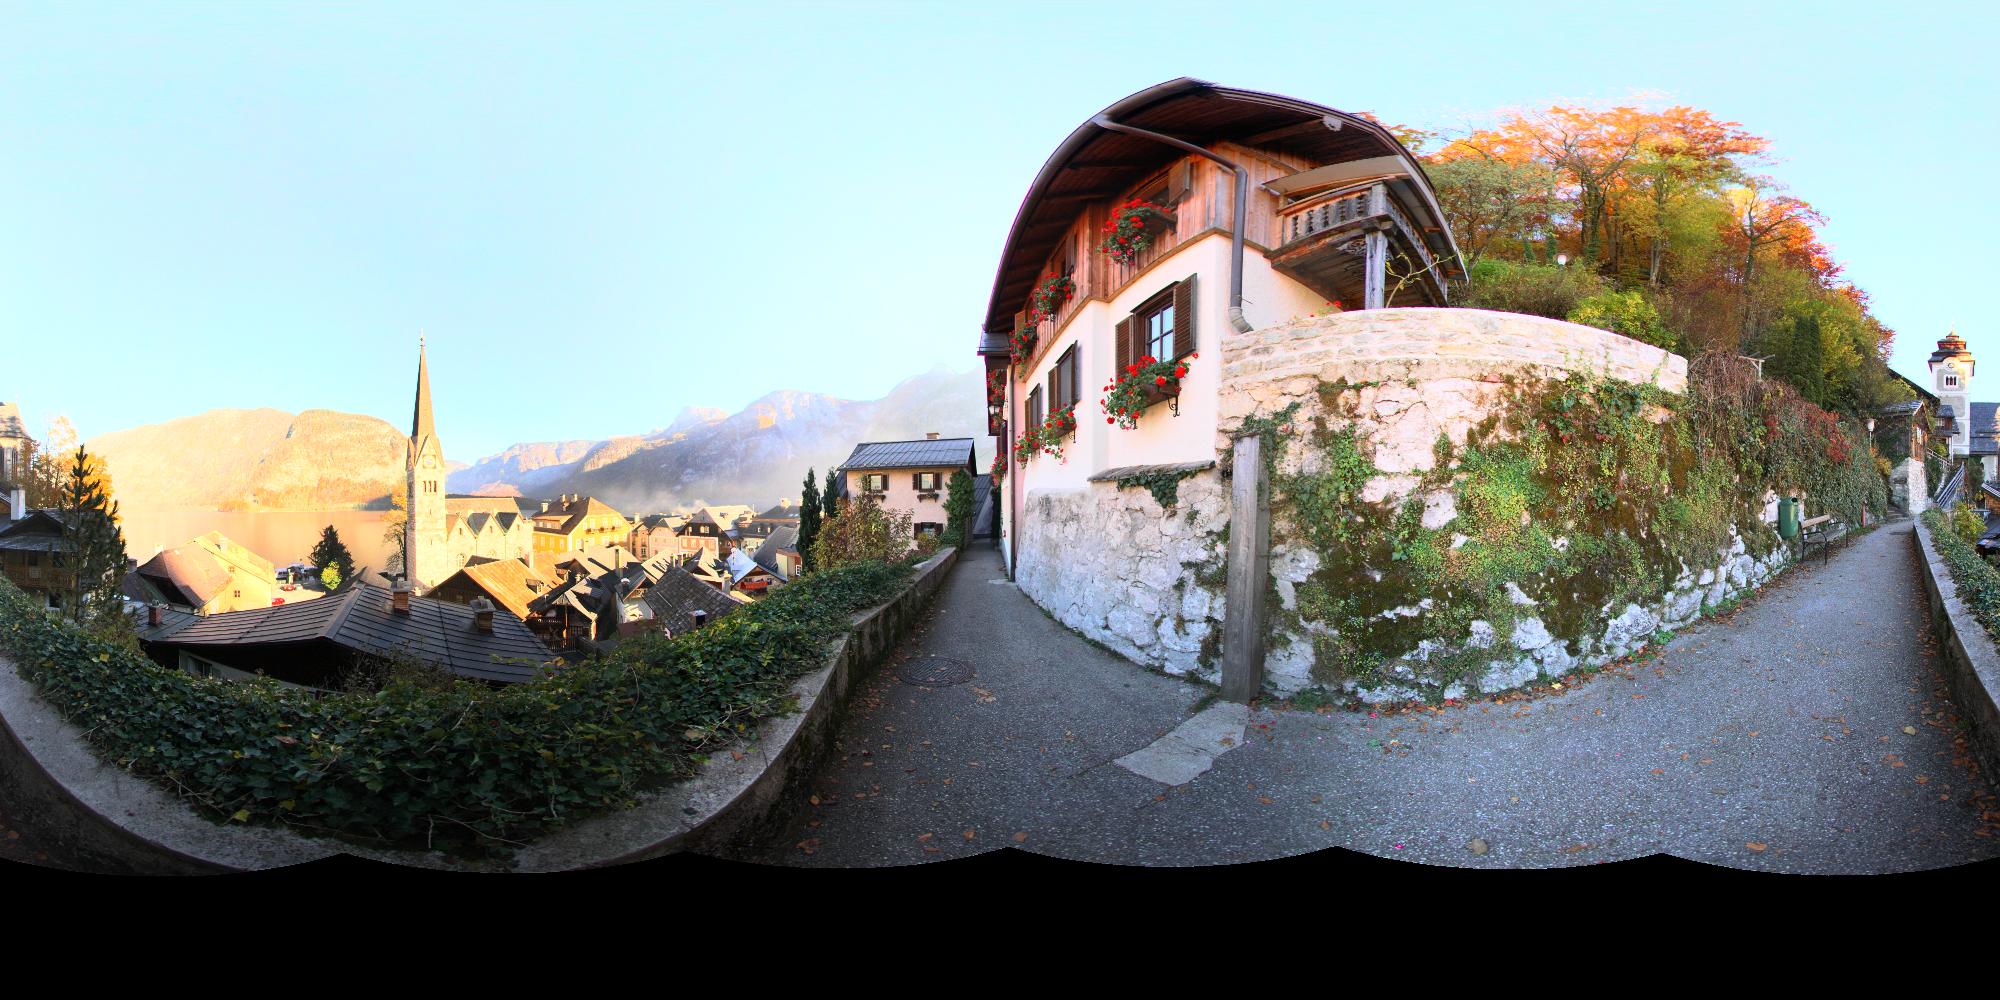
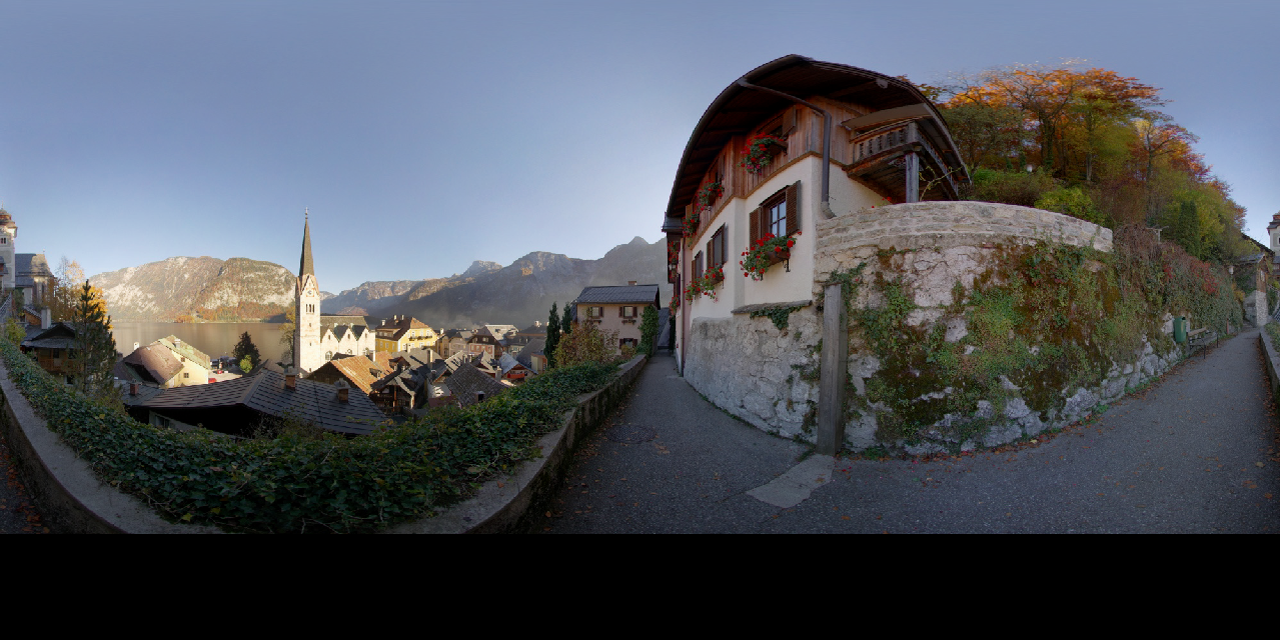
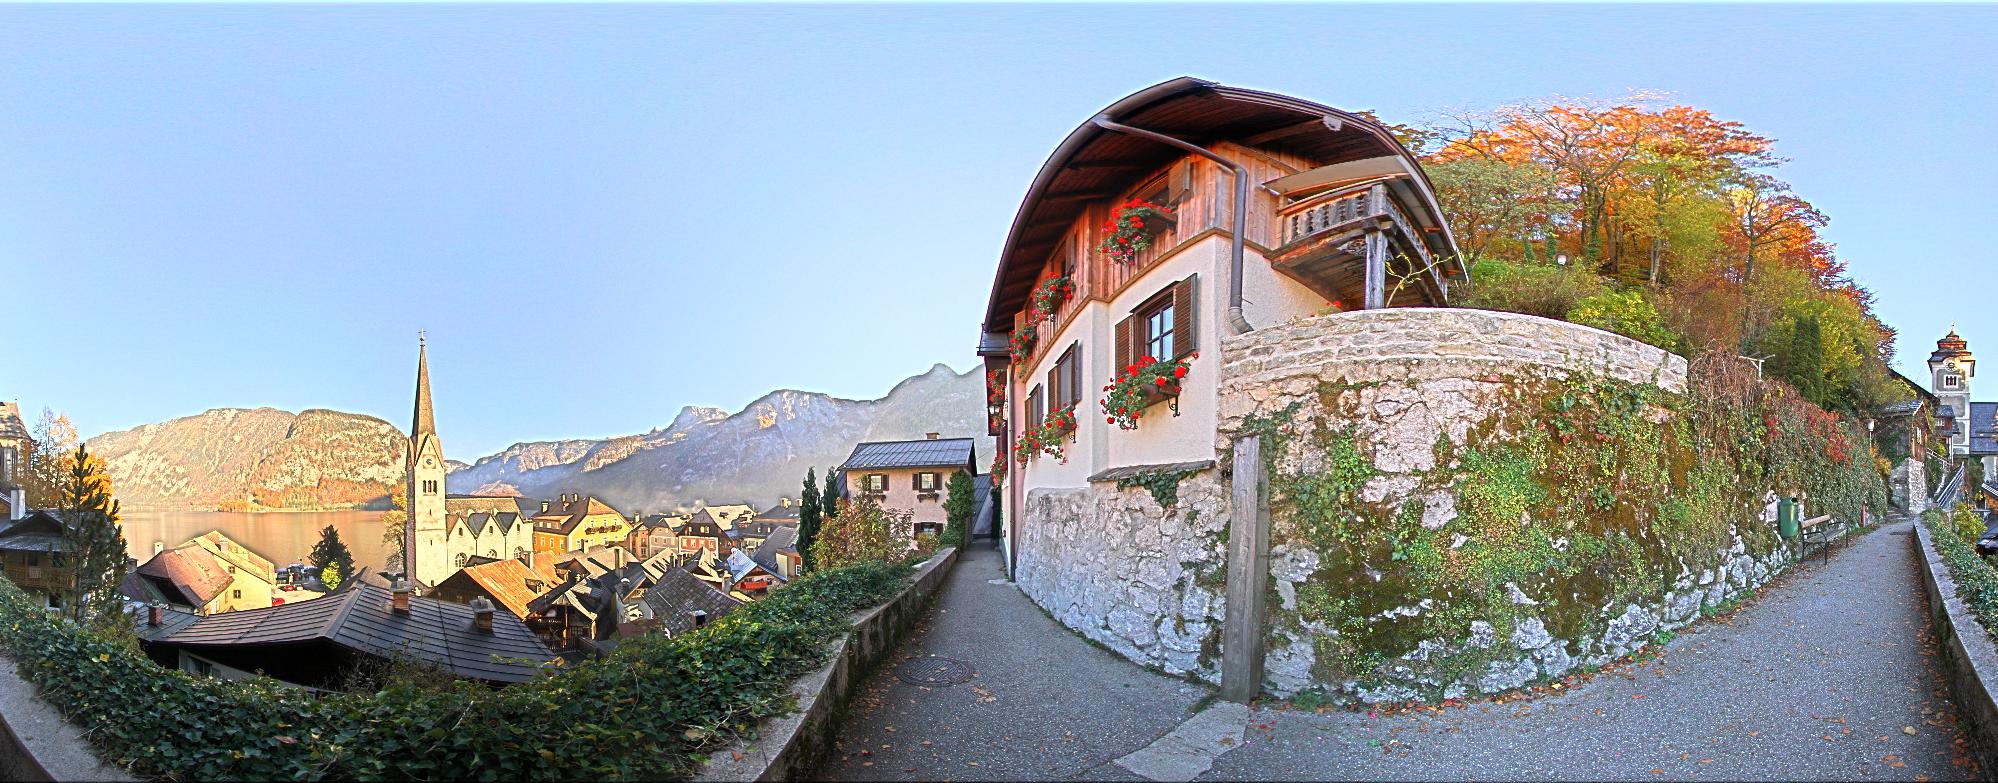
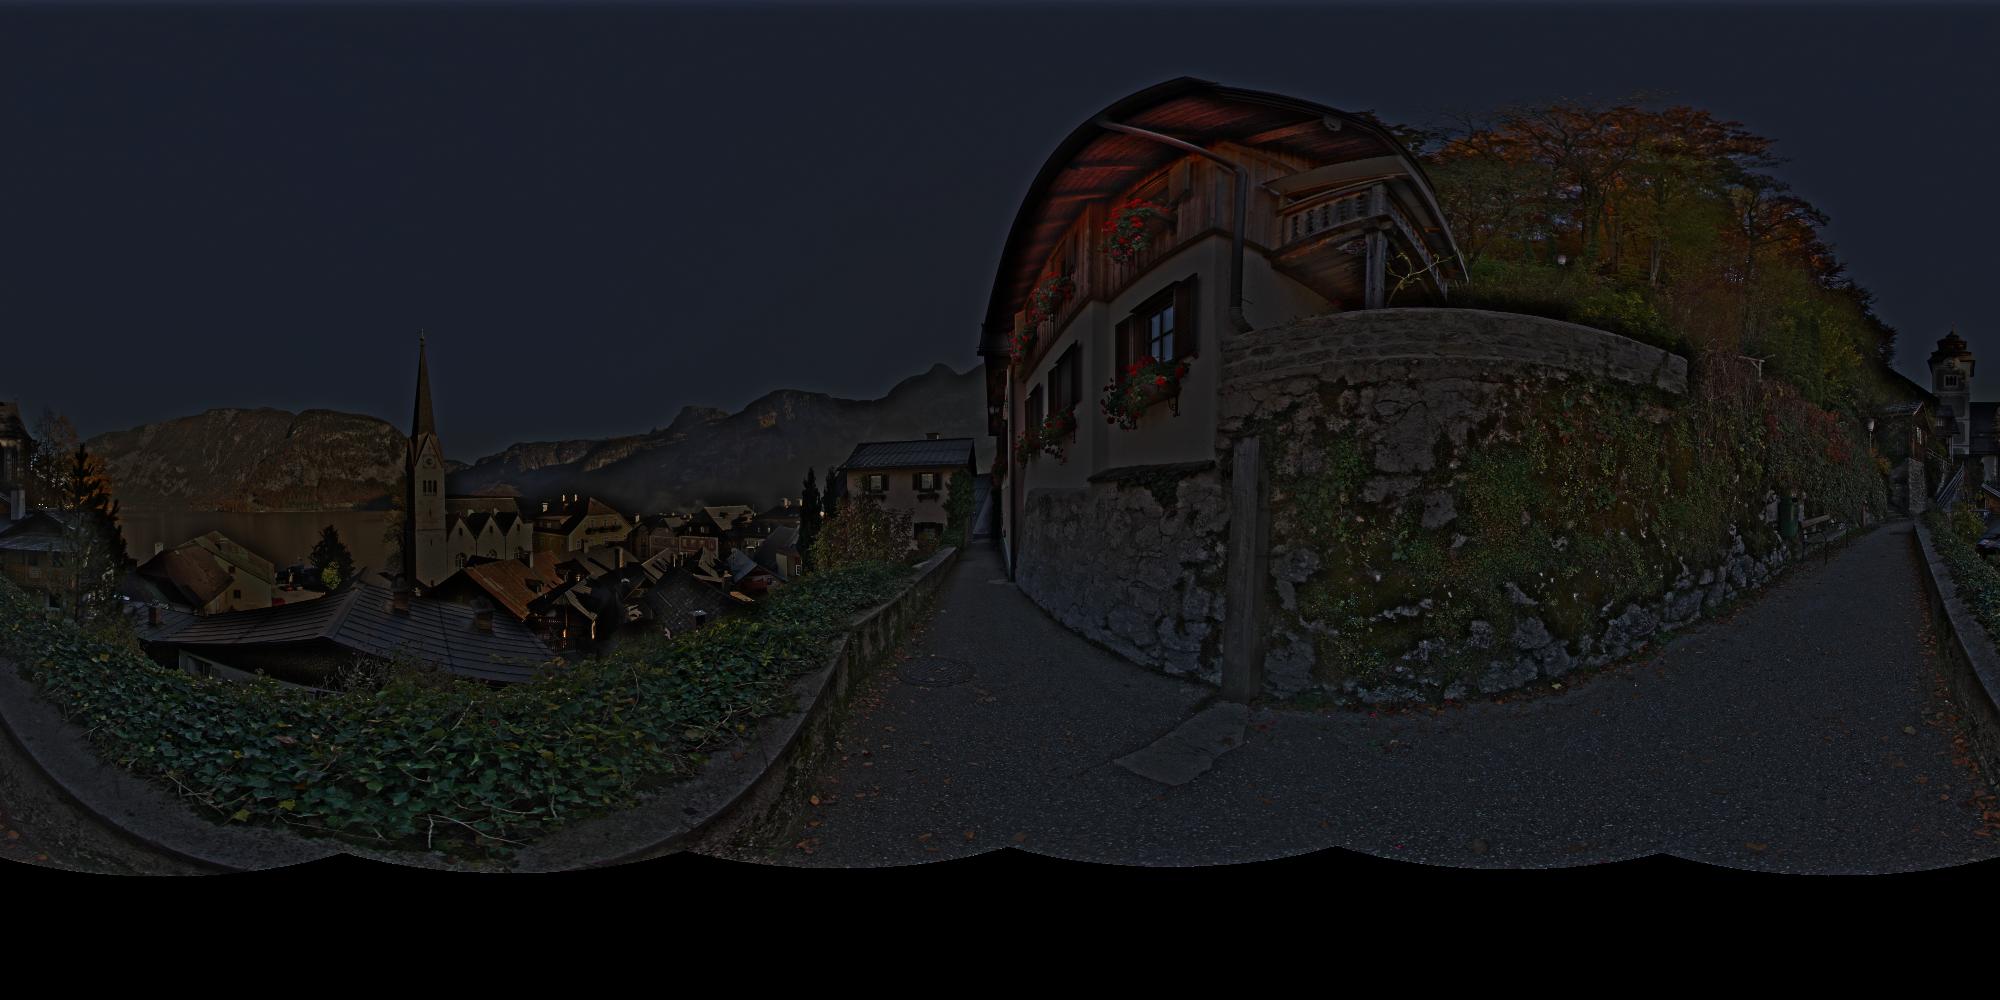
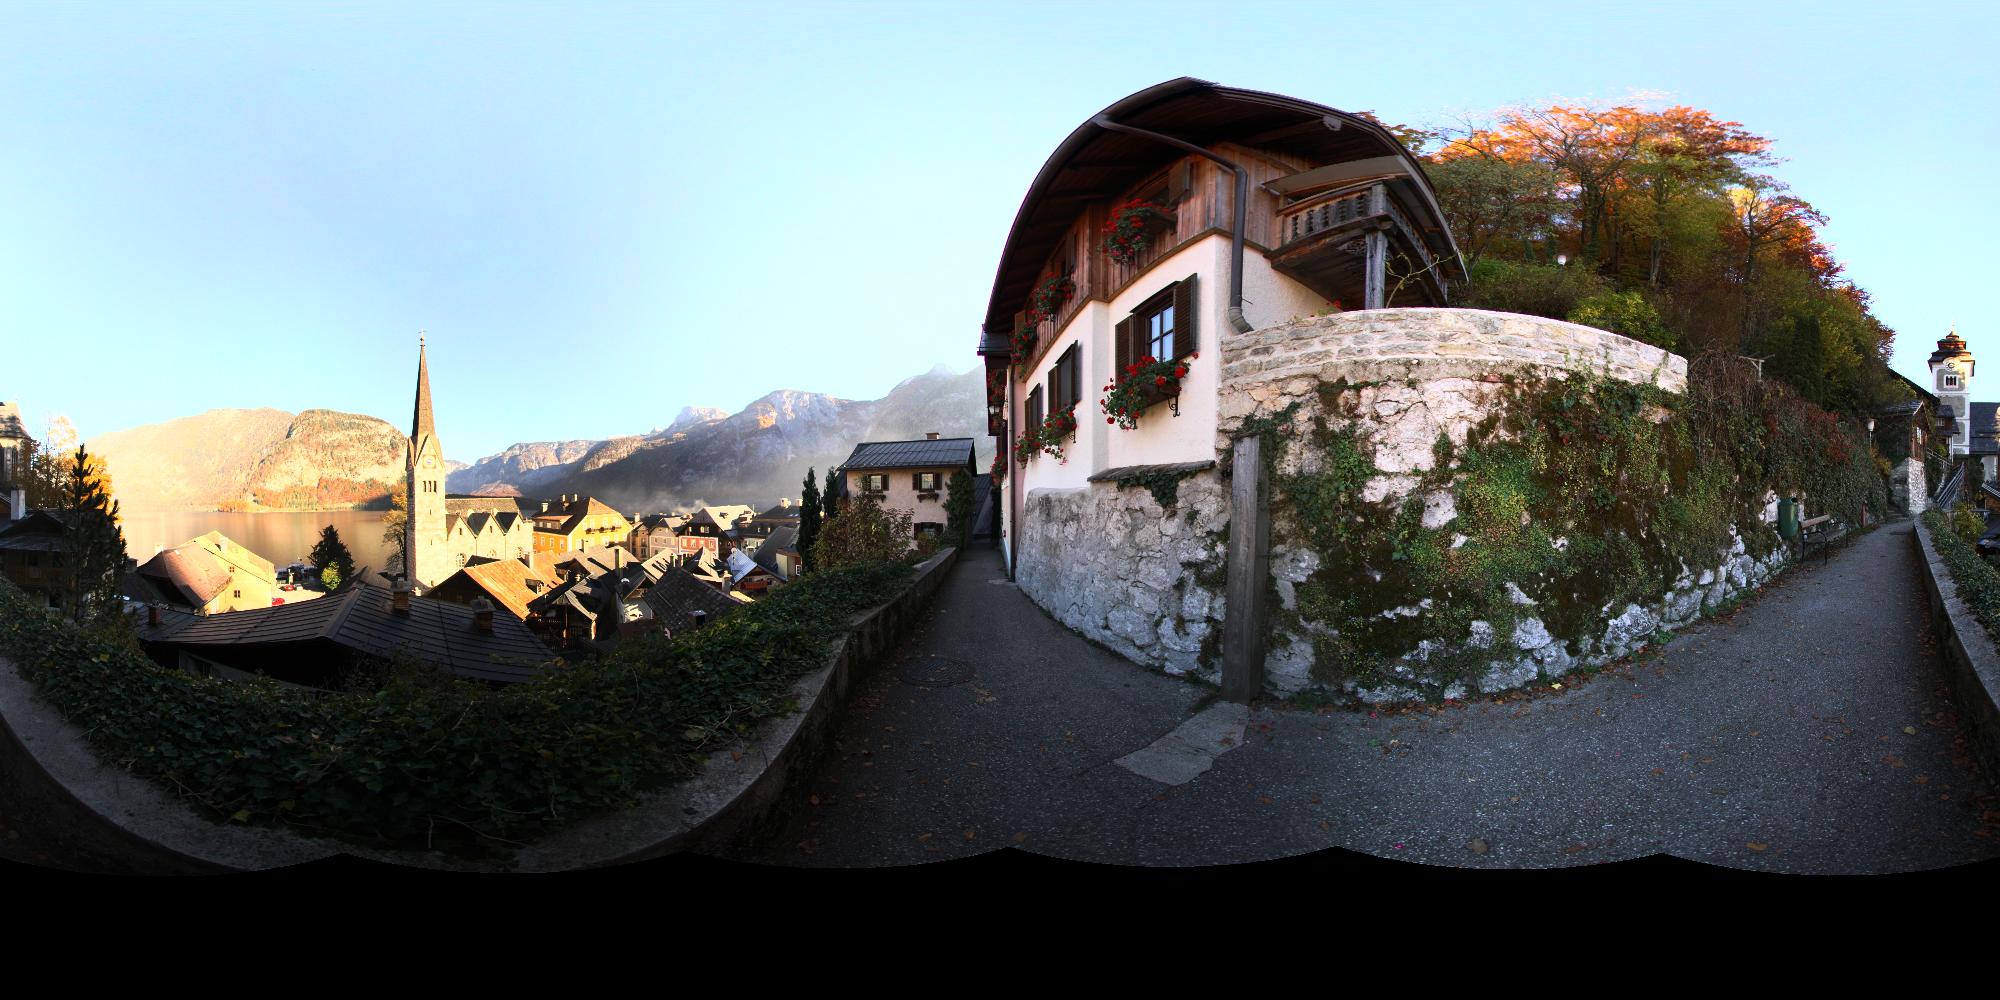
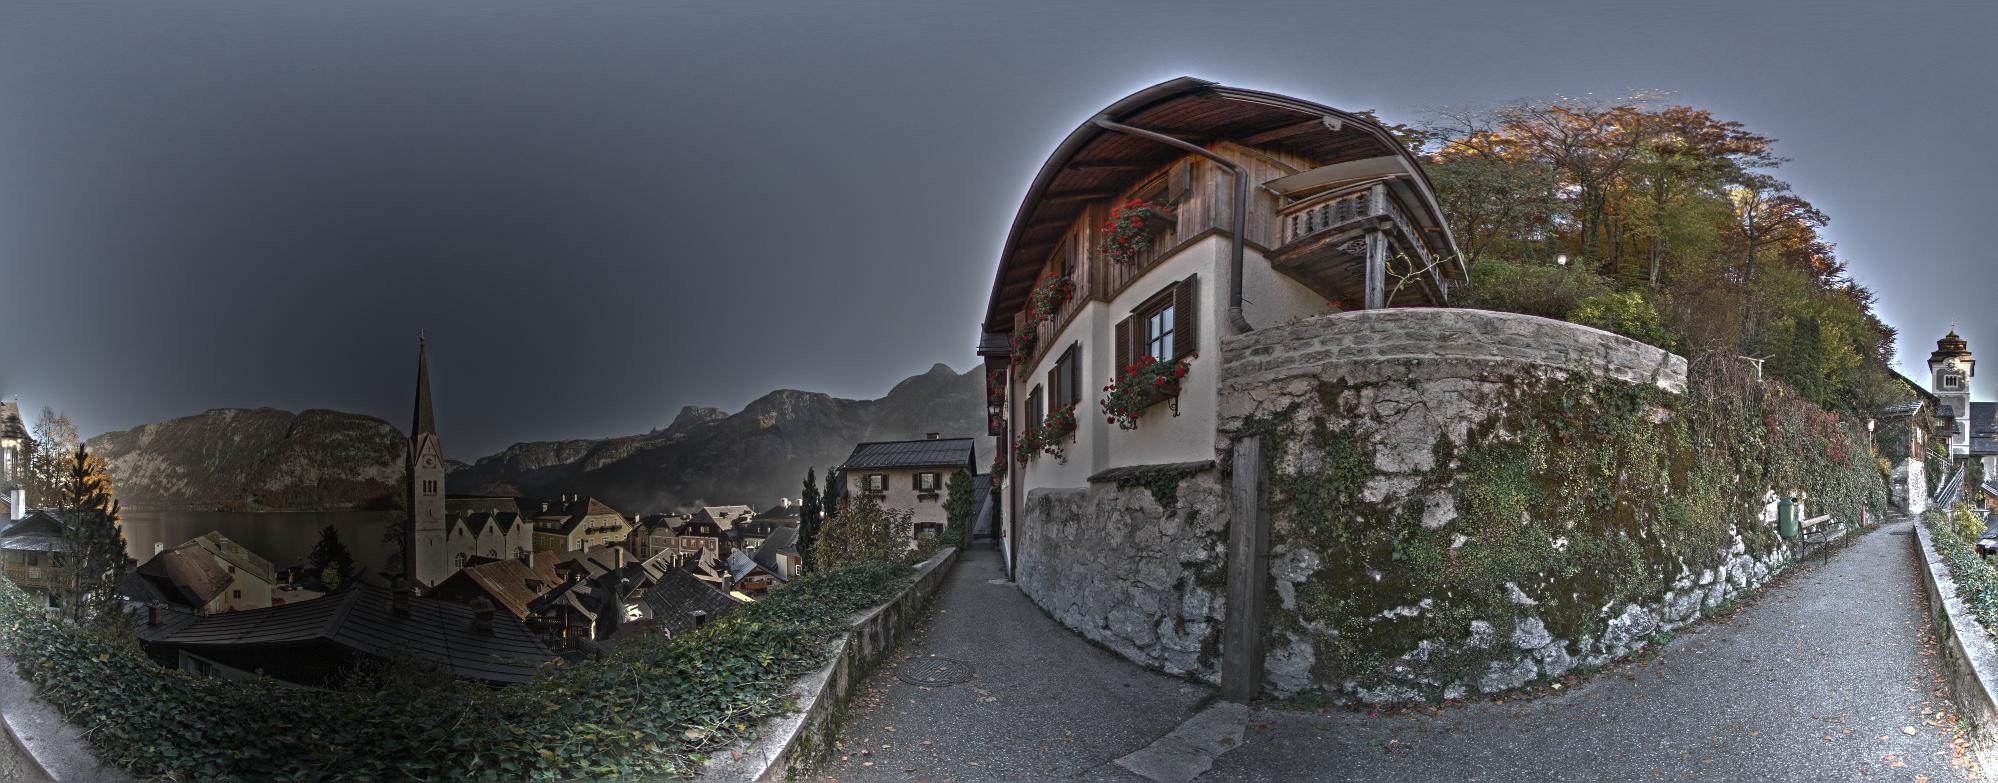
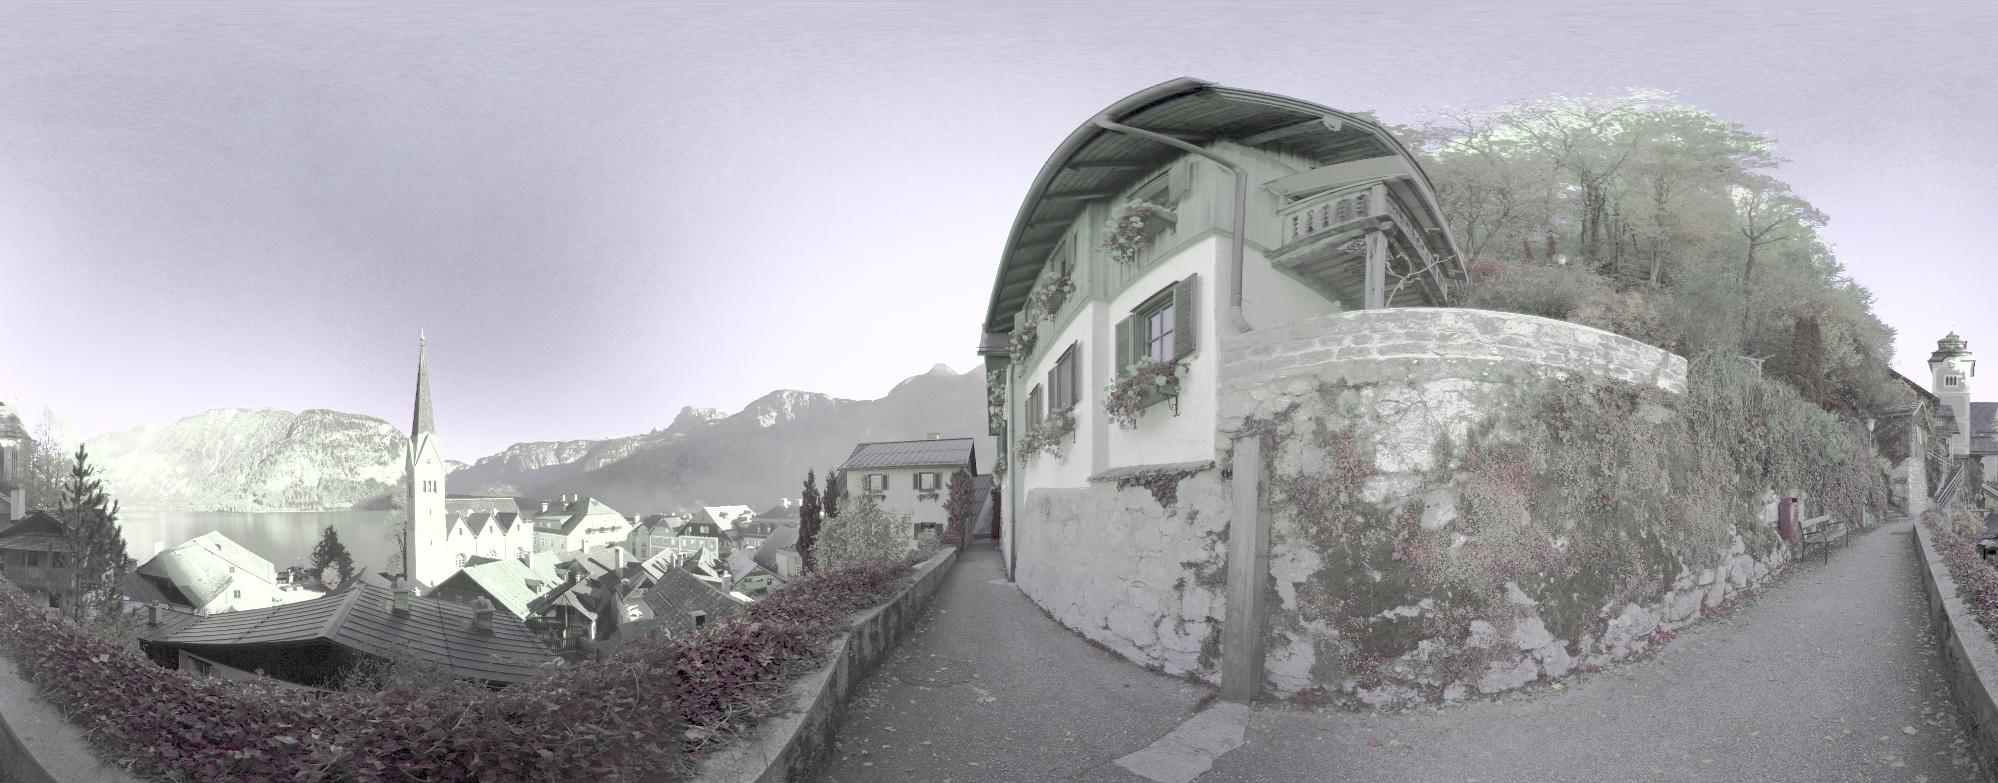
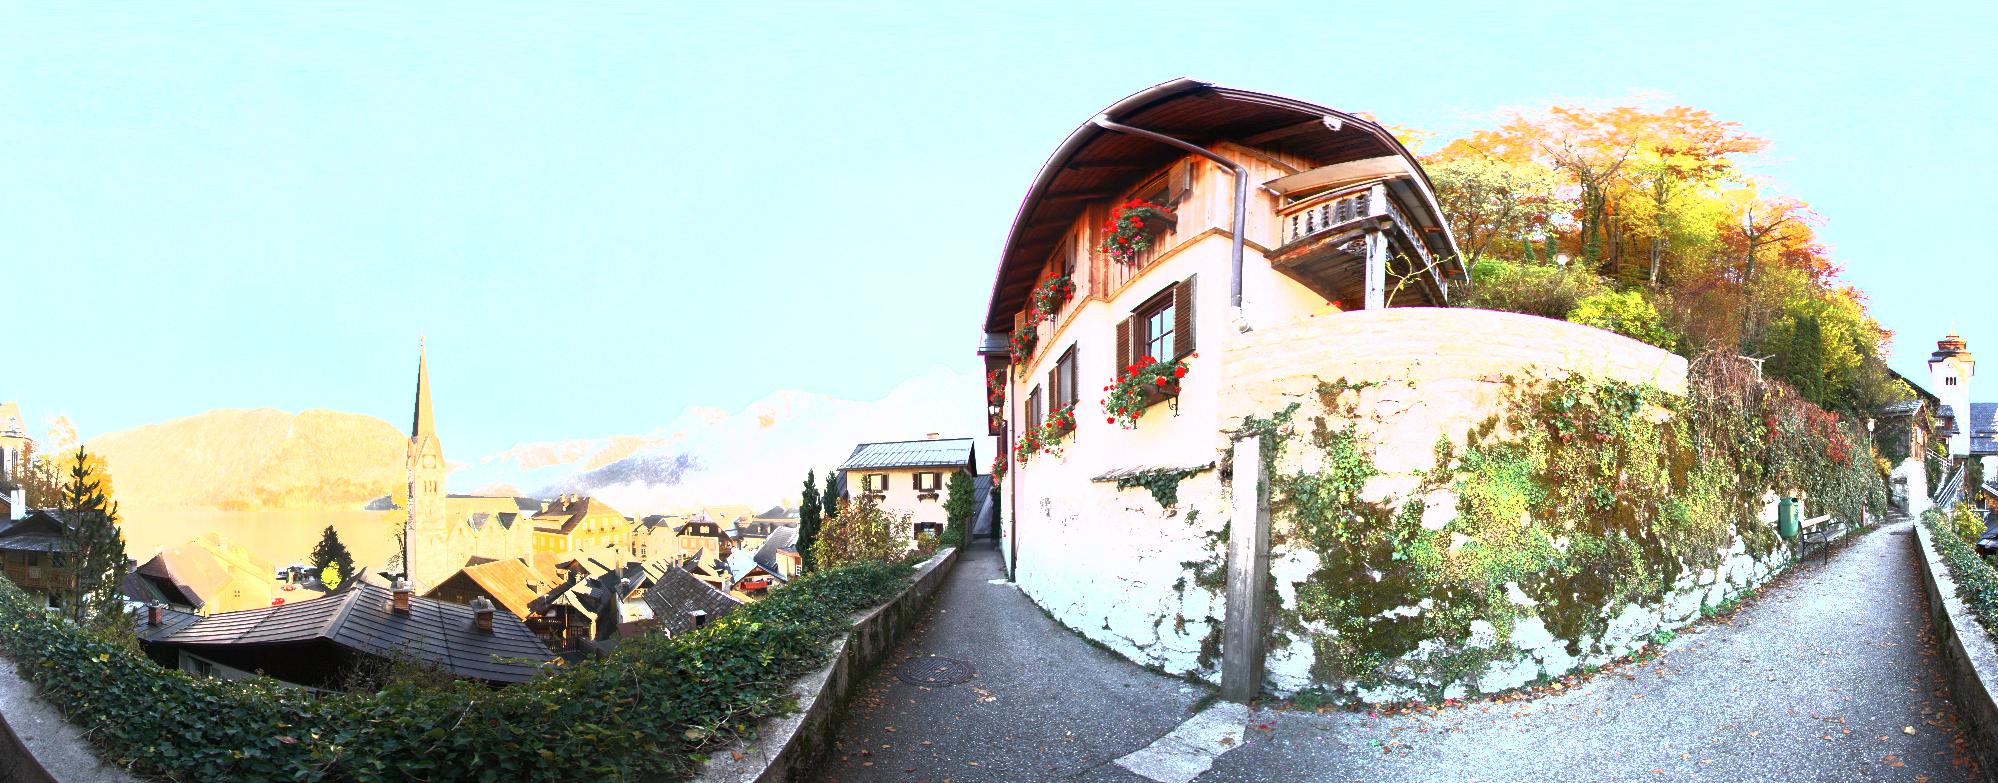
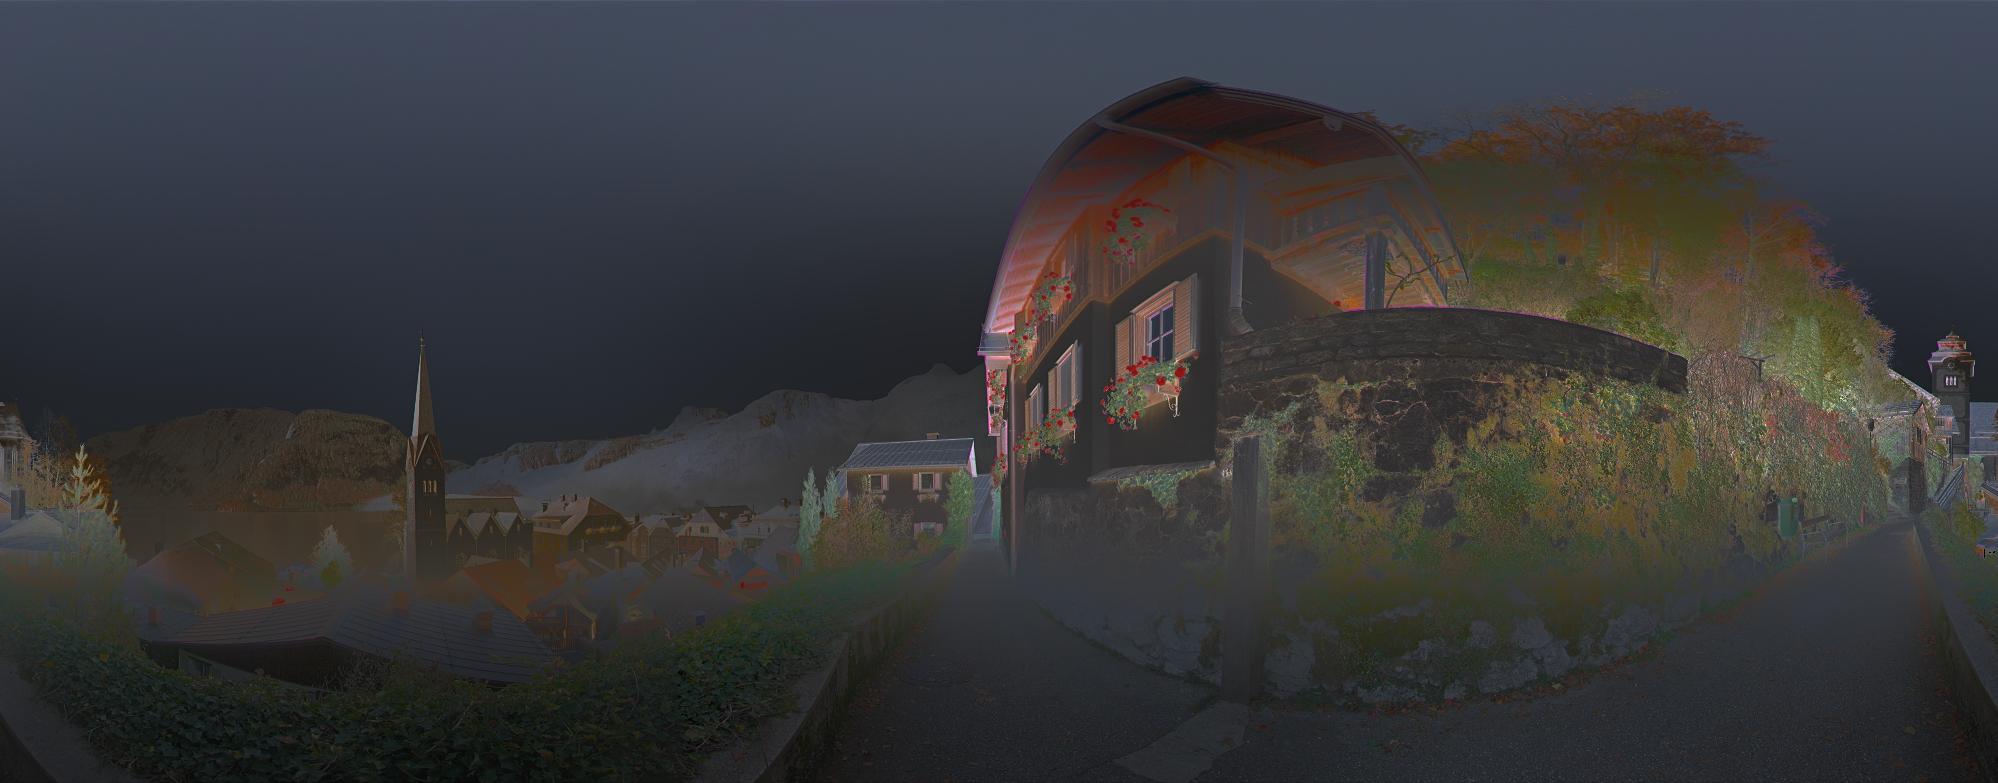
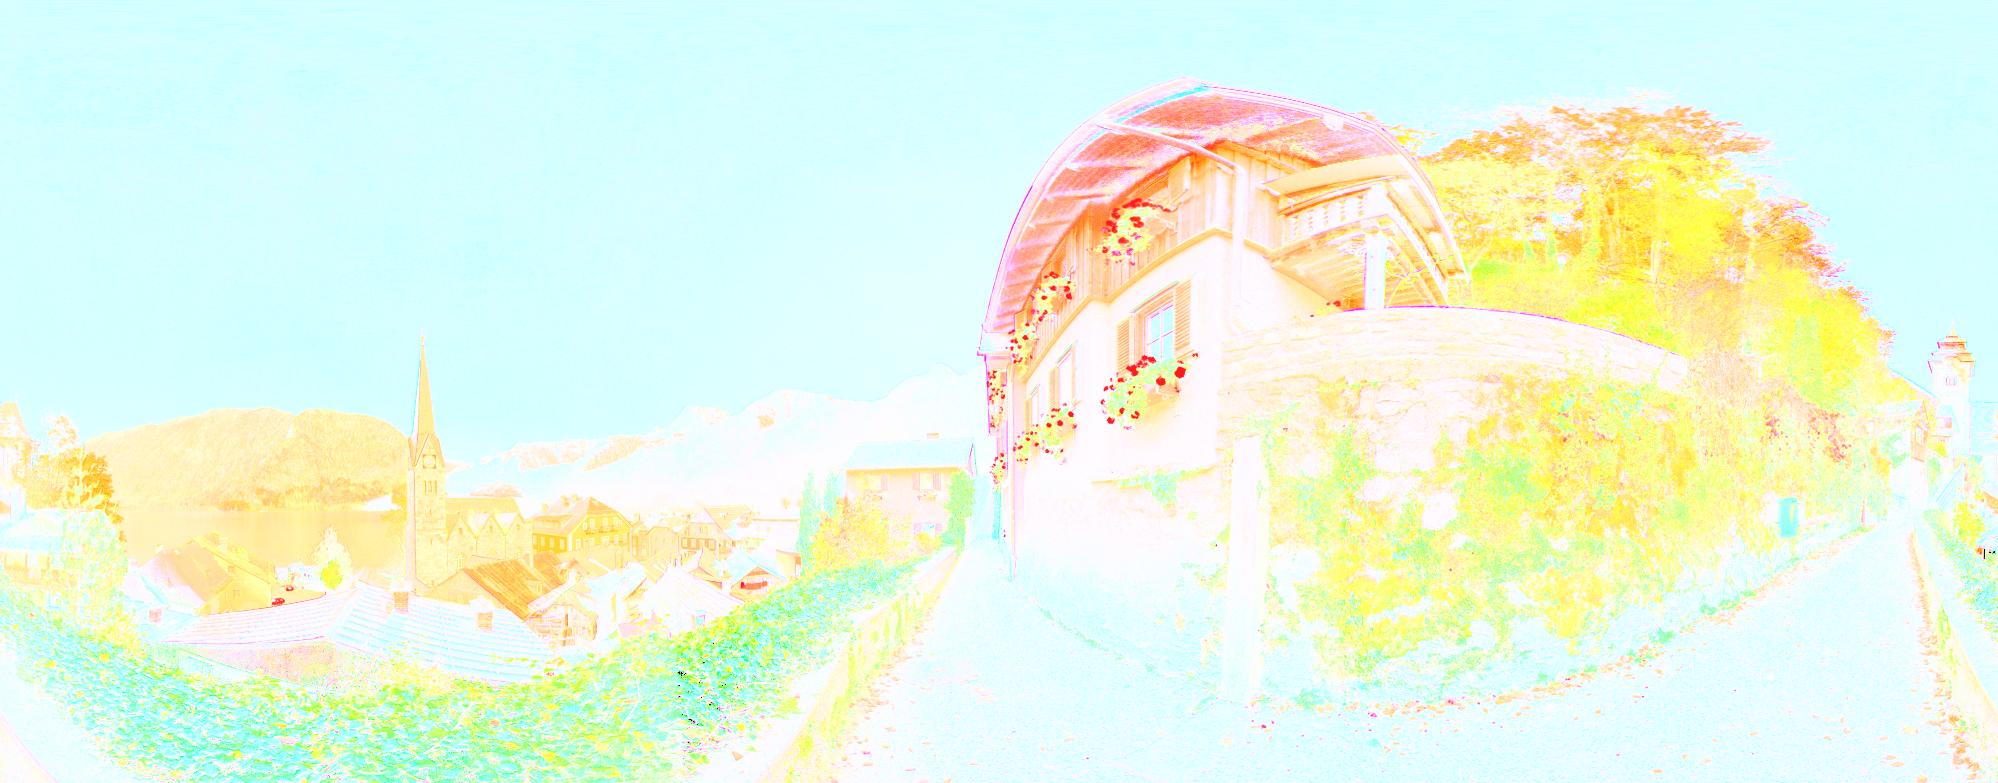
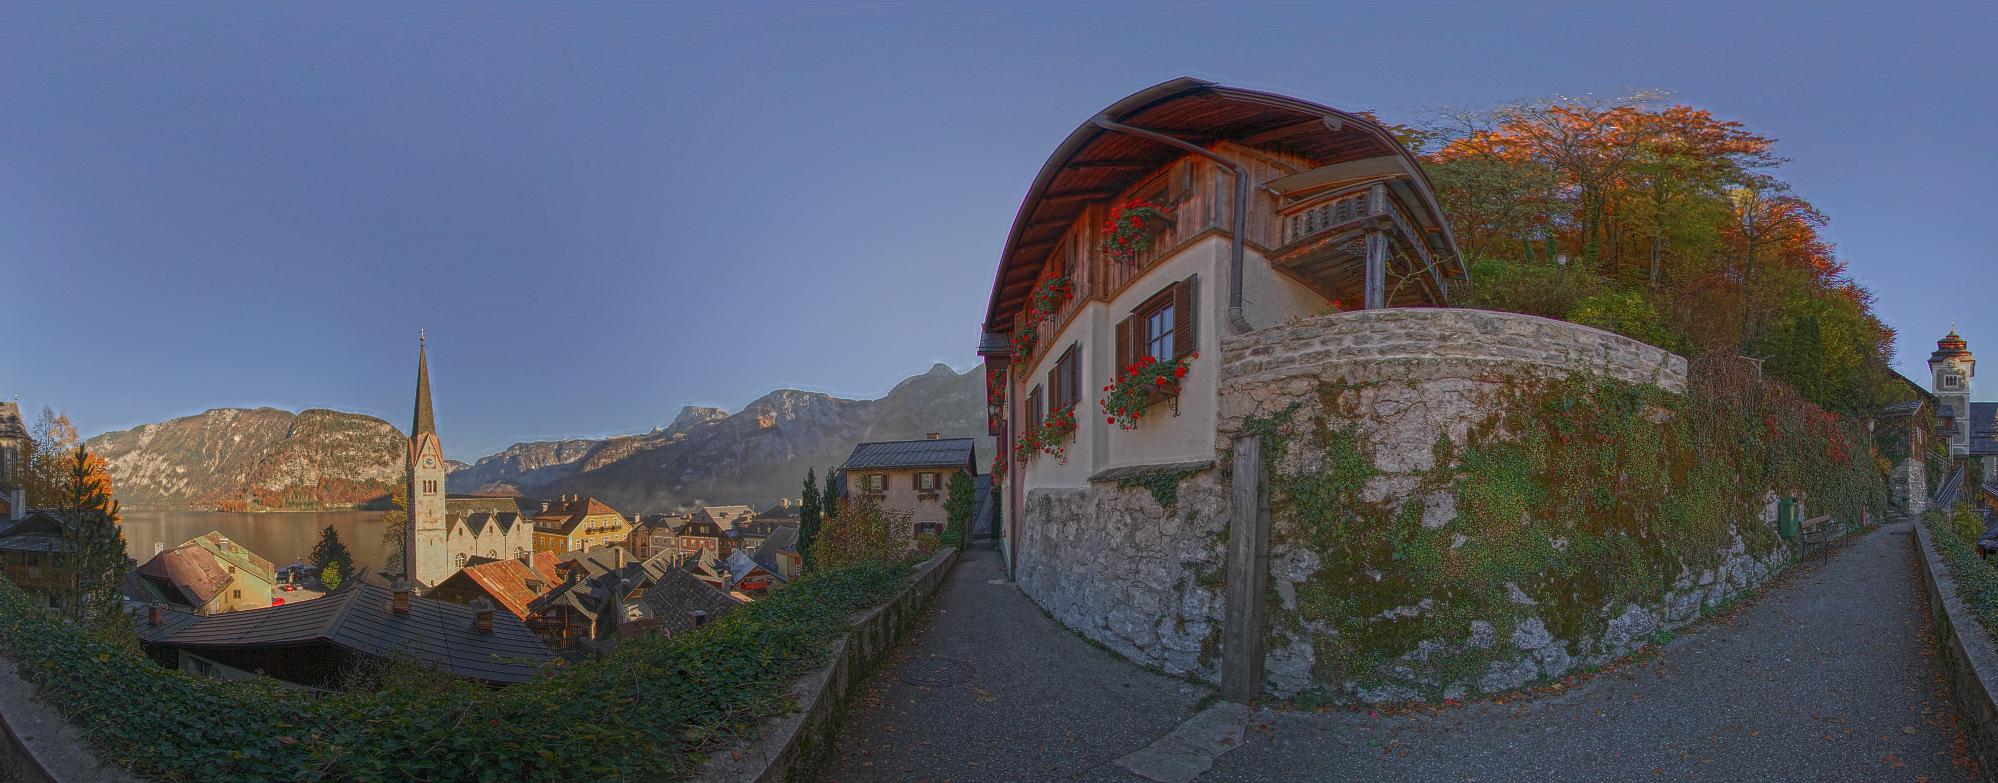
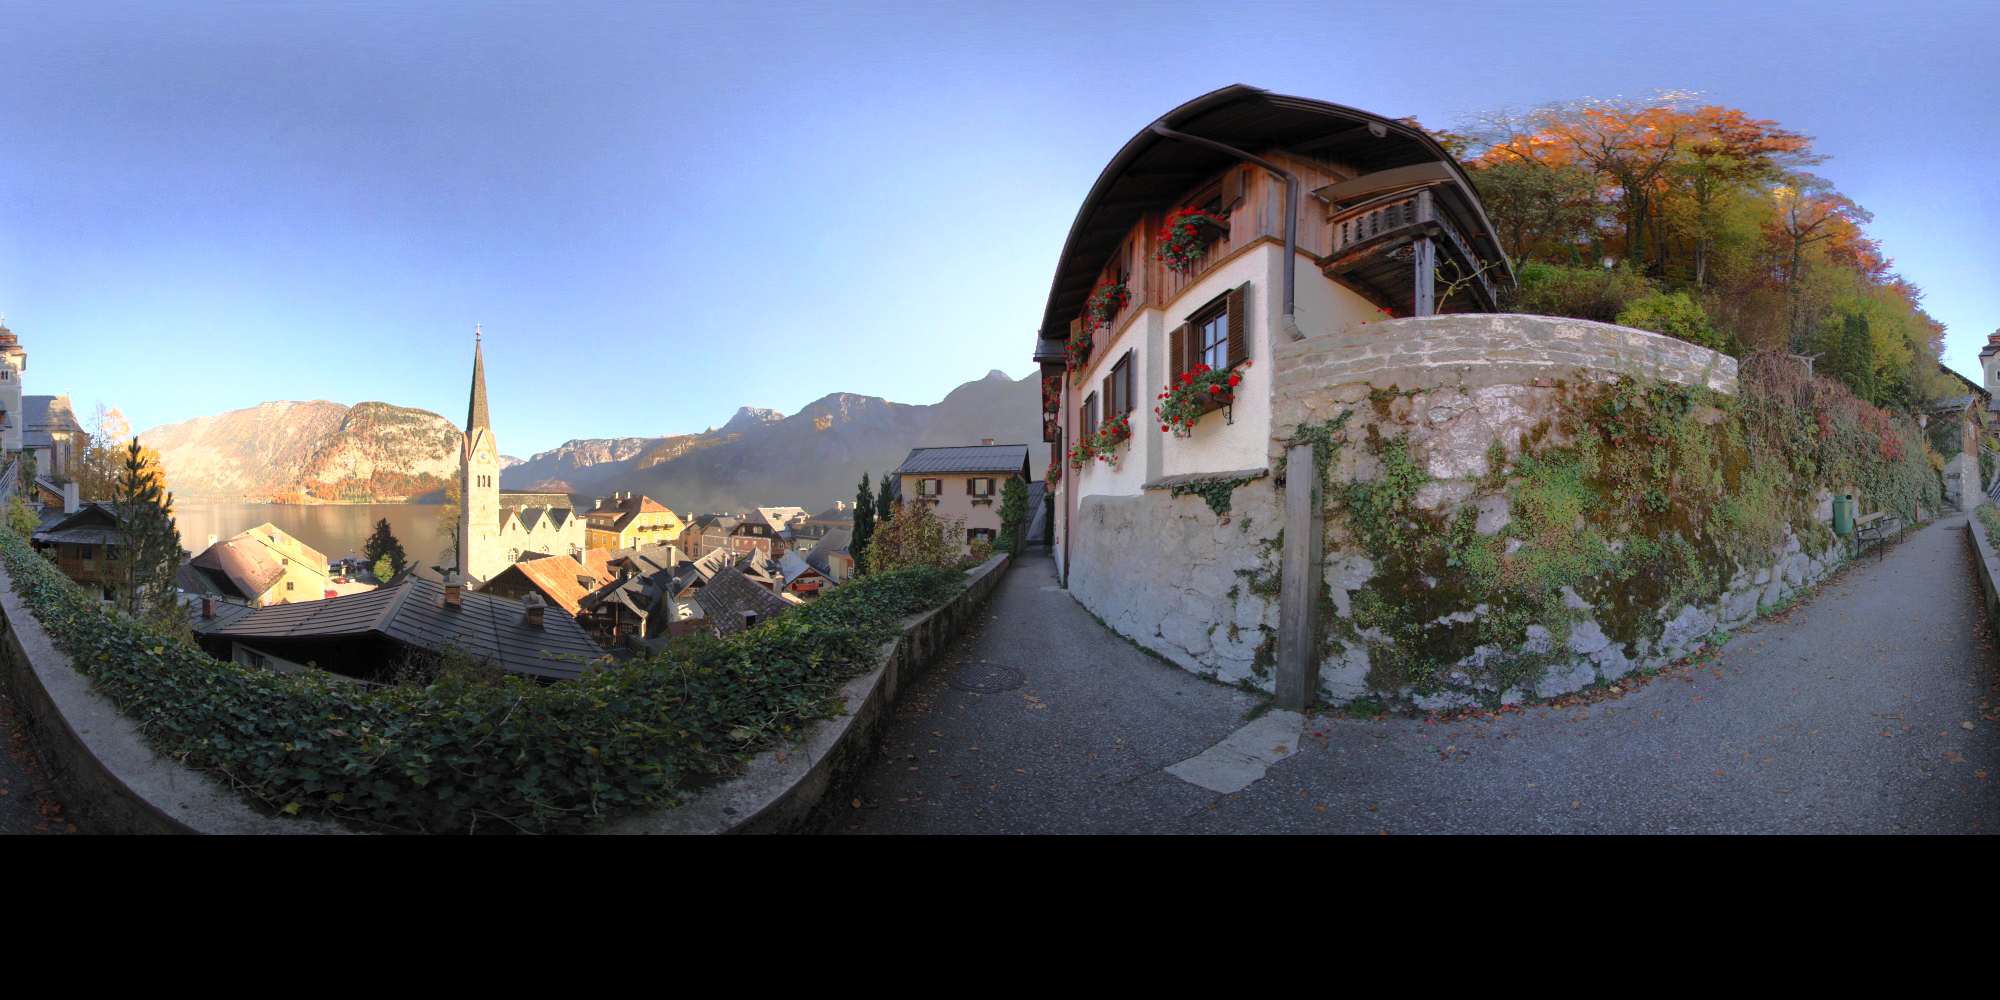
 Logarithmic Tonemap (click image to open panorama) |
"Logarithmic Tonemapping": Unlike "classic" tonemapping the logarithmic variant will not use local operators to adapt brightness and color values. This variation resembles most the workflow of a "classic darkroom". I would like to see this implemented in some sort of software. |
|||||||||||||||||||||||||||||||||||||||||||||||||||||||||||||||||||||||||||||||||||||||||||||||||||||||||||||||||||||||||||||||||||||||||||||||||||||
|
|
||||||||||||||||||||||||||||||||||||||||||||||||||||||||||||||||||||||||||||||||||||||||||||||||||||||||||||||||||||||||||||||||||||||||||||||||||||||
Overview of tone mapping operators and algorithmsClick on the images to view them full size. For reference purposes:
Download
original HDR-panorama
Panorama as 2-image ADR / 3-image ADR (good Graphics-card strongly recommended)
|
||||||||||||||||||||||||||||||||||||||||||||||||||||||||||||||||||||||||||||||||||||||||||||||||||||||||||||||||||||||||||||||||||||||||||||||||||||||
|
|
||||||||||||||||||||||||||||||||||||||||||||||||||||||||||||||||||||||||||||||||||||||||||||||||||||||||||||||||||||||||||||||||||||||||||||||||||||||
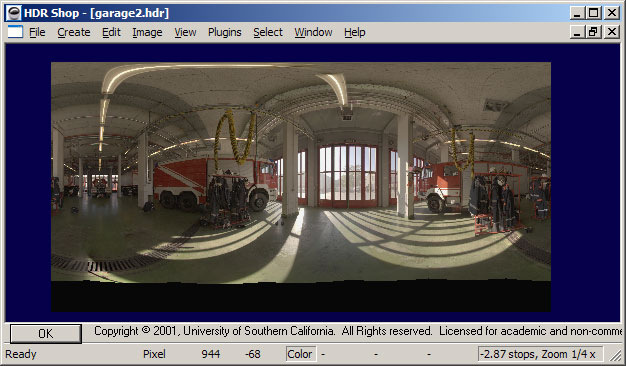
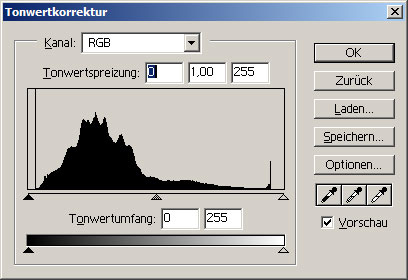
A manual approach to implement logarithmic tonemappingSoftware needed:
The "Cookbook":
|
||||||||||||||||||||||||||||||||||||||||||||||||||||||||||||||||||||||||||||||||||||||||||||||||||||||||||||||||||||||||||||||||||||||||||||||||||||||
|
|
||||||||||||||||||||||||||||||||||||||||||||||||||||||||||||||||||||||||||||||||||||||||||||||||||||||||||||||||||||||||||||||||||||||||||||||||||||||
Conclusion:There is no "one-for-all" universal solution to map
high dynamic range images down to a viewable/printable
image. |
||||||||||||||||||||||||||||||||||||||||||||||||||||||||||||||||||||||||||||||||||||||||||||||||||||||||||||||||||||||||||||||||||||||||||||||||||||||
|
|
||||||||||||||||||||||||||||||||||||||||||||||||||||||||||||||||||||||||||||||||||||||||||||||||||||||||||||||||||||||||||||||||||||||||||||||||||||||
|
Feedback: salzamt@dativ.at |
||||||||||||||||||||||||||||||||||||||||||||||||||||||||||||||||||||||||||||||||||||||||||||||||||||||||||||||||||||||||||||||||||||||||||||||||||||||
|
|
||||||||||||||||||||||||||||||||||||||||||||||||||||||||||||||||||||||||||||||||||||||||||||||||||||||||||||||||||||||||||||||||||||||||||||||||||||||


